 Save to Pinterest
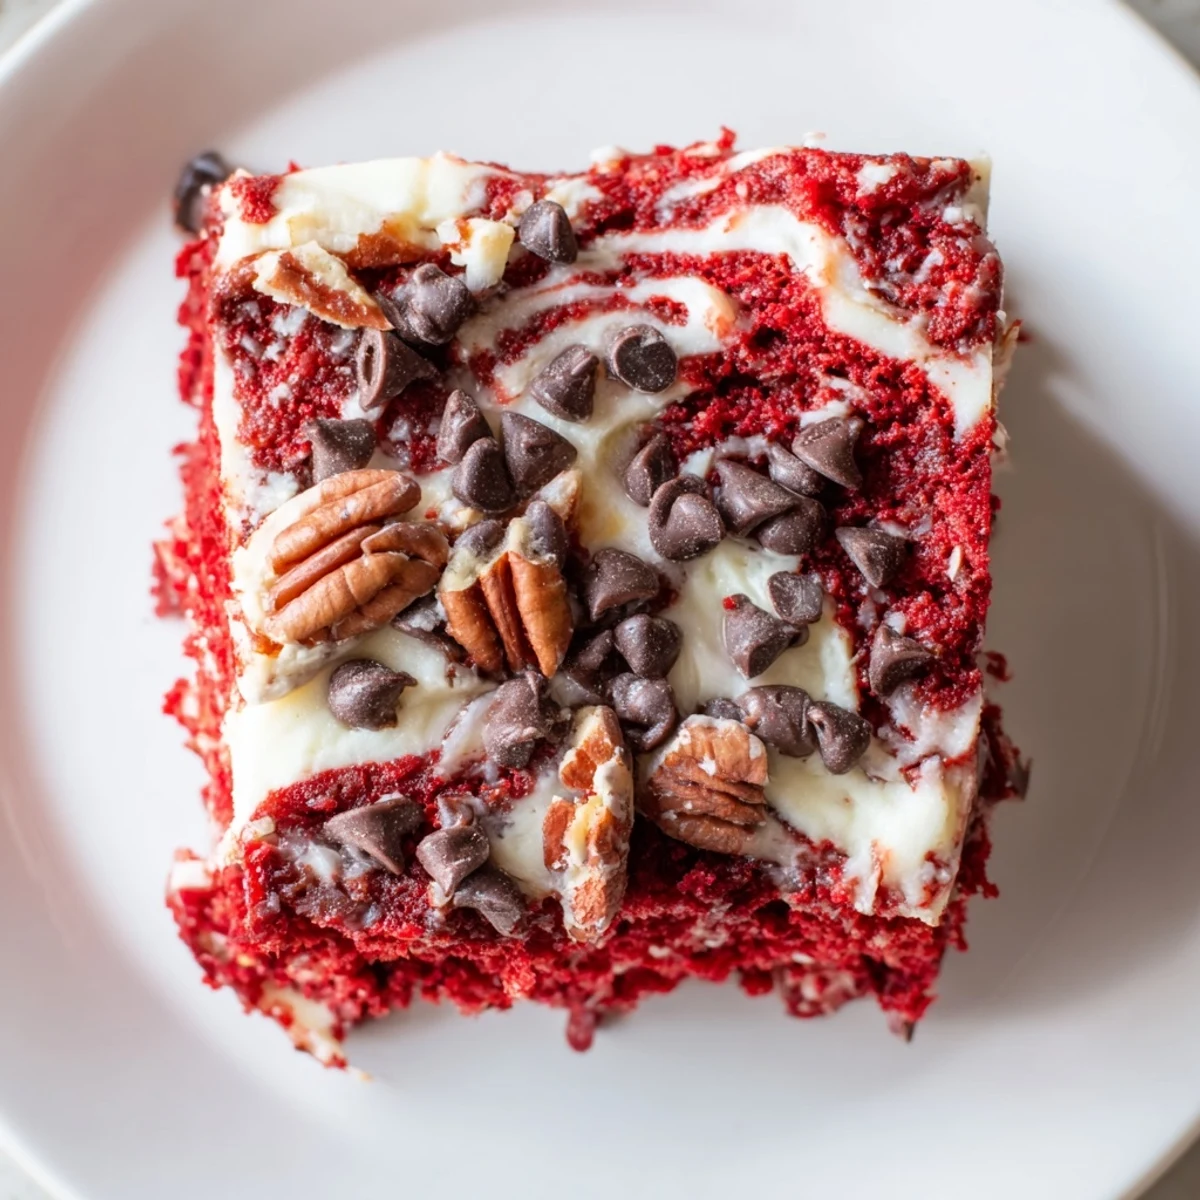
 This indulgent dessert combines the classic flavors of red velvet with a unique cracked appearance. The moist cake base gets topped with dollops of sweetened cream cheese mixture, creating beautiful marbled patterns as it bakes. Chocolate chips, pecans, and coconut add delightful texture and flavor throughout every bite.
The magic happens in the oven—gravity causes the heavy cream cheese topping to sink into the batter while the lighter cake rises, producing that signature earthquake effect. Serve it warm for maximum gooeyness or chilled for a firmer, more structured slice.
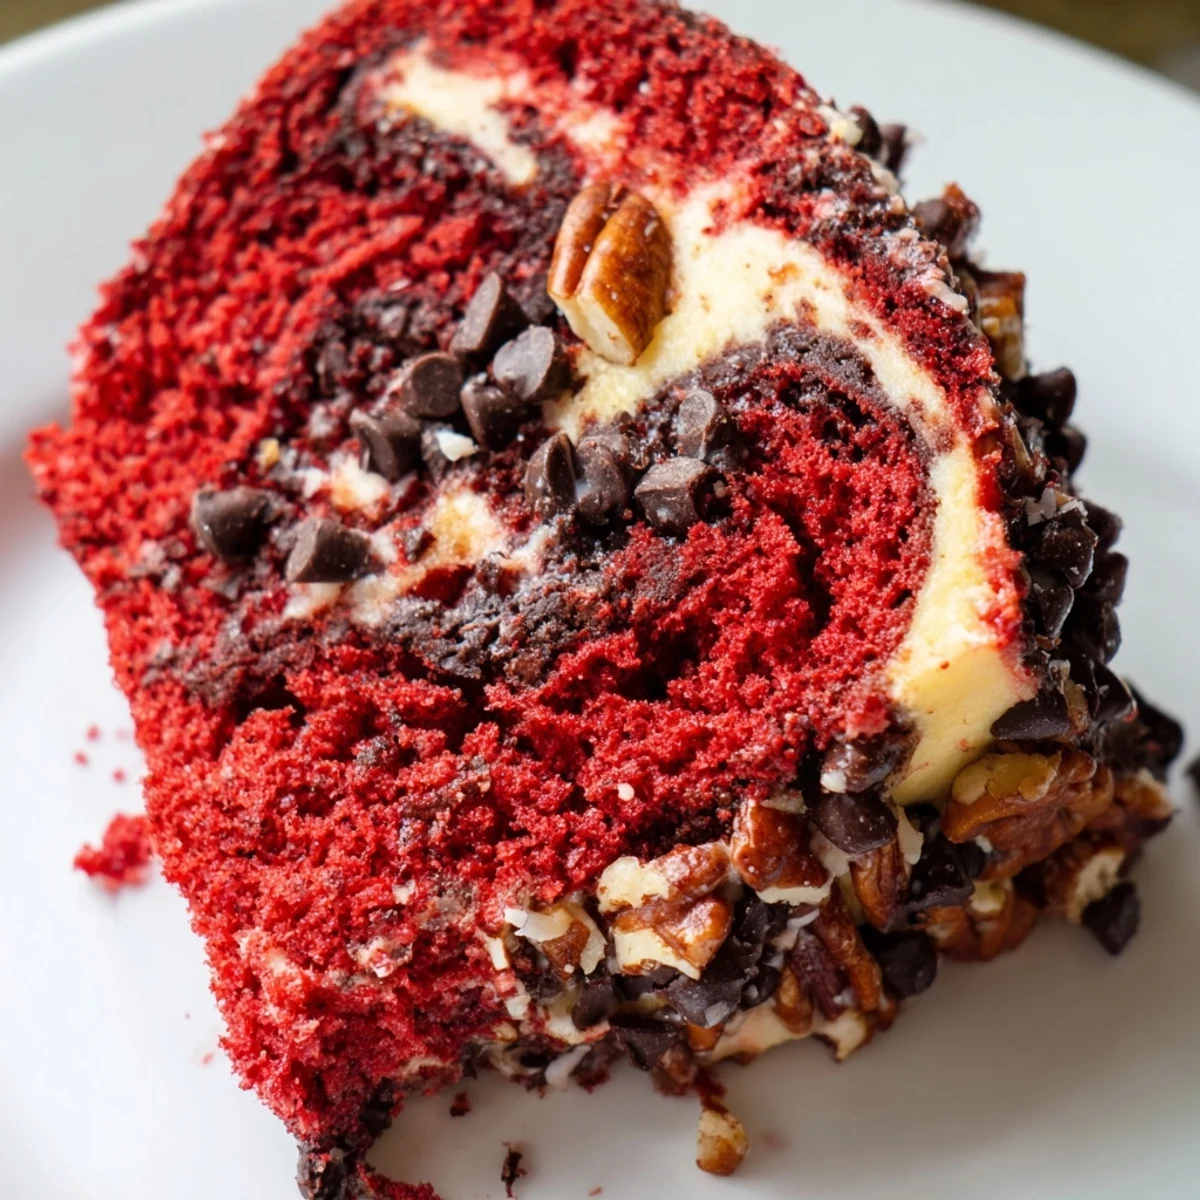
The first time I pulled this cake from the oven, I actually thought something had gone terribly wrong. The surface was cracked and uneven, with deep fissures running through the cream cheese swirls like someone had shaken the pan halfway through baking. Then I took a bite and understood exactly why this chaotic beauty earned its name.
I made this for my sister's birthday last winter when she requested something red velvet but different. Watching her friends' eyes widen as they saw the cracked, marbled surface was half the fun. The other half was how everyone went silent after that first bite, forks hovering over their plates, suddenly unwilling to waste time on conversation between mouthfuls.
Ingredients
- Red velvet cake mix: The box mix creates a reliable, tender base that lets the cream cheese swirl really shine without overpowering it
- Buttermilk: This adds a subtle tang and keeps the cake incredibly moist, creating the perfect backdrop for those rich cream cheese pockets
- Cream cheese and butter: Room temperature is non-negotiable here—cold ingredients will leave you with lumpy swirls instead of smooth, ribbons throughout
- Powdered sugar: Sift it if you can, though I've skipped this step in a hurry and the swirl still turned out beautifully smooth
- Chocolate chips: Semi-sweet provides just enough bitterness to balance the sweetness, but milk chocolate works if that's your preference
- Pecans and coconut: These add texture and nuttiness, but feel free to skip either based on what your family will actually eat
Instructions
- Prep your pan and oven:
- Preheat oven to 350°F (175°C) and generously grease a 9x13 inch (23x33 cm) baking pan, getting into all the corners. The cake really climbs up the sides, so thorough greasing prevents any sticking disasters later.
- Whisk together the cake batter:
- In a large bowl, combine the red velvet cake mix, eggs, vegetable oil, buttermilk, and vanilla extract. Mix until completely smooth—the batter will be thinner than you expect, which is exactly what you want.
- Spread the batter:
- Pour the cake batter evenly into your prepared pan, using a spatula to nudge it into the corners. The thin layer helps create those dramatic fault lines as the cake bakes and rises unevenly.
- Make the cream cheese swirl:
- In a separate bowl, beat together the softened cream cheese and butter until creamy and completely combined. Add the powdered sugar and vanilla, beating until fluffy and smooth—no lumps allowed.
- Add the earthquake effect:
- Drop spoonfuls of the cream cheese mixture randomly over the cake batter. Don't try to cover everything—those exposed patches of red batter are what make the final cake so striking.
- Swirl gently:
- Using a knife or skewer, gently drag through both batters in a figure-eight motion. Don't overthink it or over-swirl; those messy, imperfect marbles are exactly what you're after.
- Scatter the toppings:
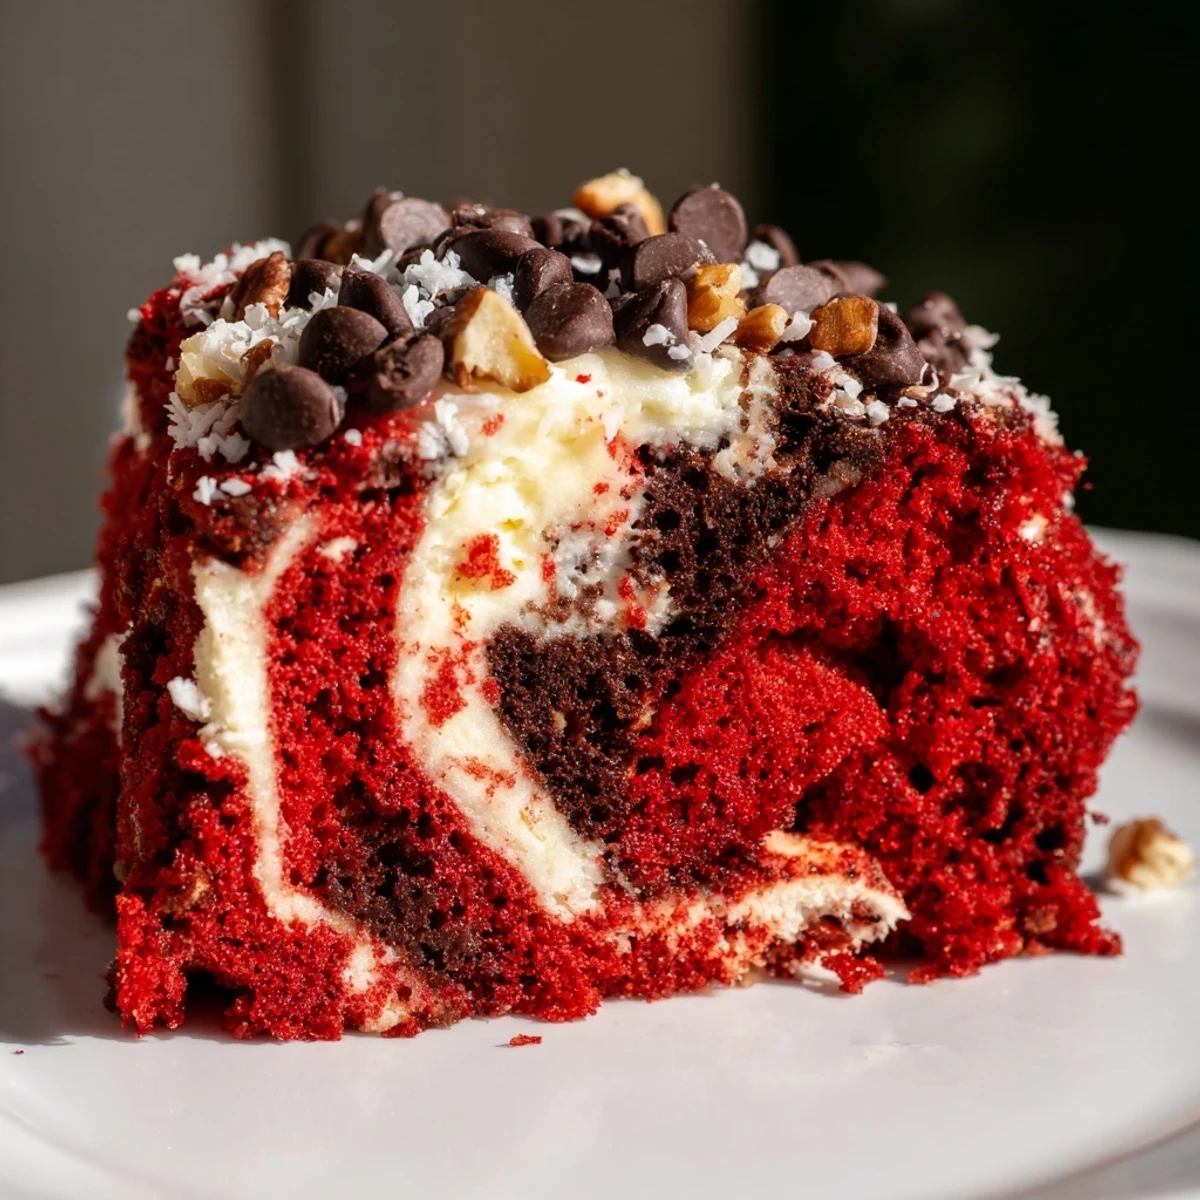
- Sprinkle the chocolate chips, chopped pecans, and coconut evenly over the top. Press them lightly into the batter so they don't all roll off while the cake bakes.
- Bake until mostly set:
- Bake for 38–42 minutes until the center is mostly set but still jiggles slightly when you gently shake the pan. Those gooey spots are the whole point, so resist the urge to bake longer.
- Let it rest before slicing:
- Cool in the pan for at least 30 minutes before serving. The cream cheese needs time to set slightly, otherwise you'll end up with delicious but messy slices.
 Save to Pinterest
 This has become my go-to when I need to bring dessert somewhere because it travels so well. I carried a whole pan to a potluck last summer, and by the time I arrived, the car smelled like a bakery. My friend took one look at the cracked surface and asked what happened, but after one piece, she was asking for the recipe instead.
Making It Your Own
I've played around with different mix-ins based on what I have in the pantry. White chocolate chips create a sweeter, more elegant version, while walnuts add earthiness that some people actually prefer over pecans. The beauty is in the experimentation.
Serving Suggestions
Temperature changes this cake completely. Warm, it's intensely gooey and almost pudding-like in the cream cheese pockets. Chilled, it becomes firmer and easier to slice cleanly, which I prefer for serving a crowd. Both ways are equally perfect.
Storage and Make-Ahead Tips
This cake actually tastes better on day two, once the flavors have had time to mingle and the cream cheese has fully set. Cover it tightly and store at room temperature for up to three days, though it rarely lasts that long in my house.
- Wrap individual slices in plastic and freeze for up to a month
- Bring frozen slices to room temperature or warm them in the microwave for 30 seconds
- The cream cheese swirl stays creamy even after freezing, which still amazes me
 Save to Pinterest
 There's something deeply satisfying about a dessert that embraces its imperfections. This cake turns mistakes into magic, which might be why it's become one of my absolute favorite things to bake.
Recipe FAQs
- → Why is it called earthquake cake?
-
The name comes from its distinctive cracked appearance that resembles earthquake fault lines. As the heavy cream cheese mixture sinks into the batter during baking, it creates dramatic fissures and crevices throughout the dessert.
- → Can I make this cake from scratch instead of using a mix?
-
Absolutely. You can substitute the box mix with your favorite homemade red velvet cake recipe. Just ensure you have approximately 4 cups of batter to maintain the proper ratio with the cream cheese topping.
- → How do I know when it's done baking?
-
The center should be mostly set but still slightly gooey. A few moist spots are perfectly fine and actually desirable. Avoid overbaking, as this will reduce the signature texture that makes this dessert special.
- → Can I freeze this dessert?
-
Yes, it freezes well. Cool completely, wrap tightly in plastic and foil, then freeze for up to 3 months. Thaw overnight in the refrigerator before serving. For best results, add fresh toppings after thawing.
- → What other mix-ins can I use?
-
Try white chocolate chips, chopped walnuts, or butterscotch chips. For extra indulgence, add a drizzle of caramel sauce or sprinkle with sea salt before baking. The possibilities are endless.
