 Save to Pinterest
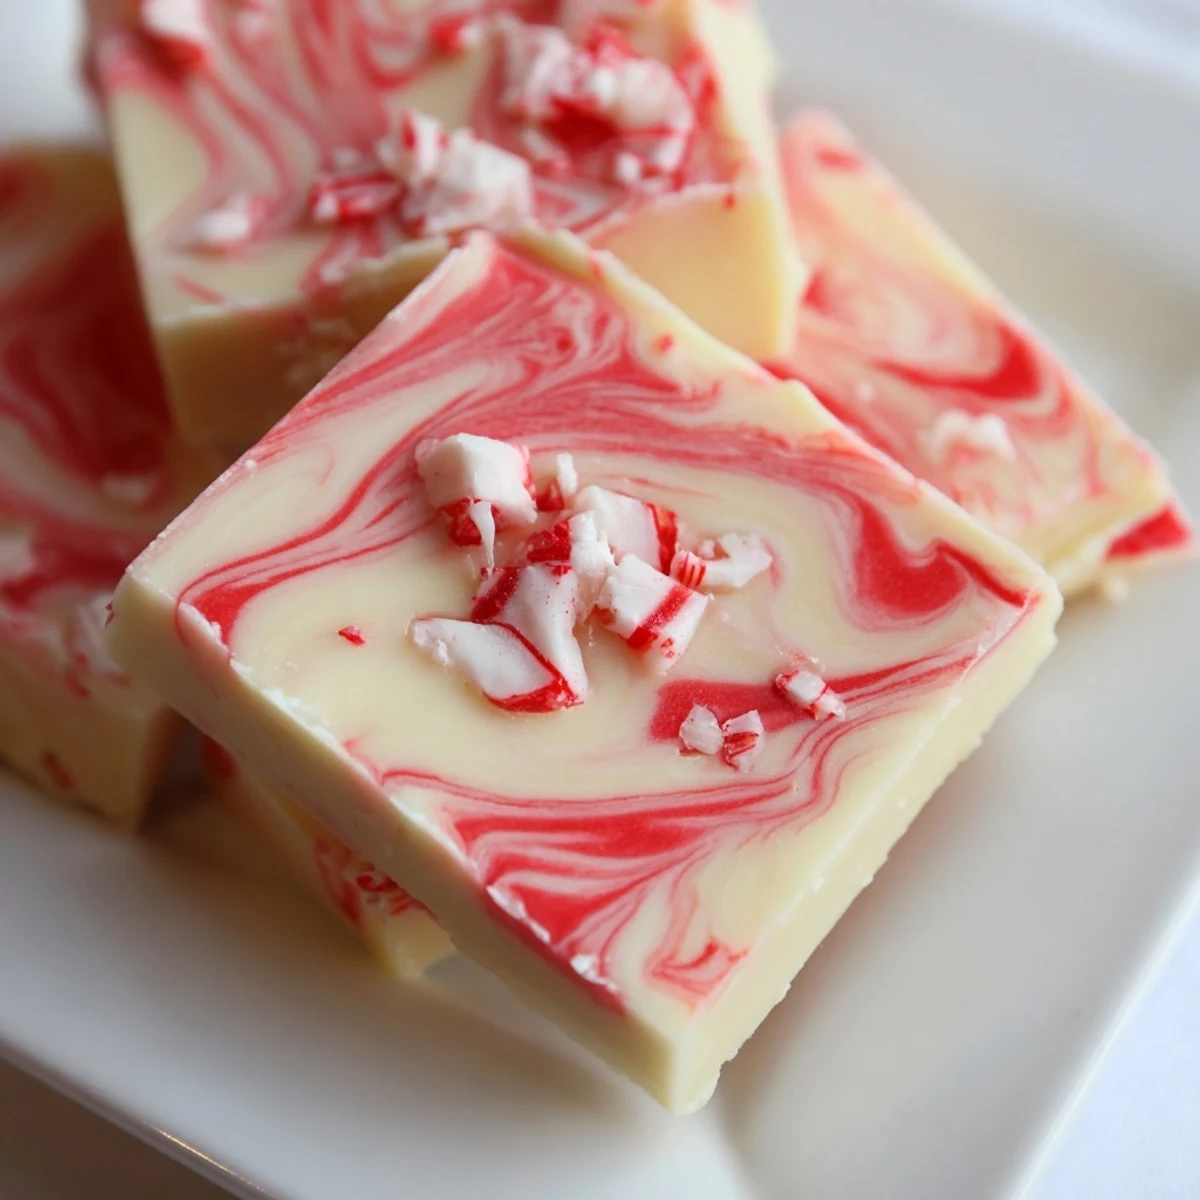
 This delightful confection combines smooth white chocolate with refreshing peppermint flavor, creating beautiful red and white marble patterns throughout. The process involves melting together white chocolate chips with sweetened condensed milk and butter, then swirling in a portion tinted with red food coloring. Finished with a generous sprinkling of crushed candy canes, each piece delivers a perfect balance of creamy sweetness and cool minty freshness.
The entire preparation takes just 15 minutes, plus chilling time to set. With 25 pieces yielding only 130 calories each, this treat offers a modest portion size for holiday indulging. The fudge keeps beautifully in the refrigerator for up to two weeks, making it ideal for advance preparation during busy festive seasons.
The first time I made peppermint fudge was actually a happy accident—Id picked up white chocolate chips instead of semi-sweet and decided to just go with it. That swirl of red through the cream looked like ribbon candy my grandmother used to hang on her tree. Now its the one thing my coworkers actually ask me to bring to the holiday potluck every December.
Last year I made three batches because the first one vanished before our family dinner even started. My aunt said she hid a piece in her purse to take home, which I consider the highest possible compliment. There is something about that candy cane crunch that makes people nostalgic for childhood holidays.
Ingredients
- White chocolate chips: Use real white chocolate not white baking chips—the cocoa butter makes all the difference in texture and melting behavior
- Sweetened condensed milk: This creates the silky fudge structure and eliminates any graininess that can happen with traditional recipes
- Unsalted butter: Just a little fat keeps the fudge from setting too hard and adds a slight savory note
- Peppermint extract: Start with half a teaspoon and add more if you love that intense minty experience
- Red gel food coloring: Gel coloring keeps the fudge from becoming watery like liquid food dye can
- Crushed peppermint candies: Crush these right before using so they stay crunchy and dont absorb moisture from the air
Instructions
- Prep your pan perfectly:
- Line an 8x8 inch pan with parchment paper letting the edges hang over like handles—this makes lifting the fudge out so much easier later
- Melt together the base:
- Combine white chocolate chips condensed milk and butter in a saucepan over low heat stirring constantly until everything is melted and silky smooth
- Add the peppermint essence:
- Remove from heat immediately and stir in the peppermint extract—the flavor will bloom as it cools
- Create your white layer:
- Pour about three quarters of the mixture into your prepared pan and spread it evenly with a spatula
- Make the red swirl:
- Add a few drops of red gel coloring to the remaining fudge in the pan and stir until fully incorporated
- Swirl together:
- Drop spoonfuls of the red fudge over the white layer then run a knife through them in a figure eight pattern—do not over swirl or you will lose the marble effect
- Add the crunch:
- Sprinkle crushed peppermint candies over the top and press them gently into the surface so they stick
- Chill until set:
- Refrigerate for at least two hours until the fudge is firm to the touch
- Cut and serve:
- Lift the whole block out using the parchment handles and cut into small squares with a sharp knife
 Save to Pinterest
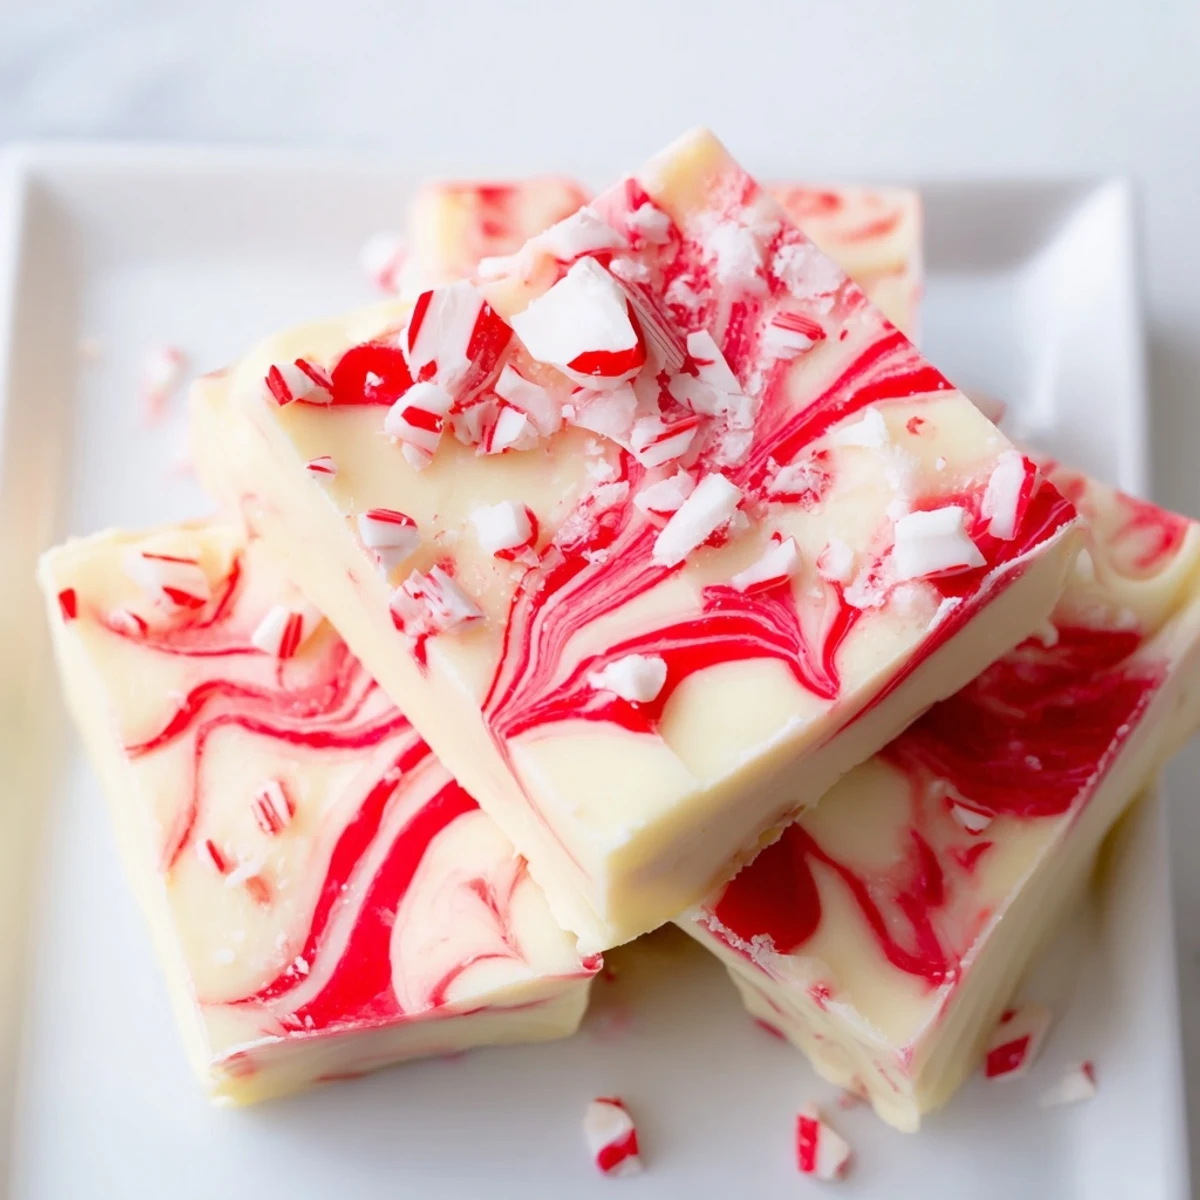
 This fudge has become part of our holiday ritual in a way I never expected. My niece now asks to help with the swirling part every year and honestly hers looks better than mine.
Making Ahead
You can make this fudge up to two weeks before serving which makes it perfect for holiday gifting. Wrap the uncut slab tightly in plastic then foil and keep it in the refrigerator until you are ready to cut and package it.
Flavor Variations
Swap the white chocolate for dark or milk chocolate if that is more your style—though the red swirl will show up differently on darker bases. Try orange extract with orange coloring for a creamsicle version or use almond extract with green food coloring for a winter forest look.
Packaging And Gifting
Cut the fudge into small squares because a little goes a long way with something this rich. Layer pieces between parchment paper in a tin or box to prevent them from sticking together.
- Add a pretty ribbon or handwritten tag for a personal touch
- Keep chilled until gifting especially if transporting in warm weather
- Include the refrigeration note on your gift tag
 Save to Pinterest
 There is something joyful about cutting into that first slice and seeing the swirl pattern—each piece looks like a tiny edible marble sculpture. Hope this brings some sweetness to your holiday table.
Recipe FAQs
- → How long does the fudge need to chill before serving?
-
Refrigerate the fudge for at least 2 hours until completely firm. For optimal cutting texture, you can chill overnight, then bring to room temperature for 5-10 minutes before slicing.
- → Can I use peppermint oil instead of extract?
-
Yes, peppermint oil provides a more intense flavor. Use only a few drops rather than the full teaspoon of extract, as oils are significantly more concentrated. Start with 3-4 drops and adjust to taste.
- → What's the best way to achieve clean swirls?
-
Drop the red mixture in small spoonfuls rather than pouring. Use a knife or skewer to gently drag through the layers in one continuous motion rather than stirring, which keeps the colors distinct and marbled.
- → How should I store the finished fudge?
-
Keep in an airtight container in the refrigerator for up to 2 weeks. Place parchment paper between layers if stacking. The fudge can also be frozen for up to 3 months—thaw overnight in the refrigerator before serving.
- → Can I make this with milk or dark chocolate instead?
-
Absolutely. Simply substitute the white chocolate chips with milk or dark chocolate. The peppermint flavor pairs wonderfully with both. Note that dark chocolate will create a more dramatic visual contrast with the red swirl.
- → Why did my fudge turn out grainy?
-
Grainy texture usually results from overheating the chocolate or using low-quality white chocolate. Always melt over low heat, stirring constantly, and remove from heat as soon as smooth. High-quality white chocolate with real cocoa butter produces the silkiest results.
