 Save to Pinterest
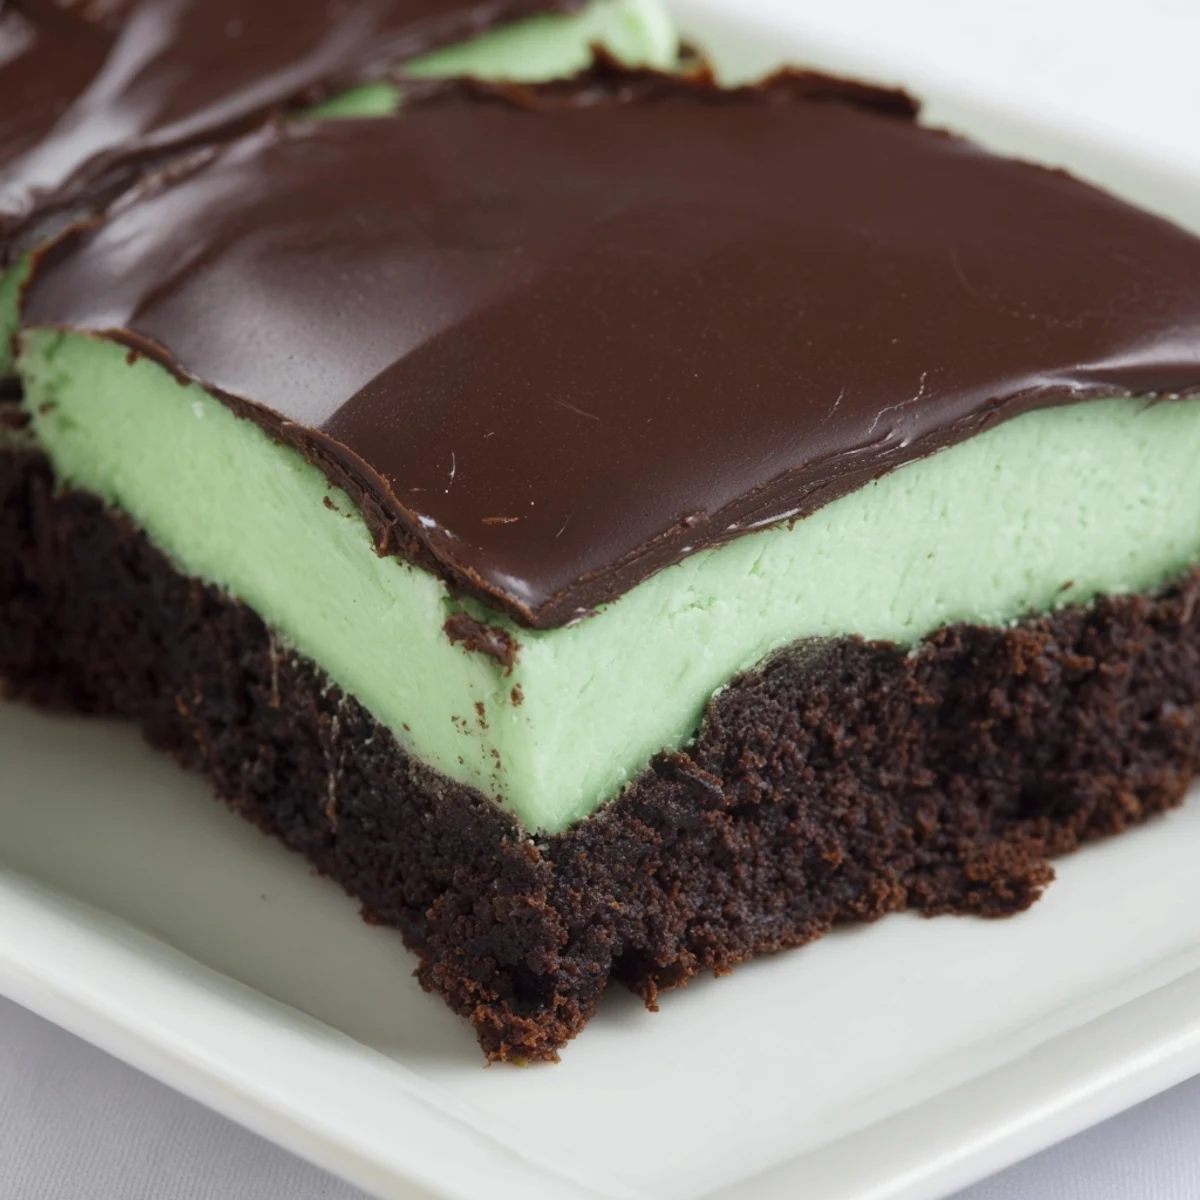
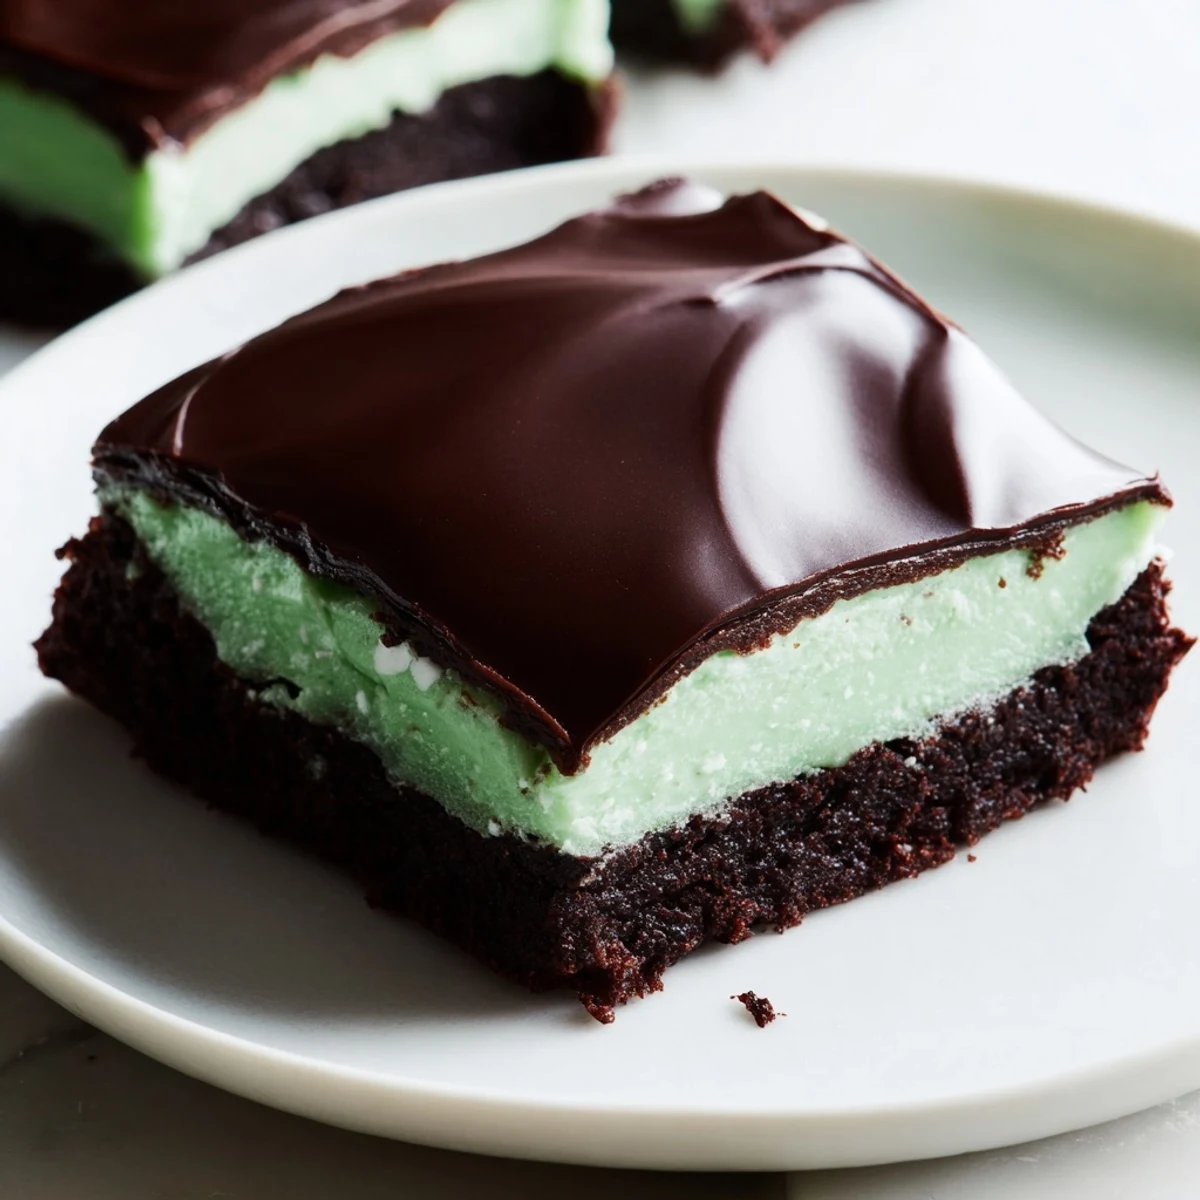
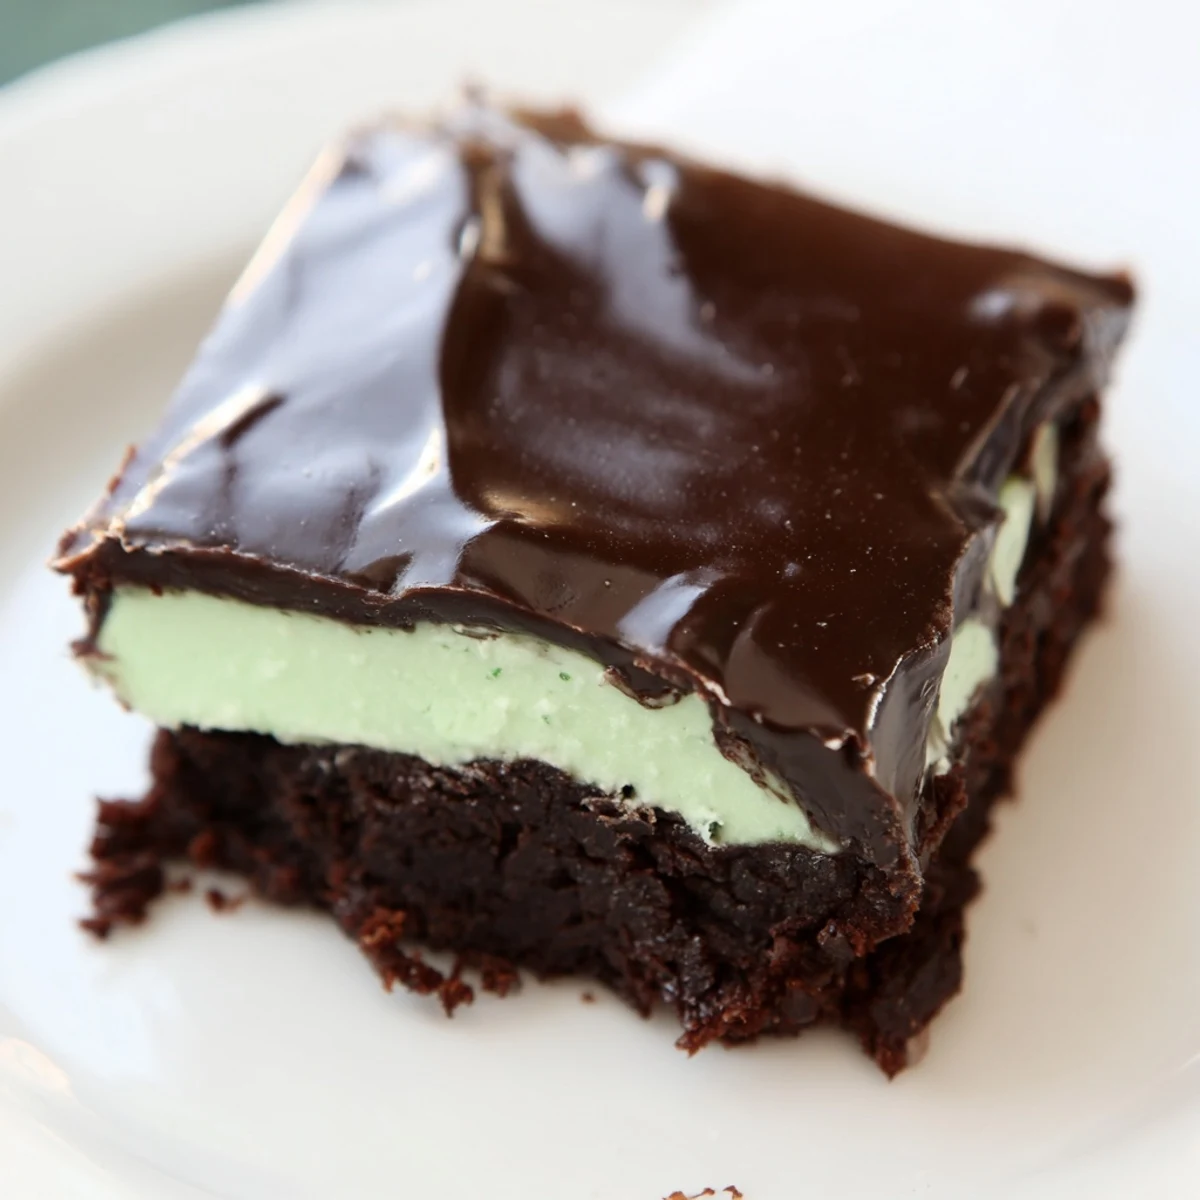
 These indulgent brownies combine rich chocolate with a cool mint cream layer, topped by a velvety chocolate ganache. The base is fudgy and moist, baked to perfection, then chilled with a smooth mint frosting that adds a refreshing contrast. The final touch is a glossy ganache poured over the mint layer, creating a harmonious balance of flavors. Perfect to prepare ahead and store chilled, they deliver a delightful mint-chocolate experience in every bite.
The first time I made these for a St. Patrick's Day party, my friend Sarah took one bite and actually groaned out loud. She's not even a mint person, but she couldn't stop eating them. That's when I knew this wasn't just another holiday dessert—it was something special.
Last March, I made three batches for different events and learned something new each time. The first batch I cut too soon and the ganache smeared everywhere. By the third batch, I'd figured out that patience really is the secret ingredient here—letting each layer set properly makes all the difference between messy and magnificent.
Ingredients
- Unsalted butter: I keep mine at room temperature for the mint layer but melt it for the brownies—this small detail affects the texture significantly
- Granulated sugar: Creates that crackly, shiny top on brownies that everyone loves
- Large eggs: Room temperature eggs incorporate better and give you that fudgy texture we're after
- Vanilla extract: Don't skip this even though we're using peppermint—it rounds out the chocolate flavor
- Unsweetened cocoa powder: Dutch process gives a deeper, richer chocolate flavor
- All-purpose flour: Just enough to hold everything together without making them cakey
- Salt: Enhances both chocolate and mint flavors—never underestimate salt in desserts
- Baking powder: Gives them just enough lift without losing that dense, fudgy texture
- Softened butter for mint layer: Must be truly soft or you'll get lumps in your cream
- Powdered sugar: Dissolves perfectly into the mint layer without grittiness
- Whole milk: Thins the mint cream just enough for spreading
- Peppermint extract: Start with half teaspoon and taste—this stuff is potent
- Green food coloring: A few drops goes a long way, and nobody will judge you if you skip it
- Heavy cream: The higher fat content makes your ganache silky and luxurious
- Semisweet chocolate: Chop it yourself for even melting, or use chips if you're in a hurry
Instructions
- Get everything ready:
- Preheat your oven to 350°F and line an 8-inch square pan with parchment paper. Leave those edges hanging over—it'll save you so much trouble later when lifting the brownies out.
- Make the brownie batter:
- Whisk melted butter and sugar until they're friends, then add eggs and vanilla until everything's smooth and glossy. Sift in your dry ingredients and fold gently—overmixing makes tough brownies, and nobody wants that.
- Bake to perfection:
- Pour the batter into your prepared pan and smooth the top. Bake 25 to 30 minutes, checking for moist crumbs on a toothpick. Underbaked is better than overbaked here—they'll keep cooking in the pan.
- Let them cool completely:
- This is the hard part—walk away and let them cool in the pan. Warm brownies will melt your mint layer into a sad, swirly mess. Trust me, I learned this the dramatic way.
- Whip up the mint cream:
- Beat softened butter until it's creamy, then gradually add powdered sugar, milk, and peppermint extract. Add food coloring until you reach your desired green. Spread it gently over those completely cool brownies.
- Chill out:
- Refrigerate for at least 30 minutes so the mint layer firms up. This step makes adding the ganache so much easier and gives you those clean, distinct layers.
- Make the ganache:
- Heat cream until it's just simmering, then pour over chopped chocolate. Wait two minutes—this feels like forever but it's crucial—then whisk until it's glossy and smooth. Let it cool slightly before using.
- Final assembly:
- Spread that gorgeous ganache over your chilled mint layer. Refrigerate again for at least 30 minutes until everything is set. Use the parchment overhang to lift the whole thing out, then cut into squares with a warm knife.
 Save to Pinterest
 My sister requested these for her birthday instead of cake. She said they reminded her of the thin mint cookies we loved as Girl Scouts, but somehow even better. Now they're her March birthday tradition, and honestly, nobody's complaining about that.
Getting the Layers Right
The key to restaurant style layers is patience. Each layer needs to set completely before adding the next. I keep a toothpick handy and test the mint layer's center—if it's still soft, give it more time. Rushing this step is the difference between impressive and disappointing.
Making Ahead
These brownies actually taste better on day two. The flavors have time to meld and the texture becomes even more fudgy. I make them the night before serving and store them in the refrigerator. Just bring them to room temperature for 20 minutes before serving—you'll taste the difference.
Serving Suggestions
A warm knife is your best friend here for picture perfect cuts. Run it under hot water, dry it off, and slice. Wipe clean between cuts. Serve these on a pretty platter because they deserve to be shown off.
- Dust with powdered sugar through a shamrock stencil for extra holiday flair
- Pair with coffee or a glass of cold milk
- They're rich, so small squares go a long way
 Save to Pinterest
 These brownies have become my go to whenever I need to bring something that makes people stop and ask for the recipe. They're that perfect balance of impressive and actually doable.
Recipe FAQs
- → What type of chocolate is best for the ganache?
-
Semisweet chocolate works well as it balances sweetness with deep cocoa notes, complementing the mint layer perfectly.
- → Can I use a different mint flavoring?
-
Yes, peppermint extract is common, but crème de menthe liqueur can be substituted for a subtle, boozy minty twist.
- → How long should the brownies chill before adding ganache?
-
Chill the mint layer for at least 30 minutes to set properly before spreading the ganache on top.
- → What is the best way to prevent brownies from sticking to the pan?
-
Line the pan with parchment paper leaving an overhang to easily lift the brownies out once cooled.
- → How can I store these brownies to maintain freshness?
-
Store covered in the refrigerator for up to five days to keep layers firm and flavors fresh.
