 Save to Pinterest
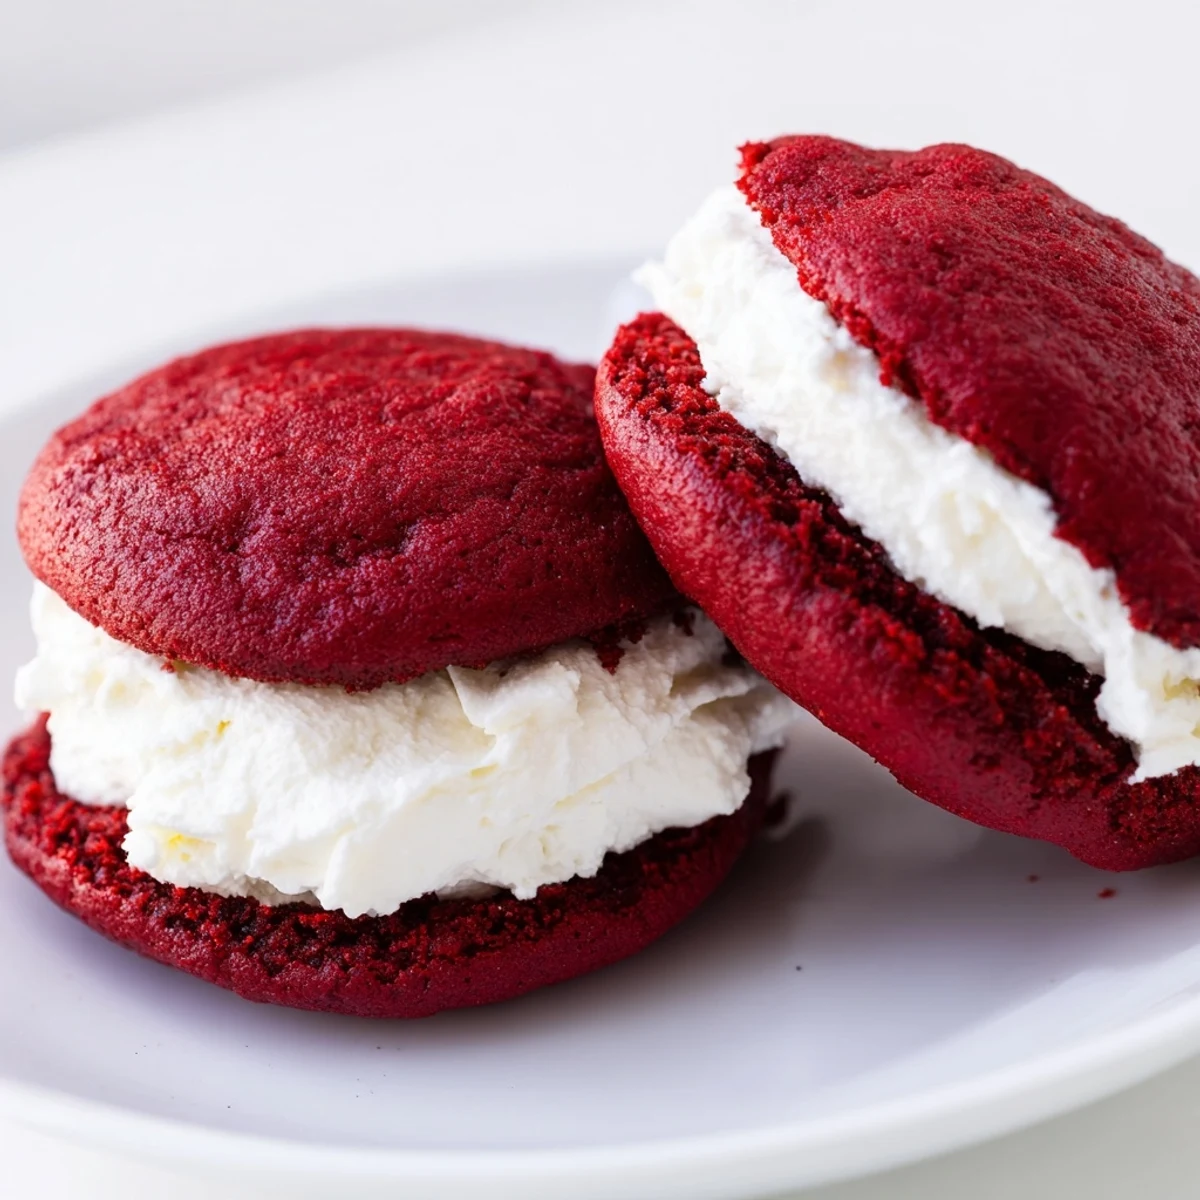
 Experience the perfect harmony of soft, cake-like red velvet cookies sandwiching a fluffy marshmallow cream filling. These tender whoopie pies offer a nostalgic charm and a balance of rich cocoa and sweet vanilla flavors. Preparing involves mixing a precise blend of flour, cocoa, and buttermilk for a moist texture, while the filling combines butter, powdered sugar, and marshmallow fluff for a smooth, airy spread. Baked to a delicate finish, cooled, and paired by size, they create a delightful handheld dessert that satisfies and delights.
The first time I attempted red velvet whoopie pies, my kitchen looked like a crime scene. I had squeezed the food coloring bottle with way too much enthusiasm, and bright red splatters decorated my white apron, the counter, and somehow even the ceiling. My roommate walked in, stopped dead in her tracks, and just stared before bursting into laughter. Despite the colorful chaos, those sandwich cookies disappeared within hours at our apartment warming party.
My grandmother always said red velvet was magic because it looked fancy but came from humble ingredients. She never made whoopie pies herself, but I like to think she would have approved of this playful mashup. Last Christmas, I made a triple batch for my office cookie exchange, and somehow they vanished faster than any other treat on the table.
Ingredients
- 2 cups all-purpose flour: The foundation that gives these cookies their structure without becoming tough or dry
- 2 tablespoons unsweetened cocoa powder: Just enough to deepen the flavor without overwhelming the classic red velvet taste
- 1 teaspoon baking powder and ½ teaspoon baking soda: The duo that creates those signature puffy, cake-like rounds that bake up perfectly domed
- ½ cup unsalted butter: Room temperature butter is non-negotiable here because it needs to incorporate air for that tender crumb
- 1 cup granulated sugar: Sweetens the batter while helping create that slightly crisp exterior that gives way to softness inside
- 1 large egg: Binds everything together and adds richness
- 1 teaspoon vanilla extract: Pure vanilla makes all the difference in a recipe with such delicate flavors
- 1 tablespoon red food coloring: Gel coloring gives you that vibrant crimson without adding excess liquid
- ½ cup buttermilk: The secret ingredient that adds subtle tang and keeps these cookies incredibly moist
- ½ cup unsalted butter for filling: Again, softened to room temperature so it whips up into silky perfection
- 1 ½ cups powdered sugar: Sifted to prevent any lumps in your smooth marshmallow cream
- 1 jar marshmallow crème: This stuff is pure magic and creates that signature fluffy, gooey texture
- 1 teaspoon vanilla extract for filling: Reinforces the vanilla notes in the cookies
- Pinch of salt: Balances all that sweetness and makes the flavors pop
Instructions
- Get your oven ready:
- Preheat to 350°F and line two baking sheets with parchment paper so nothing sticks and cleanup becomes a breeze
- Whisk the dry ingredients:
- In a medium bowl, combine flour, cocoa powder, baking powder, baking soda, and salt until everything is evenly distributed
- Cream the butter and sugar:
- Beat them together for 2 to 3 minutes until the mixture turns pale and fluffy, which incorporates air for lighter cookies
- Add the egg and vanilla:
- Beat until thoroughly combined, scraping down the sides to catch any butter that escaped
- Make it red:
- Pour in the food coloring and mix until the batter is uniformly colored
- Combine wet and dry:
- Alternate adding the flour mixture and buttermilk in three additions, starting and ending with flour, mixing only until just combined
- Scoop the batter:
- Drop 24 evenly sized mounds onto your prepared sheets, leaving about 2 inches between each one
- Bake to perfection:
- Slide into the oven for 10 to 12 minutes until the tops spring back when lightly touched
- Cool completely:
- Let them rest on the baking sheets for 5 minutes before moving to a wire rack because warm cookies and marshmallow filling do not get along
- Make the filling:
- Beat the butter until smooth, gradually add powdered sugar, then fold in marshmallow crème, vanilla, and salt until silky
- Assemble the pies:
- Pair cookies by size, spread or pipe filling onto the flat side of one, and gently press its partner on top
 Save to Pinterest
 My sister-in-law requested these for her birthday instead of a traditional cake, saying they felt more special and whimsical. Watching guests reach for seconds and thirds, some claiming they usually do not even like red velvet, made me realize sometimes the most unpretentious desserts create the biggest impact.
Making Them Ahead
You can bake the cookies up to two days in advance and store them in an airtight container at room temperature. The filling comes together quickly, so assemble them the day you plan to serve for the freshest texture and that perfect soft cake to fluffy cream ratio.
Customizing Your Filling
Sometimes I mix in softened cream cheese for a tangier version that cuts through the sweetness. Other times I fold in chopped chocolate or swirl in raspberry jam for extra flavor dimensions that make people pause and try to guess what makes them so special.
Serving Suggestions
These beauties shine at potlucks, bake sales, and holiday gatherings because they are already portioned and easy to grab. They also make incredible gifts wrapped in parchment paper and tied with baker's twine.
- Chill assembled pies for 15 minutes if you are transporting them anywhere
- Dust the tops with a little cocoa powder for an elegant finish
- Store them in the refrigerator if your kitchen runs particularly warm
 Save to Pinterest
 There is something joyfully nostalgic about red velvet whoopie pies that takes people back to simpler times. I hope these become part of your own collection of recipes that bring smiles and create memories.
Recipe FAQs
- → What makes the cookies soft and cake-like?
-
The combination of buttermilk, baking powder, and baking soda helps create a tender, moist texture in the cookies.
- → How do I achieve the vibrant red color?
-
Using liquid or gel red food coloring evenly mixed into the batter ensures a bright and consistent red hue.
- → Can I substitute the marshmallow filling?
-
Yes, you can add softened cream cheese to the marshmallow mixture for a tangier, richer filling.
- → What is the best way to store these sweets?
-
Keep assembled whoopie pies in an airtight container at room temperature for up to two days or refrigerate for longer freshness.
- → How do I prevent the cookies from becoming dry?
-
Do not overmix the batter and bake just until the cookies spring back lightly when touched; overbaking can dry them out.
