 Save to Pinterest
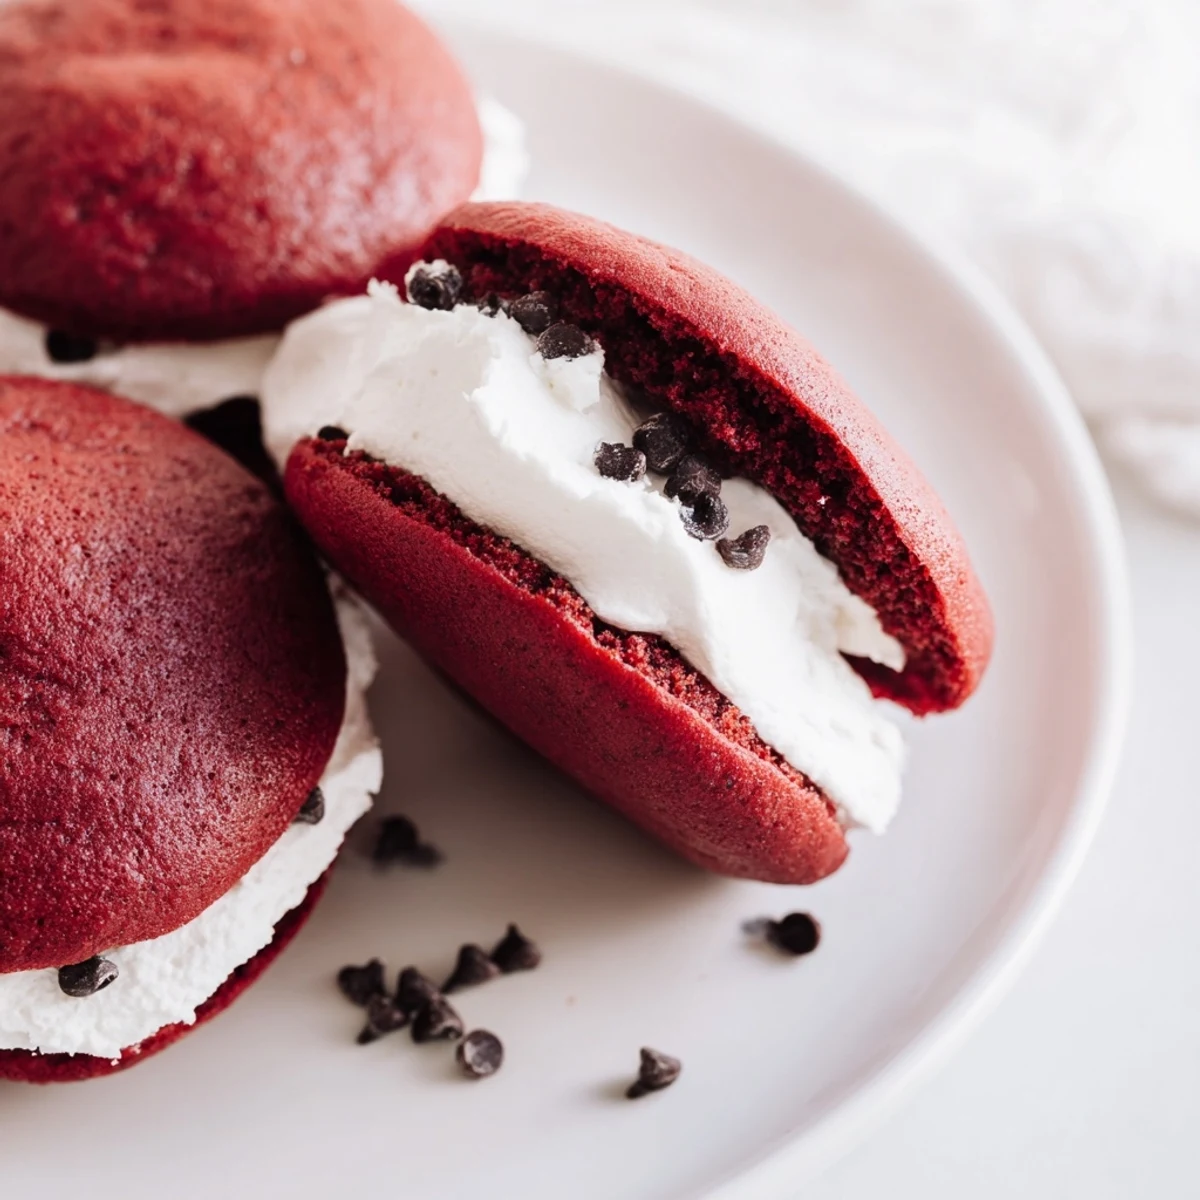
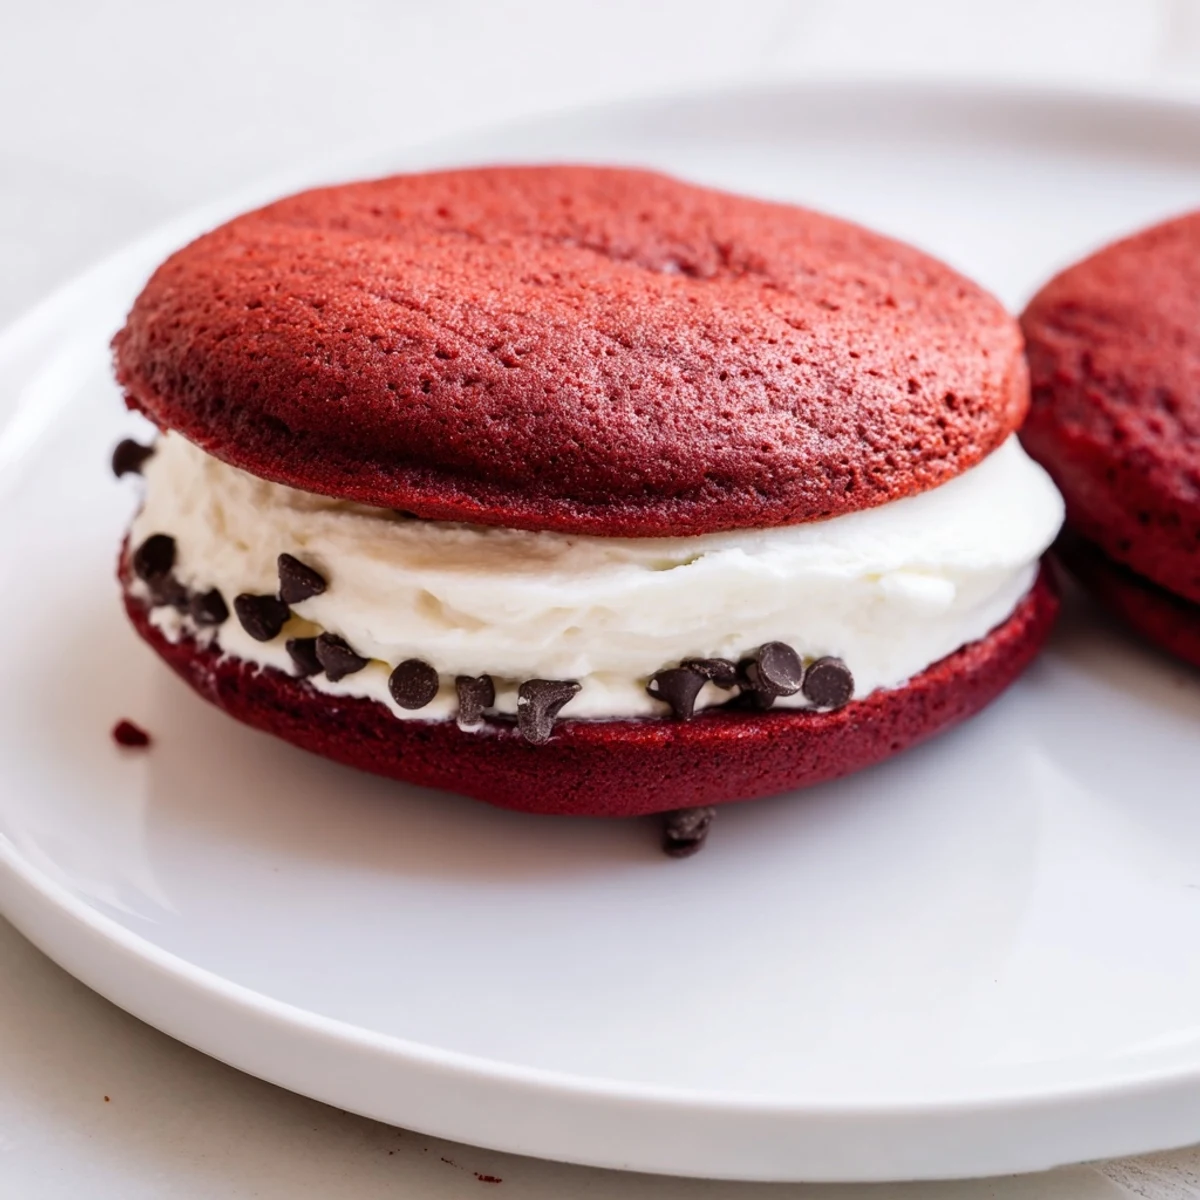
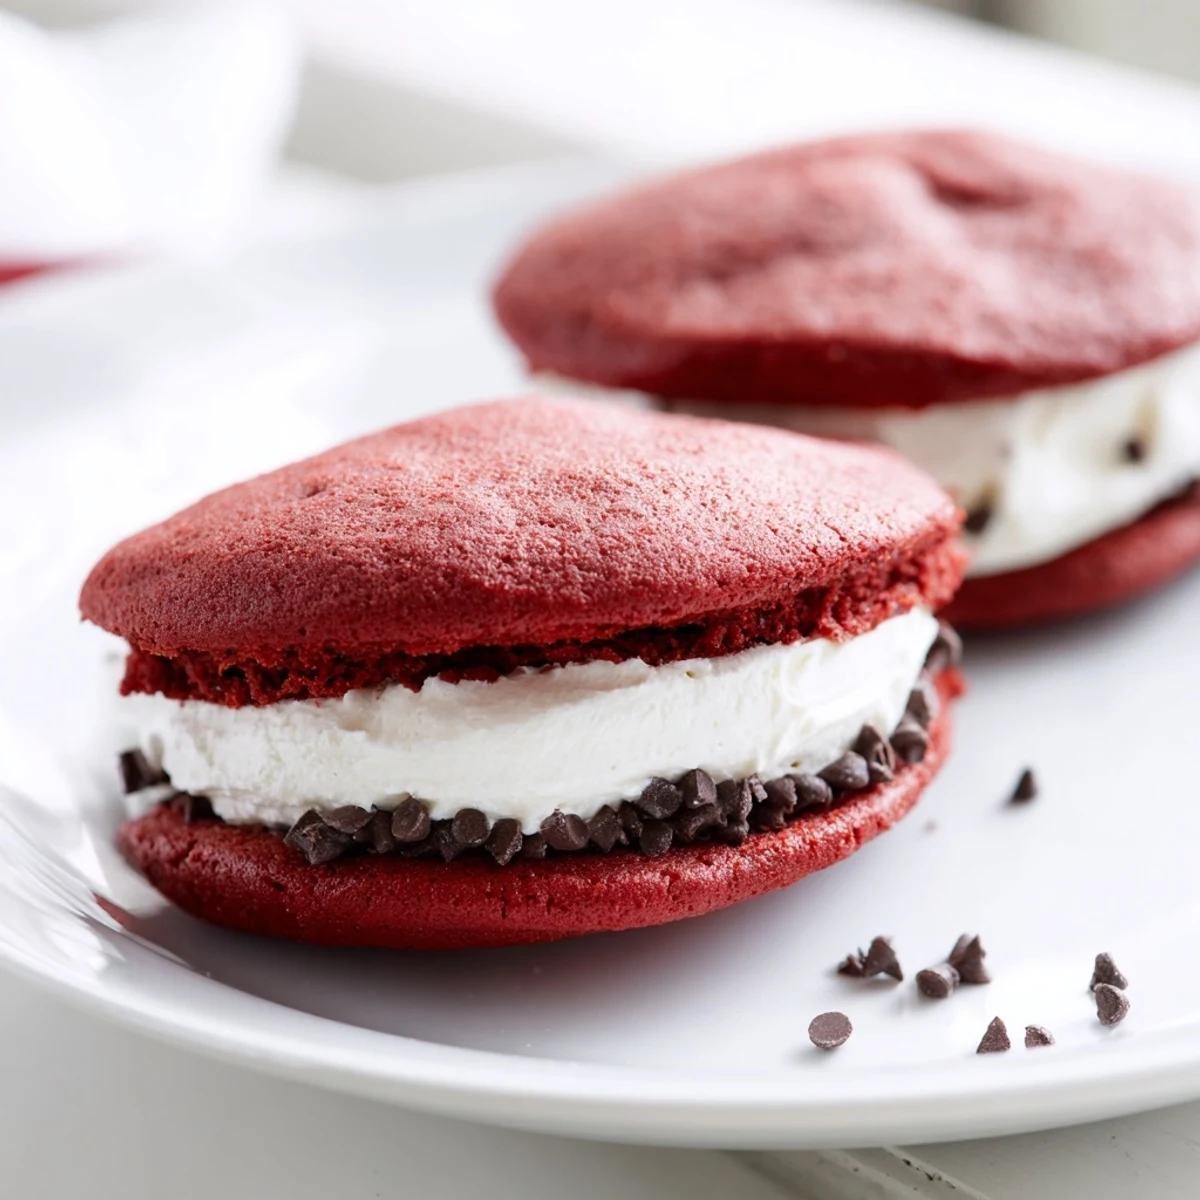
 Discover how to create soft, velvety red chocolate cakes that are baked to perfection. These cakes are paired with a fluffy, smooth marshmallow cream that adds a light and airy contrast. The delicate balance of cocoa, buttermilk, and red food coloring gives the cakes their signature texture and vibrant color. Assembling them into sandwiches creates a delicious, fun treat that’s perfect to enjoy fresh or chilled. Tips for substitutions and extra flair are included to customize this sweet delight.
The first time I made these whoopie pies, I accidentally dyed my kitchen counter bright pink. My roommate walked in, took one look at the scene, and asked if I'd started a bakery in our apartment. Those cookies disappeared faster than I could wash the dishes, and I've been making them ever since.
Last summer I brought a batch to a potluck and watched my friend Sarah's eyes widen after her first bite. She made me promise to teach her the recipe right then and there, and we spent the next hour huddled over my phone showing her how to pipe the filling just right.
Ingredients
- 2 cups all-purpose flour: The foundation that gives these cakes their soft, cake-like texture
- 2 tbsp unsweetened cocoa powder: Just enough to deepen the flavor without overpowering the classic red velvet taste
- 1 tsp baking powder and 1/2 tsp baking soda: This combo ensures the cakes rise properly and stay tender
- 1/2 tsp salt: Enhances all the flavors and balances the sweetness
- 1/2 cup unsalted butter, softened: Room temperature butter creates the perfect fluffy base
- 1 cup granulated sugar: Sweetens the cakes and helps create that signature tender crumb
- 1 large egg: Binds everything together while adding structure
- 1 tsp vanilla extract: Pure vanilla makes a noticeable difference in the final flavor
- 1 cup buttermilk, at room temperature: The secret ingredient that makes these cakes incredibly moist and tender
- 1 tbsp red food coloring: Gel coloring gives the most vibrant red, but liquid works too
- 1/2 cup unsalted butter, softened: For the filling, this creates a stable base for the marshmallow fluff
- 1 1/2 cups powdered sugar, sifted: Sifting prevents lumps and ensures silky smooth filling
- 1 jar marshmallow creme: The star of the filling, giving it that irresistible fluffy texture
- 1 tsp vanilla extract: Rounds out the filling flavor beautifully
- Pinch of salt: Balances the sweetness and makes the marshmallow flavor pop
Instructions
- Get your oven ready:
- Preheat your oven to 350°F and line two baking sheets with parchment paper. This setup prevents sticking and makes cleanup effortless.
- Whisk the dry ingredients:
- In a medium bowl, combine flour, cocoa powder, baking powder, baking soda, and salt. Give it a good whisk to ensure everything's evenly distributed.
- Cream the butter and sugar:
- Beat the softened butter and granulated sugar together for about 3 minutes until light and fluffy. This step is crucial for texture, so don't rush it.
- Add the egg and vanilla:
- Beat in the egg and vanilla extract until fully incorporated into the butter mixture. Scrape down the sides of the bowl to catch any pockets of butter.
- Make it red:
- Pour in the red food coloring and mix until the batter is uniformly colored. Watch as your kitchen starts to look like a baking experiment.
- Combine wet and dry:
- Alternate adding the dry ingredients and buttermilk, starting and ending with the dry ingredients. Mix until just combined, being careful not to overmix the batter.
- Scoop the cakes:
- Drop 24 evenly sized mounds onto your prepared baking sheets, spacing them 2 inches apart. A cookie scoop helps achieve uniform size.
- Bake to perfection:
- Bake for 10 to 12 minutes until the cakes spring back when lightly touched. Let them cool completely on a wire rack before filling.
- Make the marshmallow filling:
- Beat the butter until creamy, then add powdered sugar and beat until fluffy. Add the marshmallow creme, vanilla, and salt, beating until smooth and airy.
- Assemble your whoopie pies:
- Spread or pipe a generous tablespoon of filling onto the flat side of half the cakes. Top with remaining cakes to form sandwiches and press gently.
 Save to Pinterest
 My daughter helped me make these last Valentine's Day and declared them better than anything from a bakery. Now she asks for them every time friends come over, claiming they're her signature dessert even though I do most of the work.
Getting the Perfect Red
Gel food coloring delivers that rich, vibrant red without adding extra liquid to your batter. If you're using liquid coloring, you might need to reduce the buttermilk slightly to maintain the right consistency.
Making the Filling Your Own
Sometimes I fold in a handful of mini chocolate chips or roll the edges in rainbow sprinkles for birthday parties. The marshmallow filling is forgiving and holds up beautifully to these little additions.
Storage and Serving Tips
These whoopie pies actually taste better after sitting for a few hours, as the filling softens the cakes slightly. Keep them refrigerated in an airtight container for up to three days, but bring them to room temperature before serving.
- Bring refrigerated pies to room temperature 30 minutes before serving
- Place a piece of parchment paper between layers if stacking them
- The filling firms up slightly when chilled, making them easier to pack
 Save to Pinterest
 There's something magical about biting into that soft red velvet cake and hitting the cloud of marshmallow filling. These little treats have a way of making any ordinary day feel like a celebration.
Recipe FAQs
- → What gives the cakes their red color?
-
The vibrant red hue comes from the addition of red food coloring, which can be liquid or gel for a more intense shade.
- → Can I substitute buttermilk in the batter?
-
Yes, you can replace buttermilk with whole milk mixed with lemon juice or vinegar to achieve similar acidity and texture.
- → How do I know when the cakes are baked?
-
Bake until the cakes spring back lightly when touched, which usually takes about 10–12 minutes at 350°F (175°C).
- → What’s the best way to assemble the whoopie pies?
-
Spread or pipe a generous tablespoon of marshmallow filling onto the flat side of half the cakes, then top with the remaining cakes.
- → How should I store the finished pies?
-
Store in an airtight container in the refrigerator for up to three days to maintain freshness.
