 Save to Pinterest
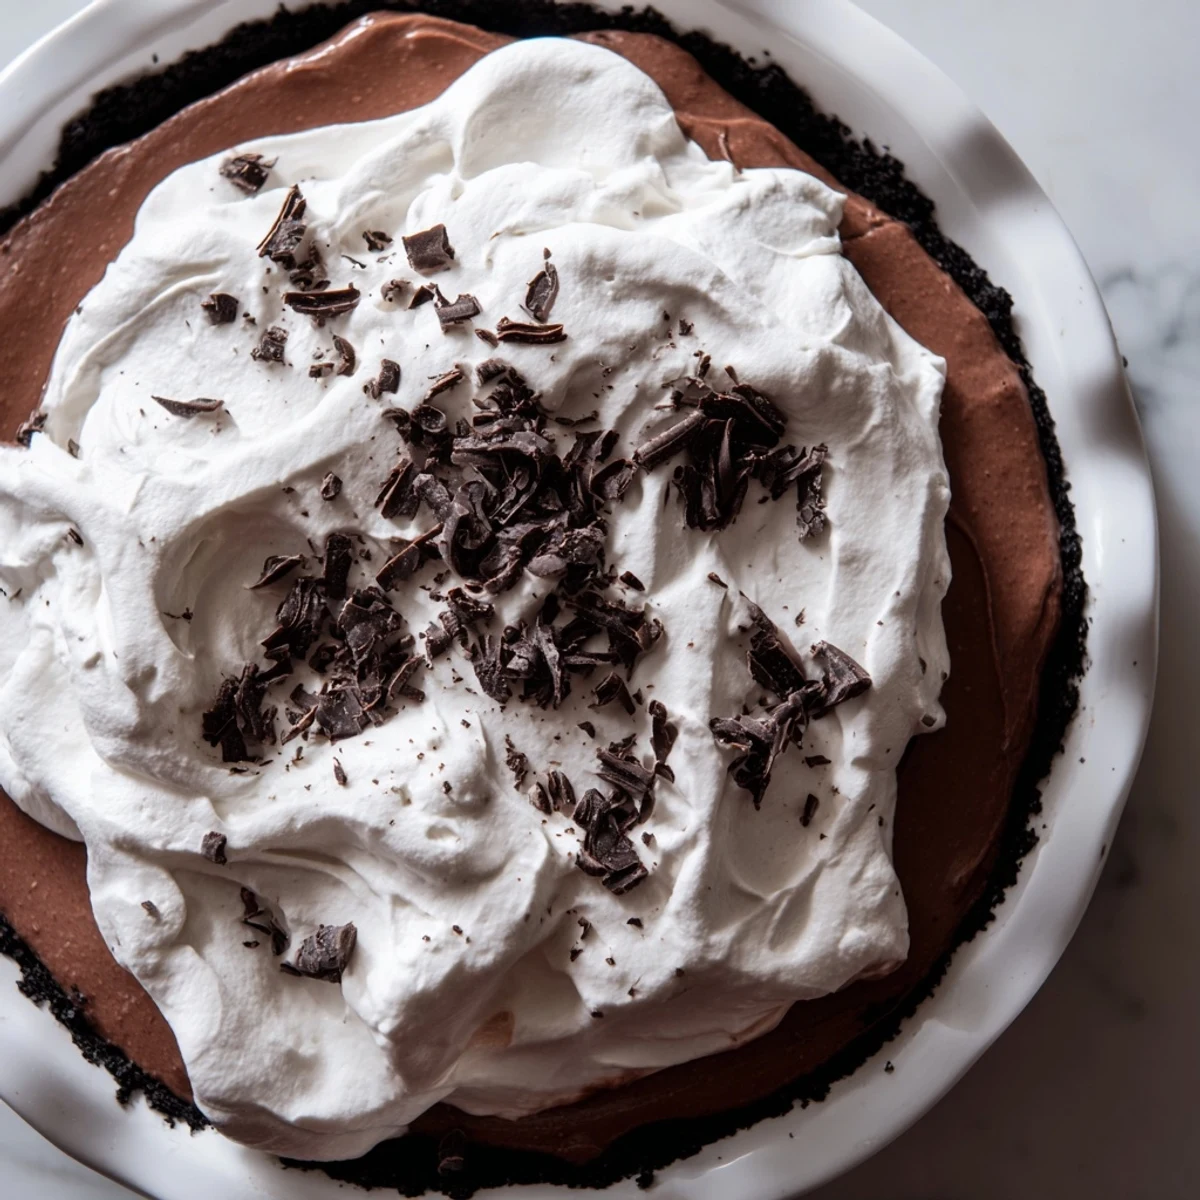
 This chocolate silk pie combines a crisp cookie crust with a rich, velvety bittersweet chocolate filling enhanced by butter, sugar, and eggs. The filling is chilled until set to achieve its smooth texture. Topped with softly whipped cream and optional chocolate curls, it offers a delightful balance of textures and flavors ideal for sharing. The crust is baked briefly to maintain a firm base, while the filling's silky smoothness shines through, making it an elegant dessert choice.
The first time I made this chocolate silk pie was actually a complete accident—I had intended to make a regular chocolate cream pie but got distracted by a phone call and kept beating the filling way longer than the recipe called for. What emerged from that kitchen mistake was something impossibly smooth and rich, like edible velvet that made my husband close his eyes and actually moan after the first bite. Now I tell everyone it was intentional, but honestly, some of the best discoveries happen when you are not paying attention to the timer.
I made this pie for our anniversary dinner last February, right after we had put the kids to bed and the house was finally quiet. There is something almost meditative about watching the chocolate melt slowly over that double boiler, the kitchen filling with that rich cocoa scent while soft jazz played in the background. We ate it standing up at the kitchen counter, both of us too impatient to bother with proper plates, forks clinking against the pie dish in the dim light of the refrigerator.
Ingredients
- 200 g chocolate sandwich cookies: The chocolate wafers create a deeper cocoa flavor than plain graham crackers, and the cream filling helps bind the crust together beautifully
- 60 g unsalted butter, melted: Do not be tempted to add more butter—the cookies contain enough fat that you need just enough to hold everything together without making the crust greasy
- 170 g bittersweet chocolate: I have found that 60 to 70 percent cocoa gives the perfect balance between intense chocolate flavor and sweetness
- 115 g unsalted butter, softened: Room temperature butter is non-negotiable here—it needs to be pliable enough to incorporate air during that crucial beating step
- 150 g granulated sugar: The sugar does double duty, providing sweetness and structure as it dissolves completely into the butter mixture
- 2 large eggs, pasteurized: Since the eggs are not cooked, using pasteurized eggs gives you peace of mind without any compromise on texture
- 1 tsp pure vanilla extract: Vanilla enhances chocolate is natural complexity the same way salt enhances savory dishes
- Pinch of salt: Just enough to make all the flavors pop without tasting salty
- 240 ml heavy whipping cream, cold: The cream must be thoroughly chilled—place your bowl and whisk in the freezer for 10 minutes before whipping
- 2 tbsp powdered sugar: Powdered sugar dissolves instantly in cream and helps stabilize those delicate soft peaks
- 1 tsp vanilla extract: For the whipped cream, vanilla adds that classic finish people associate with restaurant desserts
- Chocolate curls or shavings: Completely optional but makes such a difference in presentation—use a vegetable peeler on a room temperature chocolate bar
Instructions
- Build the cookie crust foundation:
- Pulse those chocolate sandwich cookies in your food processor until they resemble fine sand—you want absolutely no recognizable cookie pieces remaining. Pour in the melted butter while the motor is running and watch the crumbs come together like magic, then press this mixture firmly into your pie dish using the bottom of a measuring cup. Let it chill in the refrigerator for 20 minutes before baking, then pop it into a 175°C oven for just 8 to 10 minutes until set.
- Melt the chocolate with patience:
- Set up a double boiler with barely simmering water—violent heat will seize and ruin your chocolate, so gentle is the name of the game here. Stir the chopped chocolate constantly until it transforms into a glossy liquid pool, then remove it from heat and let it cool to room temperature while you work on the butter mixture.
- Create the silky base:
- Beat that softened butter and sugar together on medium-high speed for a full 3 to 4 minutes until the mixture turns pale and fluffy—it should look like vanilla frosting. Scrape down the bowl thoroughly, pour in your cooled chocolate, add the vanilla and salt, then beat until everything is completely incorporated.
- The most important step:
- Add the first egg and beat on high for 3 to 5 minutes—yes, really that long. Watch the mixture transform from dense to incredibly light and airy, then repeat with the second egg. This extended beating time is what creates that signature silk texture, so do not shortcut it even when your arm gets tired of holding the mixer.
- Assemble and chill thoroughly:
- Spread that magnificent filling into your cooled crust, using a small offset spatula to create swoops and waves on top. The pie needs at least 3 hours in the refrigerator to set completely—overnight is even better if you can plan ahead.
- Whip the cream to perfection:
- In a chilled bowl, beat that cold heavy cream with powdered sugar and vanilla just until soft peaks form—overwhipped cream will turn grainy and ruin the delicate texture you have worked so hard to achieve. Mound it generously over the chilled pie, creating those lovely clouds that make this dessert so irresistible.
 Save to Pinterest
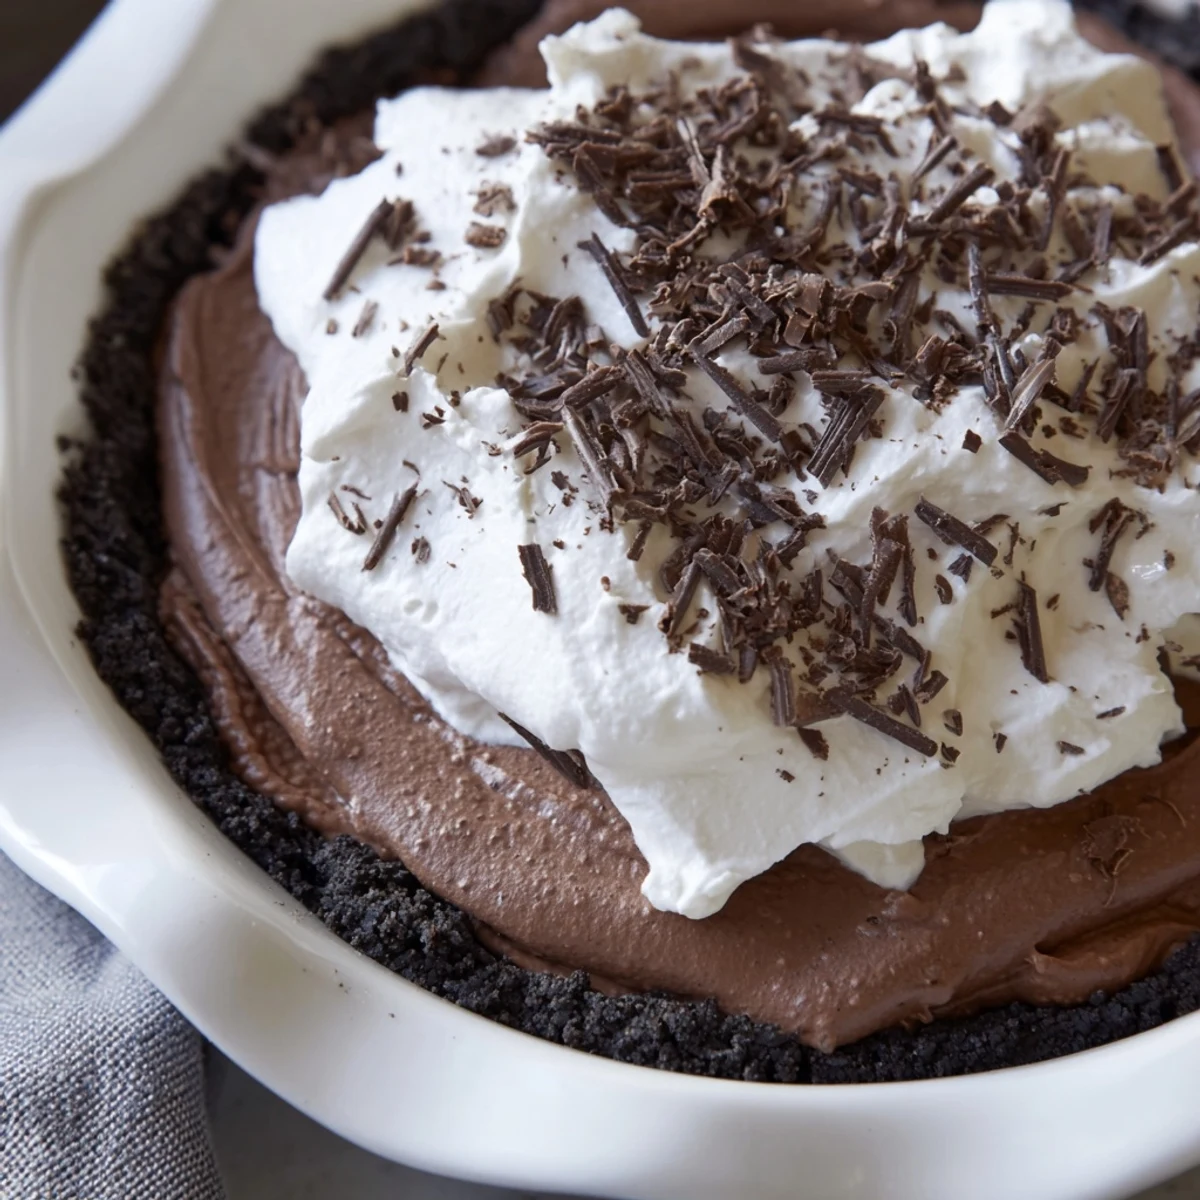
 My sister served this at her dinner party last month and later told me that one guest actually asked if she had ordered it from a fancy bakery. There is something about that impossibly smooth texture that makes people think it requires professional skills, when really it is just patience and a mixer doing the work. The way the silk filling contrasts with the crisp cookie crust and that cloud of whipped cream—each spoonful gives you three completely different experiences.
Making It Ahead
This pie actually improves after a night in the refrigerator, giving all those flavors time to meld and the texture to become even more luxurious. I often make the crust and filling the day before, then add the fresh whipped cream just before serving for maximum fluffiness.
Serving Suggestions
A sharp knife dipped in hot water will glide through the filling cleanly, giving you those picture-perfect slices. I like to serve it with a cup of strong black coffee—the bitterness cuts through all that richness and makes each bite even more satisfying.
Flavor Variations
That pinch of espresso powder mentioned in the notes is absolute genius—just a quarter teaspoon deepens the chocolate flavor without making this taste like coffee. I have also experimented with orange extract instead of vanilla for a chocolate orange version that feels incredibly sophisticated.
- Mint extract in the whipped cream creates a thin mint variation that disappears faster than you can believe
- A tablespoon of coffee liqueur added to the chocolate while melting creates an adult version perfect for dinner parties
- Toasted hazelnuts pressed into the crust add wonderful crunch and complement bittersweet chocolate beautifully
 Save to Pinterest
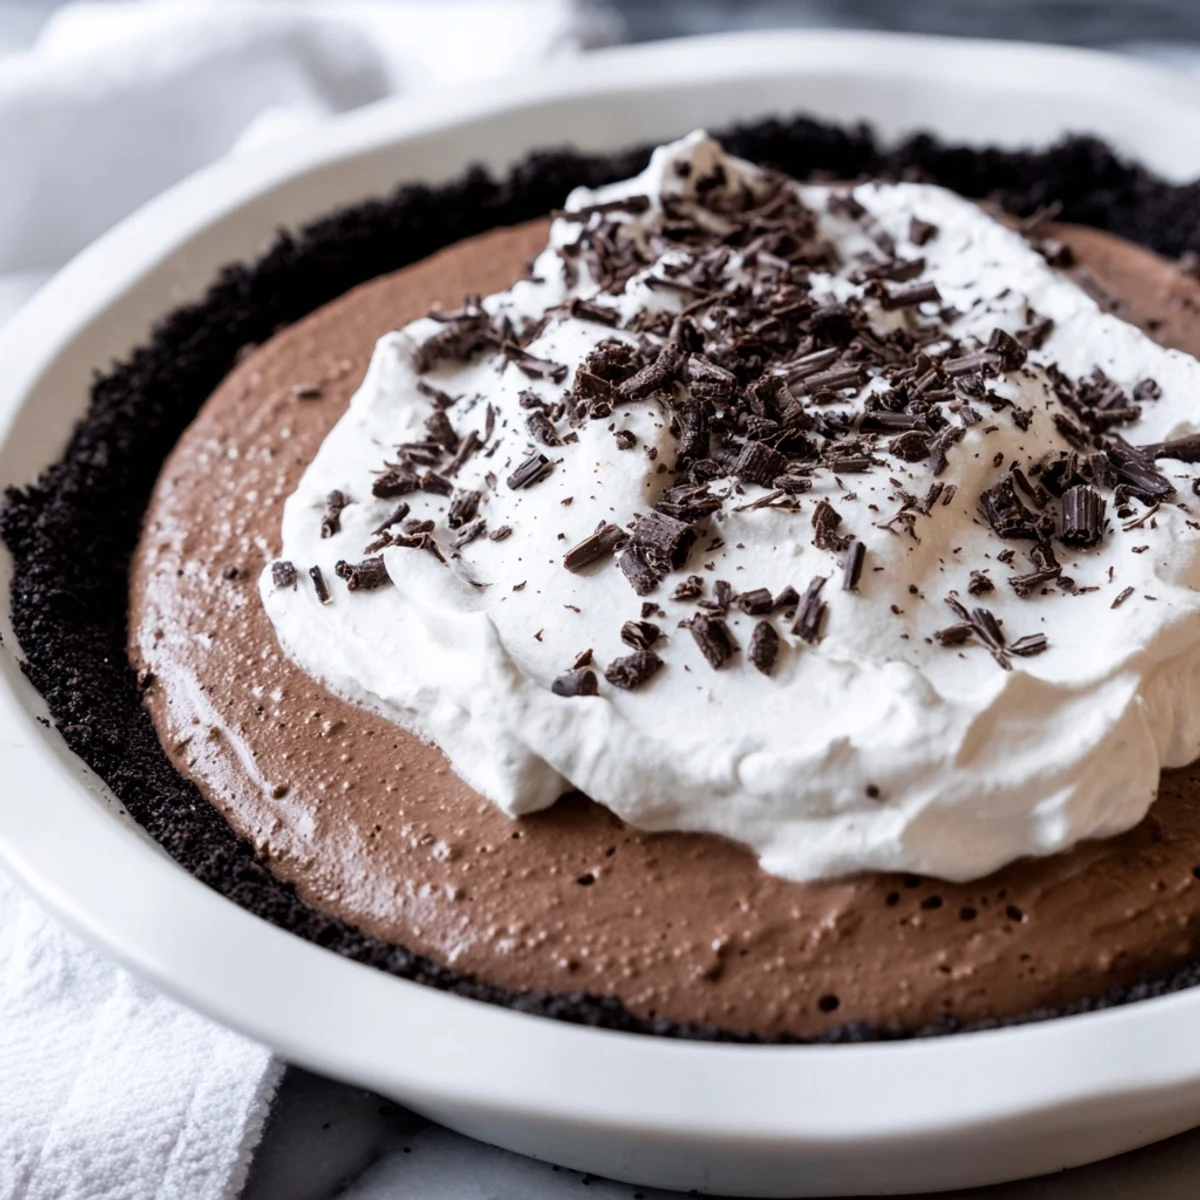
 There is something deeply satisfying about slicing into this pie and seeing that perfect contrast between the dark silk filling and the white whipped cream clouds. It has become my go-to dessert for moments that matter—celebrations, comfort, or simply because Tuesday deserves something extraordinary.
Recipe FAQs
- → How do I make the cookie crust crisp?
-
Pulse the cookies into fine crumbs, mix well with melted butter, and bake briefly at 175°C (350°F) to set and crisp the crust.
- → What is the best way to melt chocolate for the filling?
-
Melt the bittersweet chocolate gently over barely simmering water using a double boiler to avoid burning and ensure a smooth texture.
- → How can I achieve a silky and fluffy filling?
-
Beat softened butter and sugar until pale and fluffy, then incorporate cooled chocolate and eggs gradually, beating well after each addition for volume and silkiness.
- → Why is chilling important for this dessert?
-
Chilling allows the filling to set properly, developing its smooth and stable texture, making slicing easier and enhancing flavors.
- → Can I add any flavor twists to the filling?
-
Yes, a pinch of espresso powder added to the filling deepens the chocolate flavor and adds complexity without overpowering.
