 Save to Pinterest
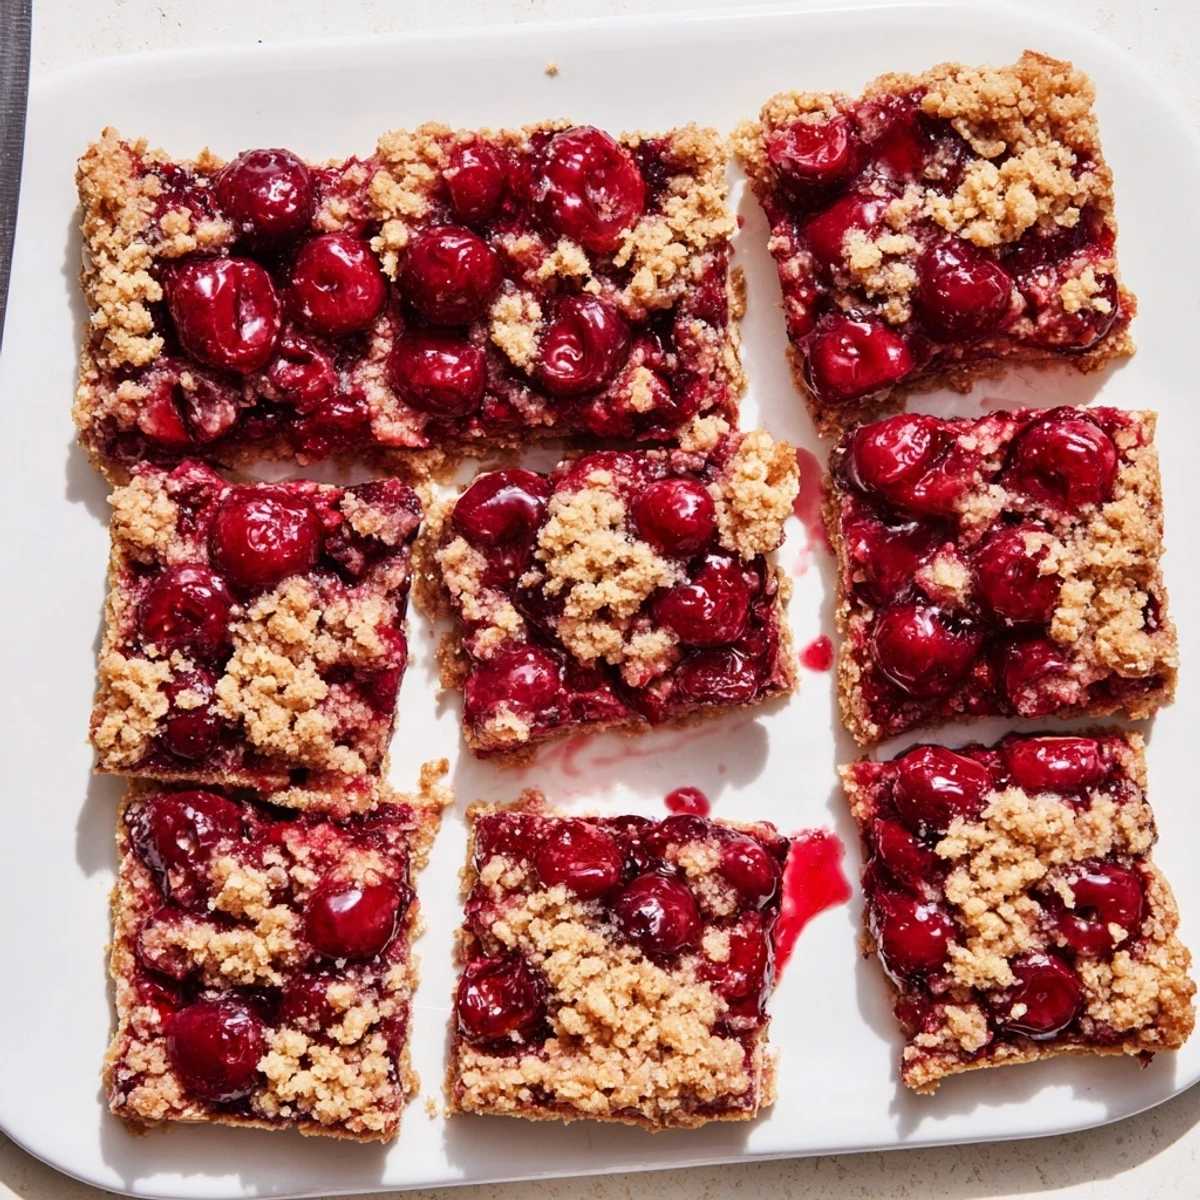
 These cherry crumble bars feature a buttery, cinnamon-spiced crust topped with sweet-tart cherry filling and finished with a generous layer of crumble. The texture contrasts beautifully—soft, fruit-filled center meets crispy, golden topping. Each bite delivers warmth from cinnamon and brightness from fresh cherries.
Preparation comes together in under 20 minutes with simple pantry staples. The bars bake to golden perfection, filling your kitchen with irresistible aromas. Serve them warm with vanilla ice cream for extra indulgence, or enjoy at room temperature for a satisfying afternoon treat.
The summer I discovered fresh cherries at the farmers market changed everything about my baking. I came home with two overflowing baskets and no real plan, just a need to capture that bright, jewel-toned flavor before the season ended. These crumble bars were born from that happy impulse, and theyve become the most requested treat at every family gathering since.
My sister-in-law once ate three of these bars while standing at the kitchen counter, claiming she was just quality control. That moment confirmed what I already suspected: these are dangerously good and impossible to stop eating once you start.
Ingredients
- All-purpose flour: The structure that holds those buttery crumbs together
- Granulated sugar: Sweetens both the crumble and balances the tart cherries
- Baking powder: Gives the crust just enough lift without becoming cakey
- Salt: Essential for making all those sweet flavors sing
- Ground cinnamon: Adds warmth that pairs beautifully with stone fruit
- Unsalted butter: Cold butter creates those irresistible tender crumbs
- Large egg: Binds the crumble mixture for a crust that holds together when sliced
- Fresh or frozen cherries: The star of the show, pitted and halved for easy eating
- Cornstarch: Thickens those cherry juices into a perfect, sliceable filling
- Lemon juice: Brightens the filling and enhances the cherries natural tartness
- Vanilla extract: Rounds out the filling with deep, aromatic sweetness
Instructions
- Preheat and prepare your pan:
- Set your oven to 350°F and line a 9x9-inch pan with parchment paper. That overhang will be your best friend when its time to lift the bars out later.
- Whisk the dry ingredients:
- Combine flour, sugar, baking powder, salt, and cinnamon in a large bowl until everything is evenly distributed.
- Build the crumble:
- Add cold diced butter and the egg, then work the mixture with your fingers or a pastry cutter until it looks like coarse crumbs with some pea-sized pieces remaining.
- Press the base:
- Take about two-thirds of the crumble mixture and press it firmly into the bottom of your prepared pan. The tighter you pack it, the more sturdy your bars will be.
- Prepare the filling:
- Toss cherries with sugar, cornstarch, lemon juice, and vanilla until every piece is coated. The cornstarch might look powdery at first, but it will work its magic in the oven.
- Layer the filling:
- Spread the cherry mixture evenly over the pressed base. Try to keep the layer uniform so the bars bake consistently.
- Add the topping:
- Sprinkle the remaining crumble over the cherries. Dont press it down—you want those lovely crunchy bits on top.
- Bake to golden perfection:
- Bake for 38 to 42 minutes until the topping is golden brown and you see the filling bubbling around the edges. The bubbling tells you the cornstarch has activated.
- Cool completely:
- This is the hardest part, but letting them cool completely ensures clean cuts. Use the parchment overhang to lift the whole batch out, then slice into 16 squares.
 Save to Pinterest
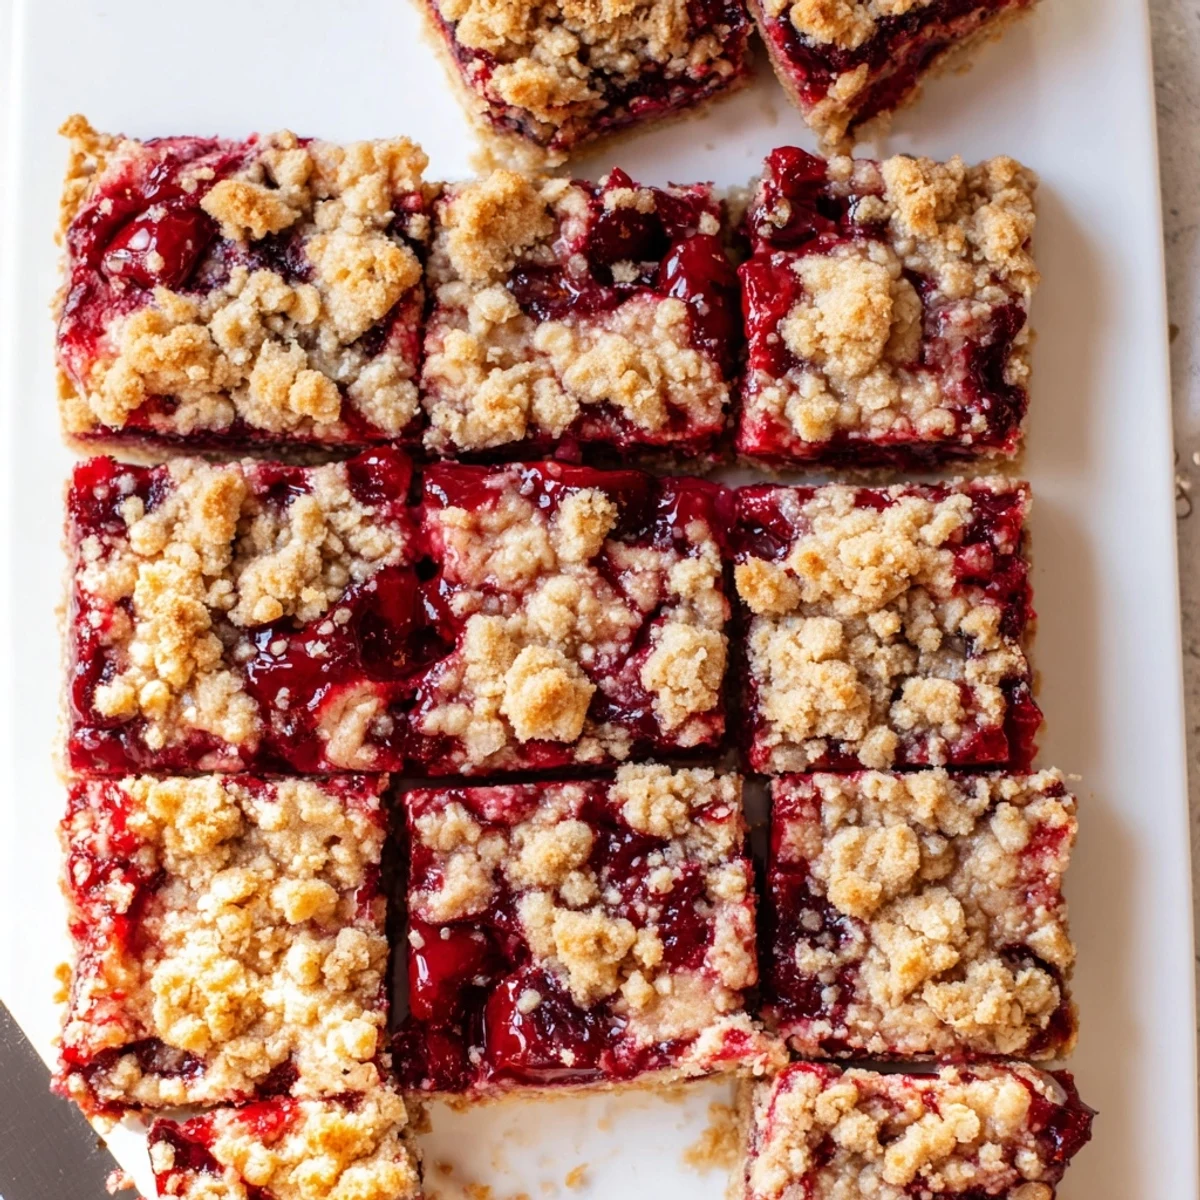
 These bars have become my go-to for new neighbors and office potlucks. Something about that combination of tender crust and fruit filling feels like home, no matter who is eating them.
Make Ahead Magic
The crumble mixture can be made up to three days in advance and stored in the refrigerator. This shortcut has saved me more than once when unexpected guests are on their way.
Fruit Freedom
While cherry season is special, this formula works with any fruit that catches your eye at the market. Peaches, berries, and even apples have all made successful appearances in my kitchen.
Storage Secrets
These bars keep well at room temperature for two days, but after that they should move to the refrigerator. The texture actually improves as the flavors meld together overnight.
- Place wax paper between stacked bars to prevent sticking
- Warm individual bars in the microwave for 15 seconds for that fresh-baked taste
- They freeze beautifully for up to three months if wrapped tightly
 Save to Pinterest
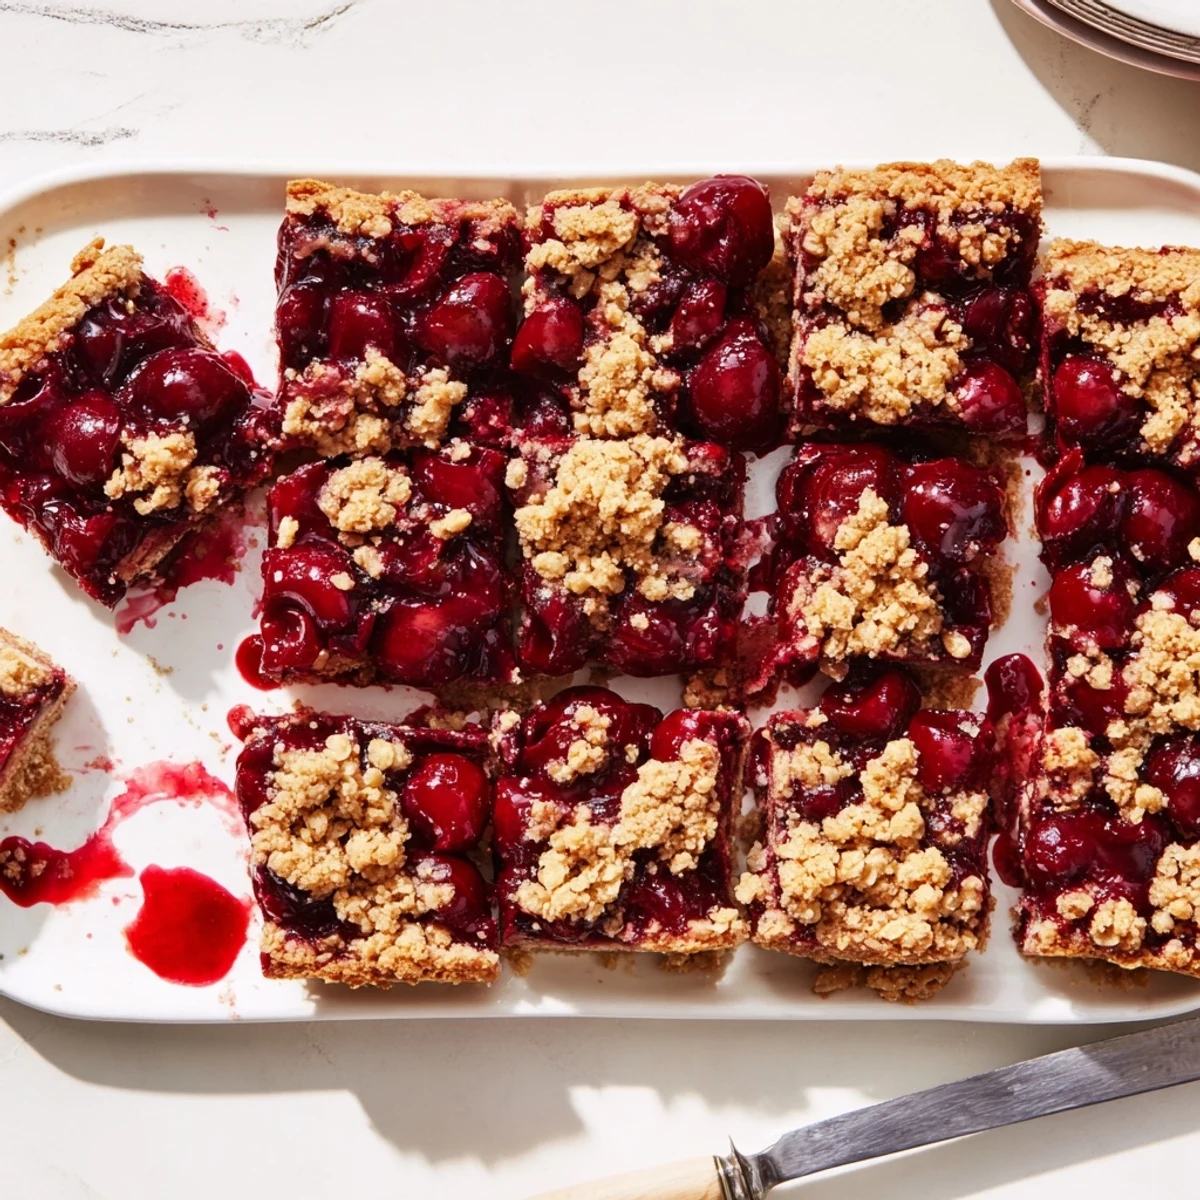
 Whether for a summer picnic or a winter craving, these bars always deliver. Theres something deeply satisfying about fruit and butter meeting in such perfect harmony.
Recipe FAQs
- → Can I use frozen cherries instead of fresh?
-
Absolutely. Frozen cherries work beautifully and are often available year-round. No need to thaw them first—just toss them with the sugar and cornstarch as directed. The baking time remains the same, though you may see slightly more liquid in the filling initially.
- → How should I store these bars?
-
Keep them in an airtight container at room temperature for up to 3 days. For longer storage, refrigerate for up to a week. They also freeze well—wrap individual portions in plastic wrap and store in the freezer for up to 3 months. Thaw at room temperature before serving.
- → Can I make these gluten-free?
-
Yes. Simply substitute the all-purpose flour with a high-quality 1:1 gluten-free flour blend. The texture and flavor remain excellent. Always check that your other ingredients, particularly baking powder and vanilla extract, are certified gluten-free if needed.
- → What other fruits can I use?
-
Mixed berries, blueberries, raspberries, or sliced stone fruits like peaches and plums all work wonderfully. Adjust the sugar slightly based on fruit sweetness—tart fruits may need an extra tablespoon of sugar. Cooking times may vary slightly with different fruits.
- → Why did my crumble topping turn out tough instead of crispy?
-
This typically happens when the butter warms up too much before baking or gets overworked into the flour mixture. Keep your butter cold and work it into the dry ingredients just until coarse crumbs form. The mixture should hold together when pressed but still look crumbly. Chilling the assembled bars for 15 minutes before baking also helps.
- → Can I double this recipe for a larger batch?
-
Certainly. Use a 9x13-inch pan instead of 9x9-inch. The baking time remains similar—check for golden topping and bubbling filling at the 35-minute mark. These bars are excellent for bake sales, potlucks, or gifting, so making a larger batch is often practical.
