 Save to Pinterest
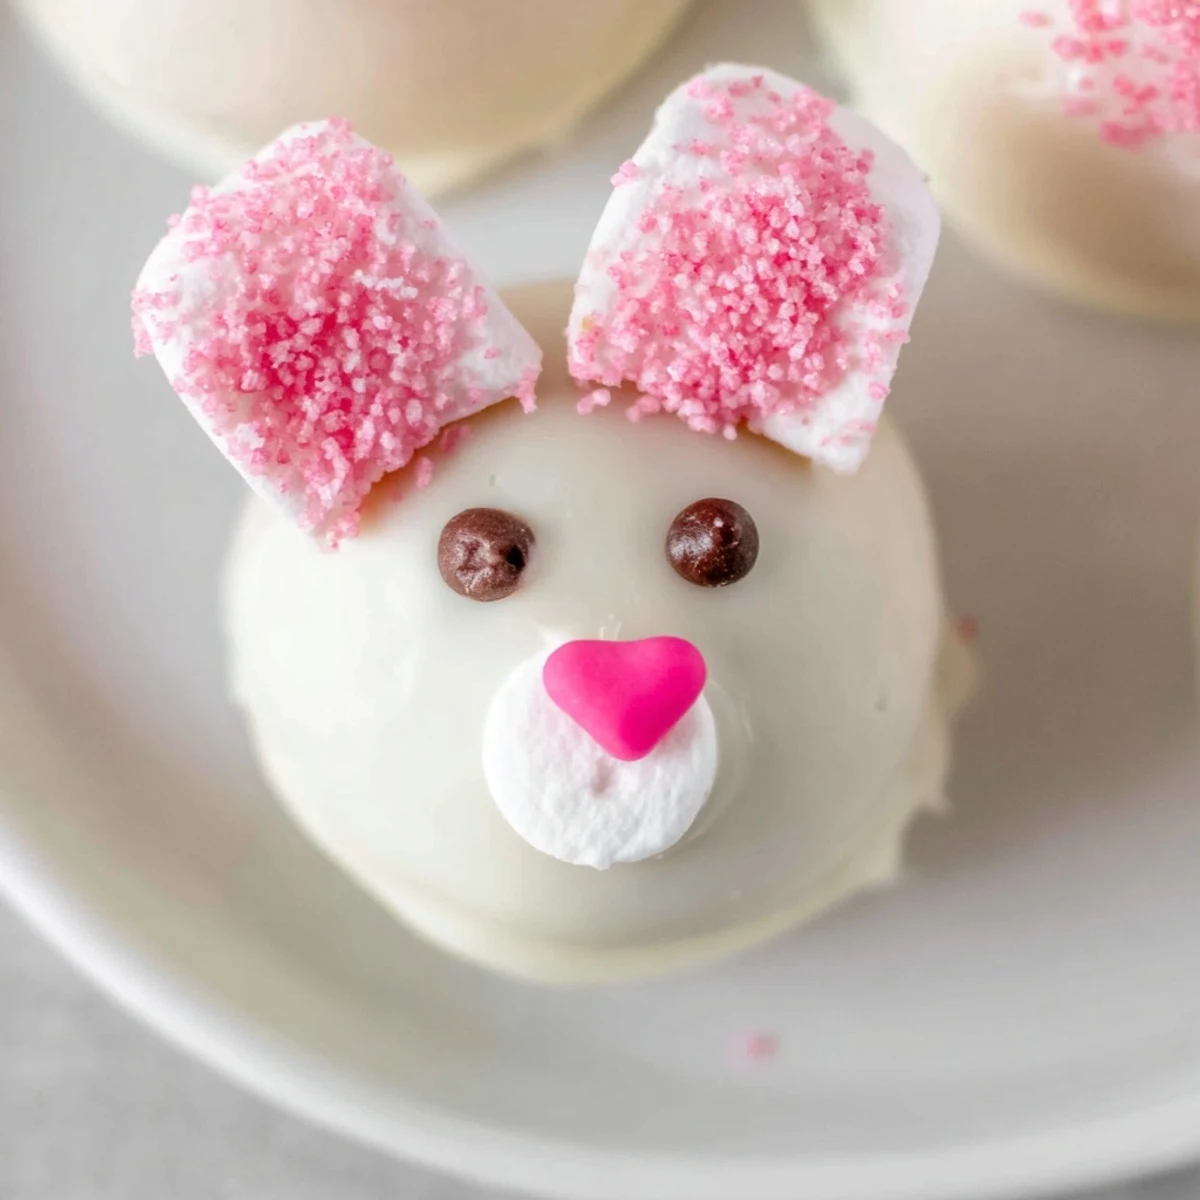
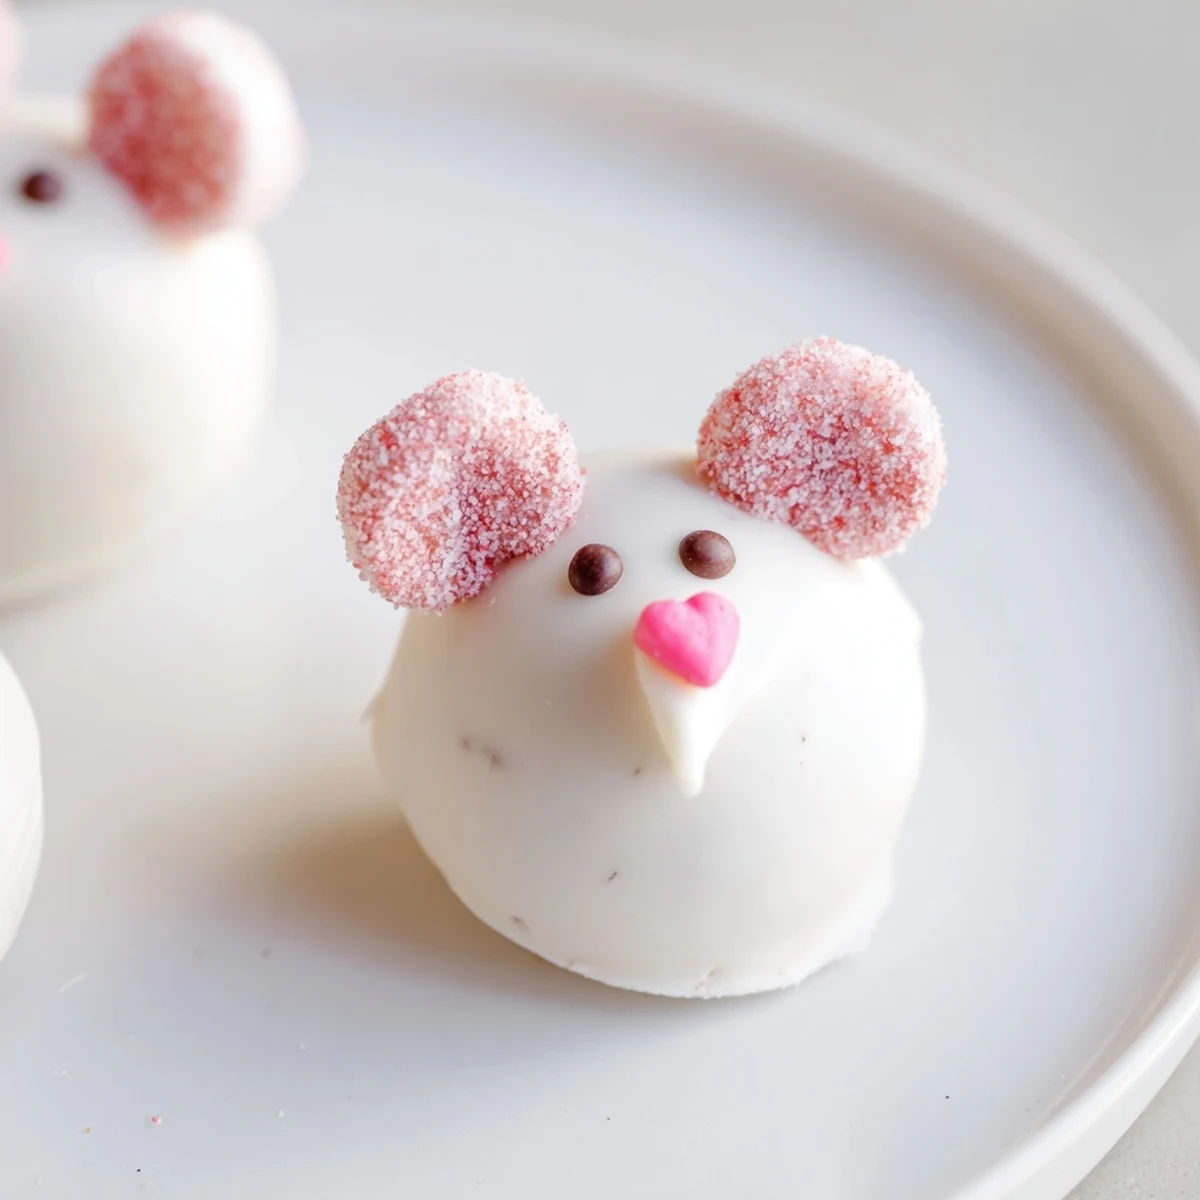
 These delightful bunny-shaped treats combine crushed Oreo cookies with creamy cream cheese for a rich, indulgent center. Each ball gets dipped in smooth white chocolate and decorated with marshmallow ears, pink sugar details, and chocolate chip eyes. The no-bake preparation makes these ideal for busy holiday seasons, while the charming bunny design adds a festive touch to any spring gathering.
My kitchen counter looked like a marshmallow explosion had gone off, but watching these little bunnies come together made every sticky moment worth it. There is something genuinely delightful about turning cookies into something that looks this impressive with almost zero actual baking. Kids and adults alike get genuinely excited when they see these hopping out of the refrigerator.
I made these last minute for my niece's spring birthday party and somehow they became the most photographed thing on the table. The best part was watching her face light up when she realized they were basically just fancy truffles in disguise.
Ingredients
- Oreo cookies: Do not even think about using another brand because the original chocolate wafer flavor is what makes these taste nostalgic and perfect
- Cream cheese: Let this soften completely or you will be fighting lumps in your dough
- White chocolate: Candy melts actually work better than real white chocolate for dipping because they set up harder and smoother
- Mini marshmallows: These get cut diagonally to create those adorable floppy ears
- Pink sanding sugar: This gives the ears that perfect little pop of color without being too overwhelming
- Chocolate chips: Mini ones work best for eyes because they do not make your bunnies look like they are wearing giant sunglasses
- Pink heart sprinkles: These make the sweetest little noses that actually look like bunny noses
Instructions
- Prep your bunny station:
- Line a baking sheet with parchment paper because you will need to freeze these babies and nobody wants them stuck to the pan later.
- Make the dough:
- Crush those Oreos into fine crumbs in your food processor then add the softened cream cheese and blend until everything comes together into a thick smooth dough.
- Form the balls:
- Scoop out tablespoon portions and roll them between your palms into perfect spheres then place them on your prepared sheet.
- Get them cold:
- Freeze the balls for at least 20 to 30 minutes because warm dough and melted chocolate do not play nice together.
- Melt the coating:
- Melt your white chocolate or candy melts in the microwave stirring every 30 seconds until you have something silky and smooth.
- Dip and decorate:
- Dip each chilled ball into the chocolate letting excess drip off then immediately press those marshmallow ears into the top before the coating sets.
- Add the faces:
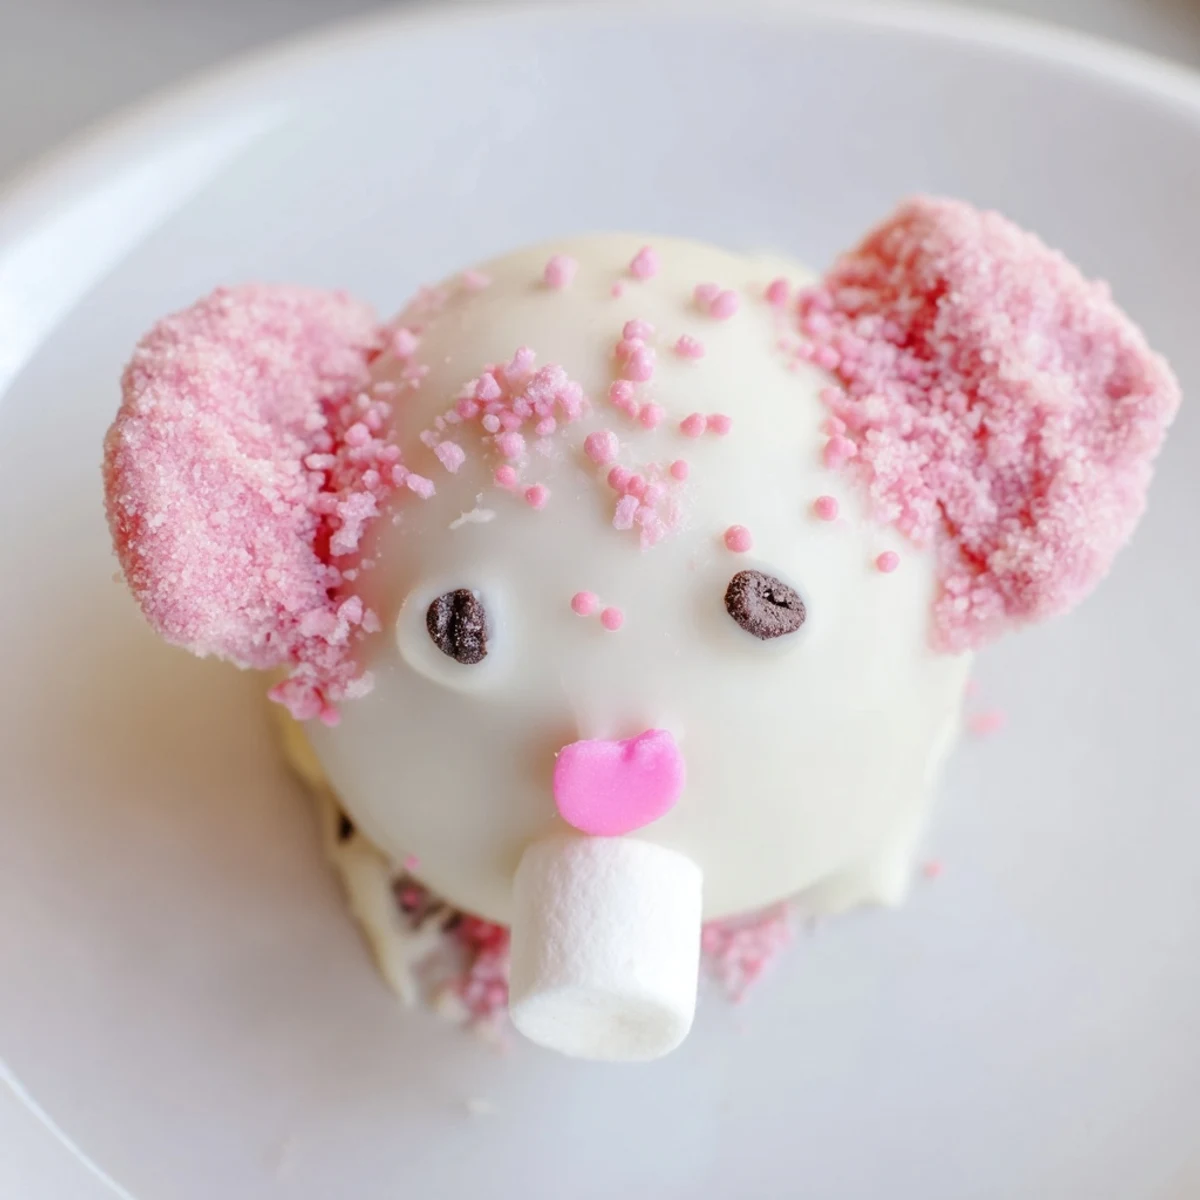
- Stick on the chocolate chip eyes add that pink heart nose and press a mini marshmallow on the back for a fluffy tail.
- Set them up:
- Chill everything for at least 30 minutes so the chocolate hardens completely and your bunnies hold their cute little shapes.
 Save to Pinterest
 These became my go-to spring treat after my friend asked me to bring dessert to her Easter gathering and I had about an hour to throw something together. Now they are basically requested for every single spring event I attend.
Making Ahead
You can make the Oreo balls up to two days ahead and store them undecorated in the refrigerator then dip and decorate the day you need them. This actually saves so much stress when you are juggling multiple dishes for a party.
Decoration Alternatives
Pastel candy melts work beautifully if you want colorful bunnies without using pink sugar or gel. You can also swap the marshmallow ears for sliced almonds for a different texture and look that still reads bunny.
Storage And Serving
Keep these chilled until right before serving because the cream cheese makes them soft at room temperature. They actually taste better cold anyway because the white chocolate coating gets nice and firm.
- Store in an airtight container in the fridge for up to a week
- Freeze undecorated balls for up to a month then thaw before dipping
- Let them sit at room temperature for just 5 minutes before serving so they are not rock hard
 Save to Pinterest
 There is something so satisfying about turning simple cookies into something this adorable and delicious. Happy spring baking.
Recipe FAQs
- → How far ahead can I make these?
-
Prepare these up to 3 days in advance and store in an airtight container in the refrigerator. The white chocolate coating stays fresh and the decorations remain intact.
- → Can I use regular chocolate instead of white?
-
Absolutely. Milk or dark chocolate works well for coating, though white chocolate provides the classic bunny look. Colored candy melts in pastel shades create beautiful spring variations.
- → Why do the balls need freezing?
-
Freezing firms up the Oreo-cream cheese mixture, preventing balls from falling apart during dipping. Thirty minutes ensures they hold their shape when coated in warm chocolate.
- → What if I don't have mini marshmallows?
-
Slice regular marshmallows into smaller pieces for ears. Pink fondant, shaped candy, or even almond slivers tinted with food coloring make creative ear alternatives.
- → Can these be frozen for longer storage?
-
Yes, freeze undecorated balls up to one month. Thaw in refrigerator overnight, then dip in chocolate and add decorations before serving.
