 Save to Pinterest
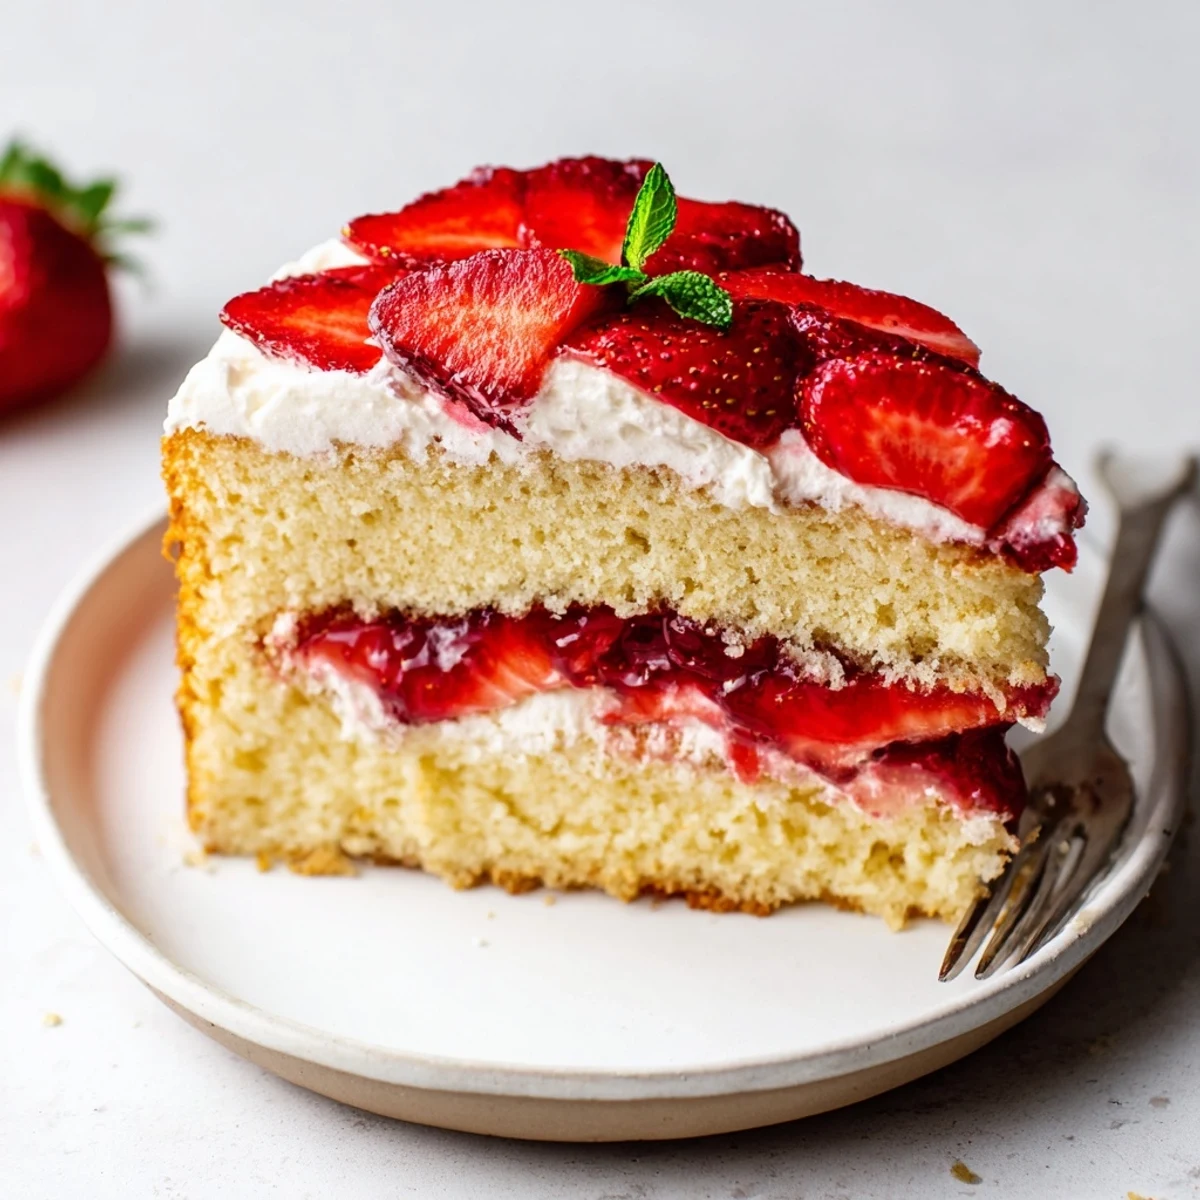
 Whip four room-temperature eggs with sugar and a pinch of salt until thick, pale and tripled in volume, then gently fold in sifted flour and vanilla to retain air. Divide into two 20cm tins and bake at 180°C until springy. Cool completely on a wire rack. Whip double cream with powdered sugar to soft peaks, spread with a thin layer of jam if desired, layer sliced strawberries between sponges, chill to set, and garnish with mint.
The scent of freshly whipped cream and ripe strawberries is enough to make any kitchen feel like the happiest spot in town. Every time I bake this Strawberries and Cream Sponge Cake, I find myself humming to whatever song happens to be playing, letting the rhythm guide my mixing. There's a certain satisfaction in seeing the sponge rise perfectly golden, knowing that something special is about to happen. No matter the season, this cake brings an instant brightness to the day.
The first time I made this cake for friends, we sliced it right at the kitchen counter, exchanging playful arguments over who had the prettiest strawberry on their piece. Our laughter echoed around the cake as cream inevitably found its way onto someone’s nose. In that moment, the dessert became less about presentation and more about shared joy. Now, whenever I assemble it, I remember that burst of laughter among the gentle clink of plates.
Ingredients
- Eggs (4 large, room temperature): Whisking them until tripled in volume is the secret to keeping the sponge impossibly light.
- Granulated sugar (120 g): I always sift it with the eggs, so there’s never an errant grain against the cake’s delicate crumb.
- All-purpose flour (120 g): Fold it in gently to avoid knocking out precious air; using a fine sieve helps prevent lumps.
- Vanilla extract (2 tsp total): A touch each in cake and cream layers adds a quiet depth that brings the flavors forward.
- Salt (1/4 tsp): Just enough to subtly sharpen all the sweetness.
- Heavy cream (300 ml): I chill the bowl and beaters first—cold equipment helps the cream whip up beautifully soft.
- Powdered sugar (2 tbsp): Sifting it in ensures the whipped cream stays smooth and cloudlike.
- Fresh strawberries (400 g): Wash and dry them well so their vibrant juiciness stands out without watering down the cake.
- Strawberry jam (2 tbsp, optional): A thin slick between layers gives a sweet-tart surprise with each bite.
- Fresh mint leaves (optional, for garnish): A sprig or two adds a bright, finishing touch that wakes up the plate.
Instructions
- Get those pans ready:
- Preheat the oven to 180°C (350°F) and line two 20 cm cake pans with parchment—your future self will thank you when the sponges come out clean.
- Whip up the eggs and sugar:
- Beat eggs, sugar, and salt at high speed until thick and pale, about 5-7 minutes—you’ll see the batter leave ribbons as it falls from the beaters.
- Fold in the flour and vanilla:
- With patience, gently fold in the flour and vanilla, taking care not to lose that precious air; watch for any streaks and stop as soon as they disappear.
- Bake the sponges:
- Divide the batter between pans and bake 20–25 minutes; your kitchen will start to fill with a faint, sweet perfume as they turn golden.
- Cool completely:
- Let the cakes cool in their tins for 10 minutes, then flip onto a wire rack—they cool faster, which means assembly is closer.
- Whip the cream:
- Pour cold cream, powdered sugar, and vanilla into a chilled bowl, then whip to soft peaks—look for swirls that ripple and hold but aren’t stiff.
- Jam on (optional):
- If using, spread strawberry jam over one cooled cake layer for an extra zing; it glistens temptingly beneath the cream.
- Layer and fill:
- Spread half the whipped cream over the base, then arrange half the strawberries in snug circles—sneak a taste, it’s chef’s rights.
- The final crown:
- Place the second sponge atop, cover with the rest of the cream, then tumble the last of the strawberries on with a little flair.
- Chill and indulge:
- Garnish with mint, if you wish, and chill the cake for at least 30 minutes—it slices neater when cool and the flavors meld just right.
 Save to Pinterest
 The day this cake truly became special was when my niece insisted on decorating it herself. Admittedly, her strawberry arrangement was more abstract art than tidy concentric circles, but every forkful tasted better for her giggles and sticky little fingers. Suddenly, the cake was more about togetherness and less about perfection. That's when I realized it’s the memories we layer between the cream and sponge that matter most.
Secrets for Super Soft Sponge
The key to a truly feather-light crumb isn’t just in the beating—room temperature eggs combine easier, and sifting flour gently overhead means it blends without compacting the batter. If I ever get tempted to hurry, I remind myself that sponge cakes reward patience more than skill. Those few extra moments spent folding, not stirring, yield airy perfection.
Making Strawberries Shine
When strawberries are at their juiciest, this cake transforms into something extraordinary. Slice them just before layering so their natural sweetness seeps gently into the cream rather than pooling off to the side, and don’t be shy about tasting as you prep—only the best berries make it to the cake. Sometimes I even reserve a few tiny mint leaves for a pop of color right at the end.
Assembly Joys and Troubleshooting
Even the occasional uneven cake layer can be saved by a generous swipe of cream—it all evens out in the stack. If your jam is too thick to spread, loosen it with a teaspoon of warm water for easier swirling. And if you ever doubt your stacking skills, remember: a little mess just means there’s more homemade charm.
- Let your cake cool fully or the cream will melt straight away.
- Level the cakes with a serrated knife for the most showstopping layers.
- A quick chill in the fridge sets the cream and brings the flavors into perfect harmony.
 Save to Pinterest
 A slice of this cake never fails to brighten a table or a mood. I hope sharing it brings you just as many happy crumbs and memories as it has for me.
Recipe FAQs
- → How do I keep the sponge light and airy?
-
Beat eggs and sugar until thick and tripled in volume, then fold in flour gently using a spatula; avoid overmixing to preserve the incorporated air.
- → Can I use frozen strawberries?
-
Fresh berries give the best texture and color. If using frozen, thaw and drain thoroughly to remove excess moisture that can make layers soggy.
- → How long should I chill the assembled cake?
-
Chill at least 30 minutes to firm the cream for cleaner slices; the cake can be refrigerated up to 24 hours for advance preparation.
- → What keeps the layers from drying out?
-
Brush each sponge with a little strawberry syrup or simple syrup before layering to add moisture and enhance flavour without weighing it down.
- → Which cream is best for stable peaks?
-
Use cold double or heavy cream and a chilled bowl; add powdered sugar and vanilla, then whip to soft peaks so the filling stays light but holds its shape.
- → Can components be made ahead of time?
-
Bake and cool the sponge layers a day ahead, wrap tightly. Whip cream just before assembly for maximum volume; slice fruit close to assembling to keep it fresh.
