 Save to Pinterest
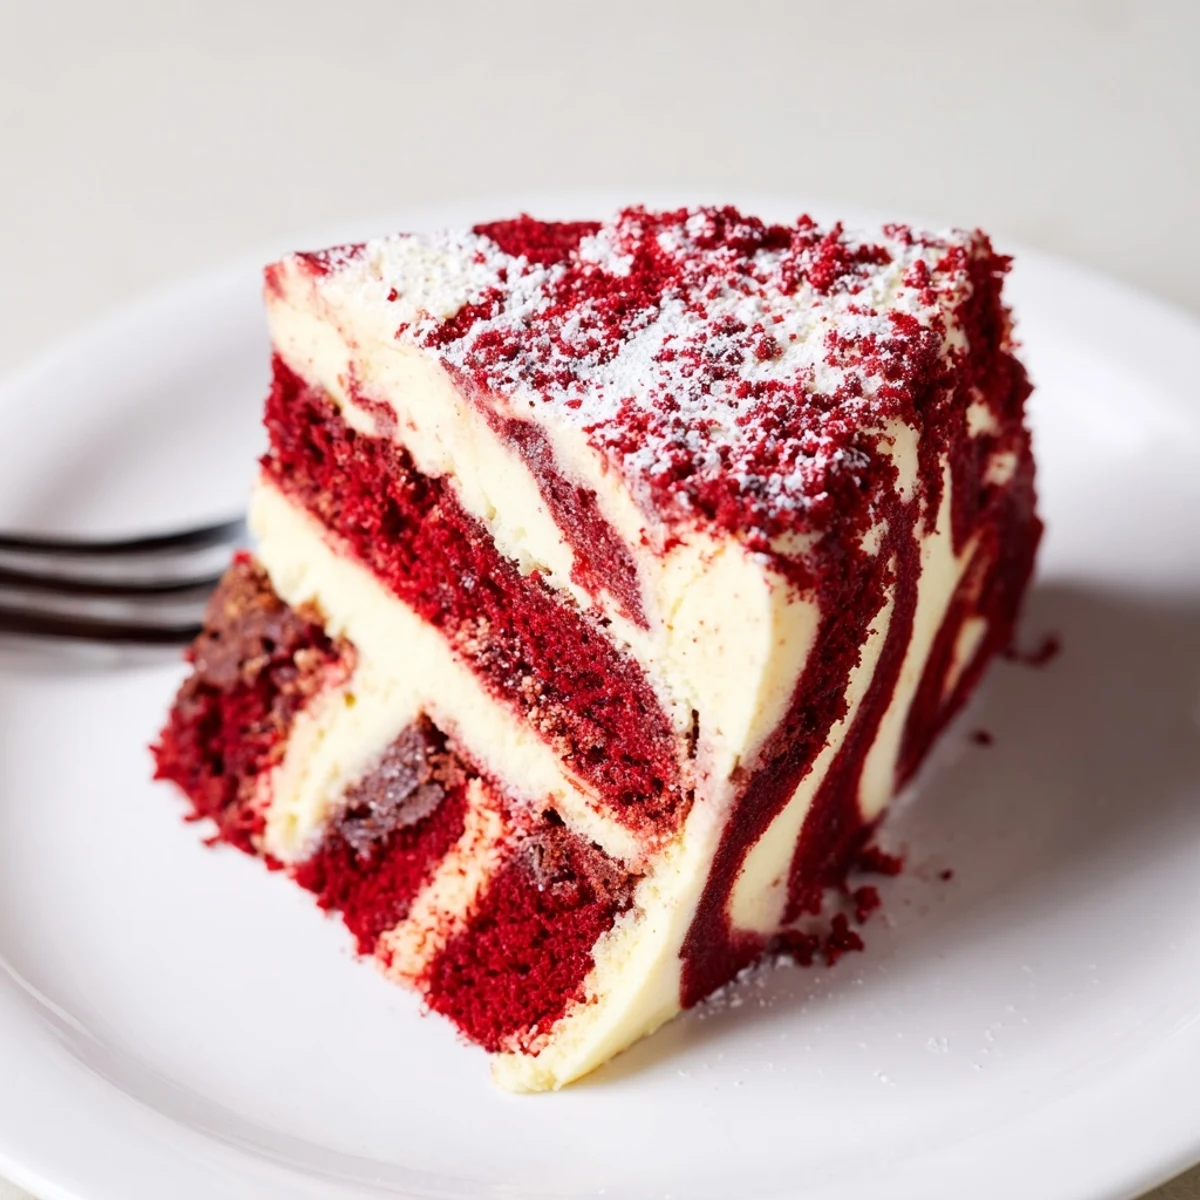
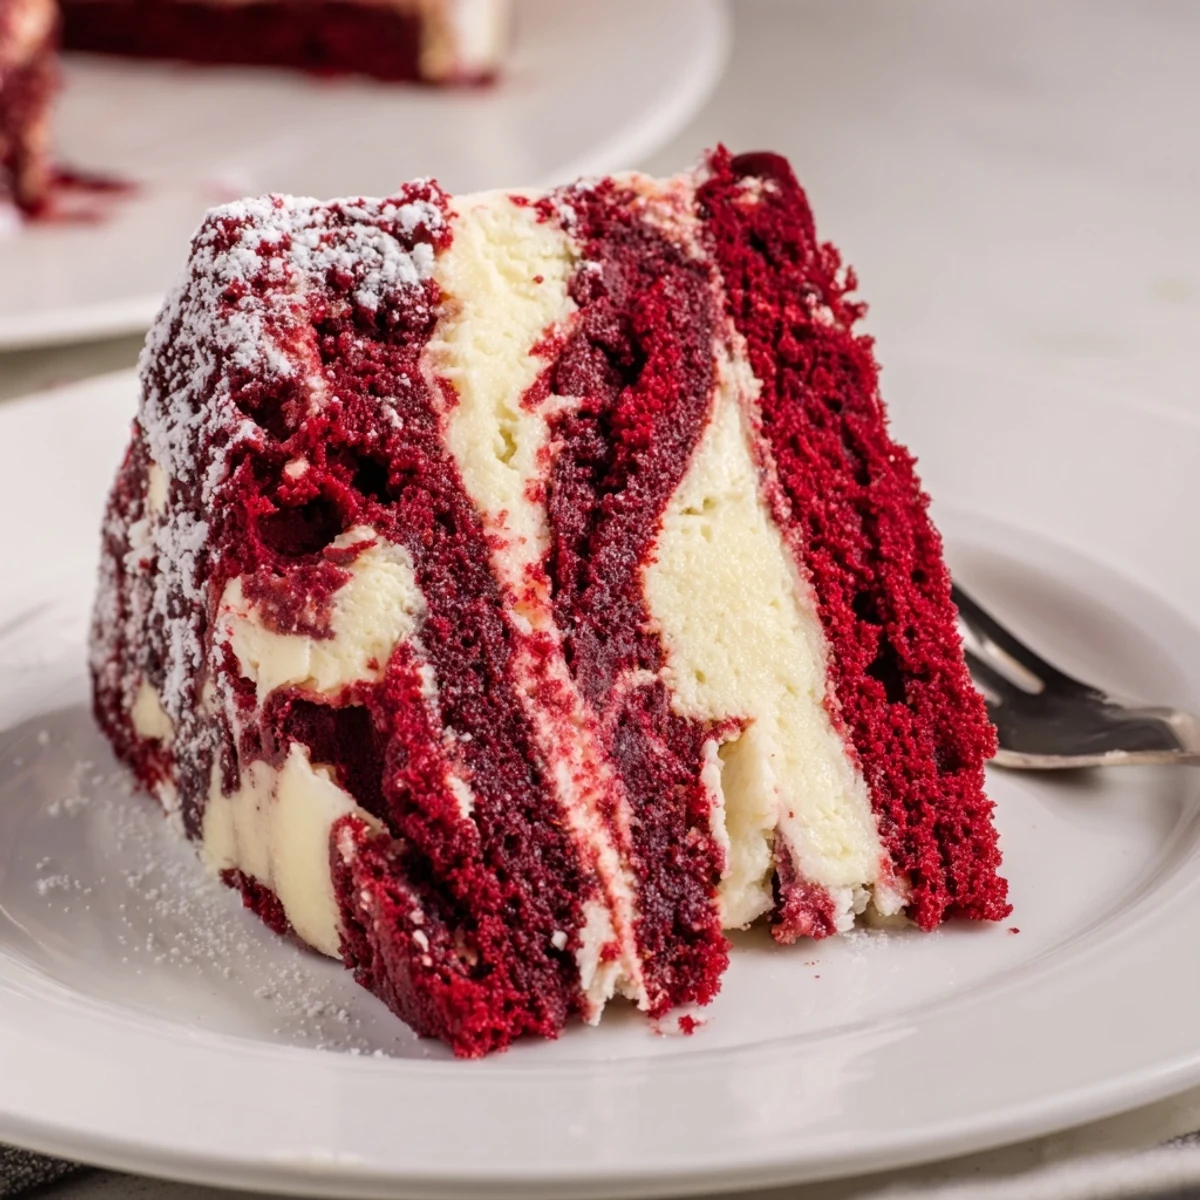
 This stunning dessert combines two beloved treats into one impressive creation. The vibrant red velvet base, enriched with buttermilk and cocoa, provides a moist, tender crumb that perfectly complements the creamy cheesecake swirls marbled throughout. The batter comes together quickly, and the swirling technique creates beautiful patterns that make this dessert show-stopping for celebrations. Serve chilled or at room temperature, with optional powdered sugar dusting or cream cheese glaze for extra indulgence. Leftovers keep beautifully in the refrigerator for up to four days.
The first time I made red velvet cheesecake swirl cake, my husband walked into the kitchen and just stopped dead in his tracks. He asked if I'd lost my mind mixing two desserts together, but one taste later and he was absolutely converted. There's something magical about that creamy tang cutting through the velvet-smooth chocolate layers. Now it's the only cake our family requests for birthdays.
I brought this to my office potluck last spring and watched three people actually ask for the recipe within ten minutes of the first slice being served. My coworker Sarah texted me that same evening saying her husband was already demanding it for their anniversary dessert. There's something about that marble pattern that makes people think you're some kind of dessert wizard, when really it's just a matter of swirling a knife through the batter.
Ingredients
- 2 cups all-purpose flour: This creates the foundation for that classic red velvet tender crumb. I've learned through trial and error that measuring correctly really matters here—too much flour and you lose the signature soft texture.
- 1 ½ cups granulated sugar: The perfect sweet balance that lets both the red velvet and cheesecake shine without becoming cloying.
- 1 tbsp unsweetened cocoa powder: This is the secret ingredient that gives red velvet its subtle chocolate undertone. Don't be tempted to add more—it should whisper, not shout.
- 1 cup buttermilk: The acidity here reacts with the baking soda for extra tenderness and gives that slight tang that makes red velvet so distinctive. Room temperature is non-negotiable for proper emulsification.
- ½ cup vegetable oil: Oil keeps this cake incredibly moist for days, unlike butter which can firm up in the fridge.
- 2 large eggs: These provide structure and richness. Let them come to room temperature first—they'll incorporate much more smoothly into your batter.
- 2 tsp vanilla extract: Never skimp on vanilla. It enhances both the chocolate notes and the creamy cheesecake swirl.
- 1 tsp white vinegar: Another acid that activates the baking soda and deepens that signature red velvet color.
- 2 tbsp red food coloring: Gel coloring gives you that vibrant restaurant-quality hue with less liquid. I've made the mistake of using cheap liquid coloring and ended up with pinkish-brown cake.
- 8 oz cream cheese: Use full-fat and let it soften completely. Cold cream cheese creates lumps that no amount of mixing can fix.
- ⅓ cup granulated sugar: Just enough to sweeten the cheesecake swirl while maintaining that creamy tanginess.
- 1 large egg: This single egg sets the cheesecake swirl just enough to hold its shape during baking while staying creamy.
Instructions
- Get your oven and pan ready:
- Preheat to 350°F and grease a 9x13-inch pan thoroughly, then line with parchment paper. I learned the hard way that red velvet loves to stick, so don't skip the parchment overhang—it makes lifting the whole cake out so much easier later.
- Whisk the dry ingredients together:
- Combine the flour, sugar, baking powder, baking soda, cocoa powder, and salt in a large bowl. Sifting isn't necessary, but do take a moment to break up any lumps in the cocoa or brown sugar for a smoother batter.
- Mix the wet ingredients:
- In a separate bowl, whisk the buttermilk, oil, eggs, vanilla, vinegar, and red food coloring until fully combined. The mixture will turn a shocking pink—that's exactly right.
- Combine and mix gently:
- Pour the wet ingredients into the dry and fold everything together just until no flour streaks remain. Overmixing develops gluten and makes your cake tough instead of tender.
- Spread the batter:
- Pour into your prepared pan and use an offset spatula to create an even layer. This becomes your canvas for the cheesecake art.
- Make the cheesecake swirl:
- Beat the softened cream cheese until completely smooth, then add the sugar, egg, and vanilla. Mix until glossy and creamy—this should take about 2 minutes and smell like pure heaven.
- Create the marble:
- Drop dollops of cheesecake mixture all over the red velvet batter, then drag a knife or skewer through in an S-pattern. Don't over-swirl or you'll lose the beautiful contrast. Go through once or twice maximum.
- Bake to perfection:
- Bake 45 to 50 minutes until a toothpick in the center comes out mostly clean. A tiny bit of cheesecake on the tester is perfect—overbaking dries out both components.
- Cool completely:
- This is the hardest part, but let the cake cool completely in the pan. The cheesecake needs time to set properly or it'll smear when you cut slices.
 Save to Pinterest
 My daughter requested this cake for her 16th birthday instead of a store-bought one, which honestly felt like the biggest compliment she could've paid me. We ended up making it together the night before her party, and watching her concentrate so carefully on swirling the cheesecake became one of those kitchen moments I'll always remember. Now it's our birthday tradition.
Making It Ahead
This cake actually tastes better the next day, which makes it perfect for entertaining. I've made it up to 24 hours ahead and wrapped it tightly in the refrigerator—the flavors deepen and both the velvet and cheesecake become more cohesive.
Swirl Secrets
The most common mistake is over-swirling and turning that beautiful marble into muddy pink. Drop your cheesecake dollops in rows, then make just 2 or 3 passes with your knife, changing direction each time. Less is definitely more here.
Serving Suggestions
A light dusting of powdered sugar makes those red swirls pop even more dramatically. For company, I'll drizzle a simple cream cheese glaze and add fresh berries—the tart berries cut through all that richness beautifully.
- Add a pinch of salt to the cheesecake mixture to balance the sweetness
- Use white vinegar instead of apple cider for the cleanest flavor
- Let slices come to room temperature 15 minutes before serving
 Save to Pinterest
 There's nothing quite like cutting into that first slice and seeing the pattern you created, then watching everyone's eyes light up at the dessert table. This is the kind of recipe that turns ordinary days into celebrations.
Recipe FAQs
- → What makes red velvet cake unique?
-
Red velvet cake gets its distinctive flavor from a subtle combination of cocoa powder and buttermilk, which creates a mild chocolate taste with a tender, moist crumb. The acid from buttermilk and vinegar reacts with baking soda for extra lift, resulting in a soft texture that pairs beautifully with cream cheese toppings.
- → How do I create the perfect marble swirl?
-
Drop dollops of the cheesecake mixture over the spread red velvet batter, then use a knife or skewer to gently drag through both layers in circular or S-shaped motions. Avoid over-swirling, which can muddy the distinct marble pattern. A few passes with the knife create beautiful, defined swirls.
- → Can I use liquid food coloring instead of gel?
-
Yes, liquid food coloring works, though you may need approximately double the amount to achieve the same vibrant red hue. Gel coloring provides more intense color with less liquid, which helps maintain the batter's consistency. If using liquid, don't worry about slightly thinning the batter—the texture will still turn out beautifully.
- → Why is my cheesecake swirl sinking into the batter?
-
Slight sinking is normal and creates the marbled effect. However, if the cheesecake mixture sinks completely, it might be too thin. Ensure the cream cheese is fully softened before beating, and avoid overmixing the egg. The consistency should be thick enough to hold its shape when dolloped onto the red velvet batter.
- → How should I store leftover cake?
-
Because of the cream cheese swirl, this cake must be refrigerated. Cover the pan tightly with plastic wrap or transfer slices to an airtight container. The flavors often improve after chilling, and the cake stays moist for up to four days. Bring to room temperature for 20 minutes before serving for the best texture.
- → Can I freeze this cake?
-
Yes, this cake freezes well. Cool completely, then wrap individual slices or the whole cake tightly in plastic wrap followed by aluminum foil. Freeze for up to three months. Thaw overnight in the refrigerator before serving. The texture remains surprisingly close to fresh after proper freezing.
