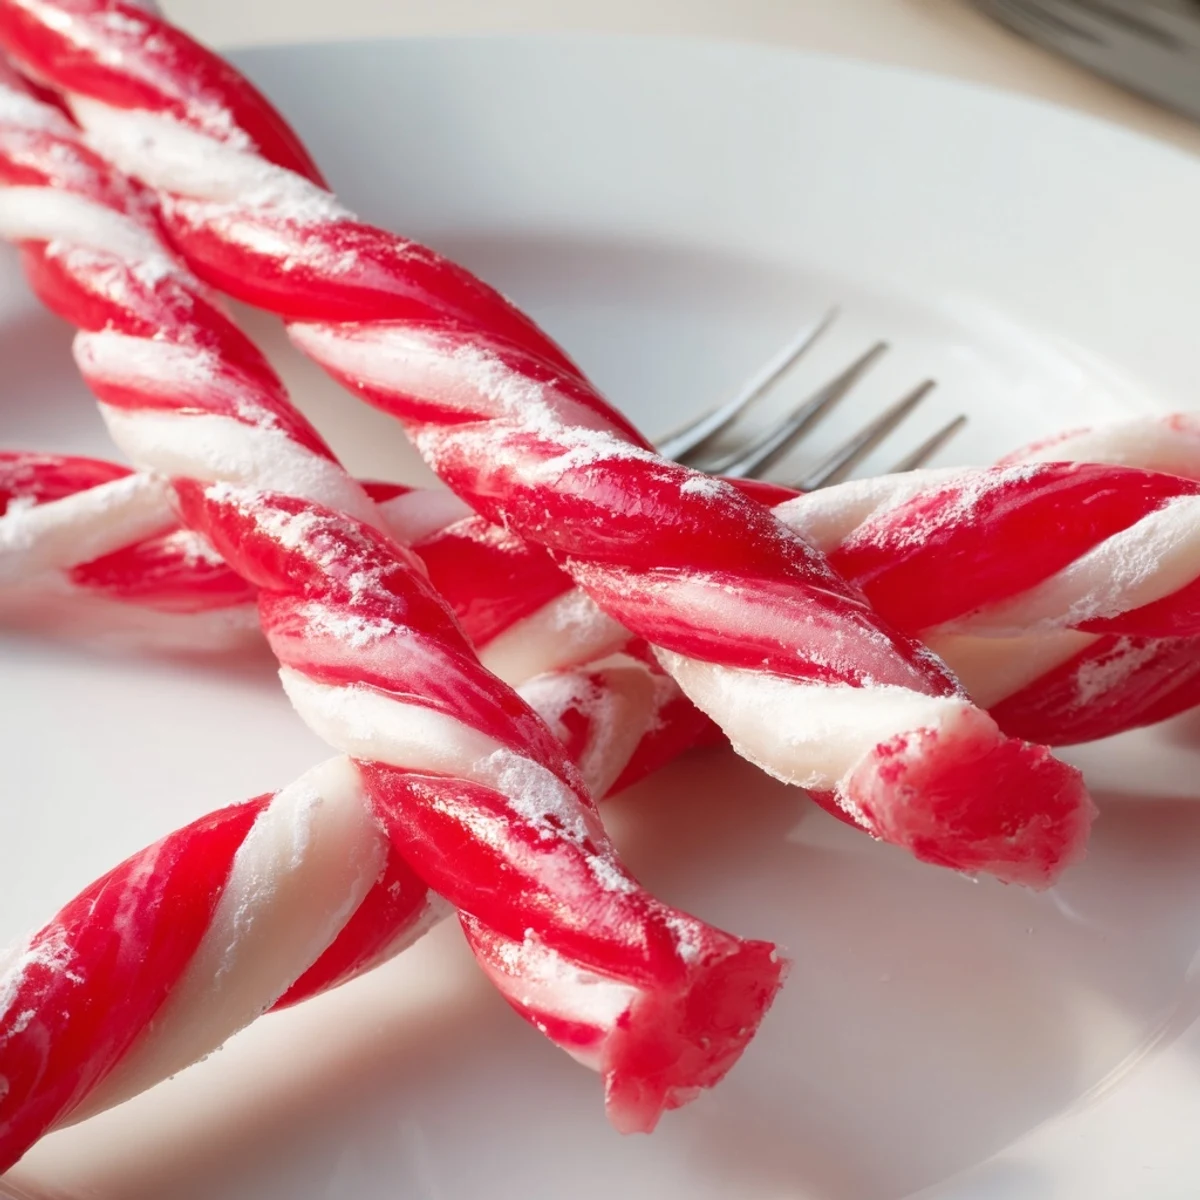
 Save to Pinterest
 This confection blends granulated sugar, corn syrup, and peppermint extract heated to the perfect temperature. Half the syrup is tinted vibrant red, then both portions are cooled, pulled to develop gloss and texture, twisted into classic striped sticks, and set to harden. Ideal for festive enjoyment or gifting, these peppermint sticks capture a sweet, crisp texture with a cooling mint flavor.
There's something magical about the smell of peppermint candy being pulled in your kitchen—it fills the air with a clean, sweet sharpness that immediately signals the holidays are here. The first time I made peppermint sticks, I was in a small apartment with barely enough counter space, but I was determined to create something as beautiful as the ones I remembered from childhood candy shops. My hands got sticky, my timing was chaotic, and somehow I ended up with striped candy that looked homemade in the best possible way. That batch taught me that peppermint candy isn't about perfection; it's about capturing that moment when sugar transforms into something you can actually hold and taste.
I made these for my sister's holiday party one year, and I was so nervous about timing that I kept checking the candy thermometer like it was a stopwatch. She hung them on a ribbon near her front door, and people kept stopping to ask if they were store-bought—something about admitting they were homemade made them taste even better to everyone who bit into one. That's when I realized this recipe was worth making again and again, not because it was impressive, but because it created a small moment of joy that felt personal.
Ingredients
- Granulated sugar (2 cups): This is your candy foundation, and the quality matters more than you'd think—use pure white sugar, not superfine or turbinado.
- Light corn syrup (2/3 cup): This prevents crystallization and keeps your candy smooth and glossy rather than grainy.
- Water (1/4 cup): Just enough to help the sugar dissolve evenly without diluting the final texture.
- Peppermint extract (1/2 teaspoon): Don't use imitation flavoring if you can help it—real peppermint extract makes all the difference in how fresh the taste feels.
- Red gel food coloring (1/4 teaspoon): Gel coloring gives you those vibrant red stripes without making the candy wet or sticky like liquid coloring does.
- Powdered sugar (1/4 cup, optional): This is your secret weapon for keeping hands and surfaces from becoming a sticky mess during pulling.
Instructions
- Set up your workspace:
- Line a large baking sheet with parchment paper and lightly dust it with powdered sugar—this takes two minutes but saves you twenty minutes of frustration later. Have your gloves, scissors, and a fresh tray nearby before you start cooking.
- Combine and dissolve:
- In a medium heavy-bottomed saucepan, stir together granulated sugar, corn syrup, and water over medium heat until the sugar fully dissolves and the mixture turns clear. This takes about 3–4 minutes and you'll hear the subtle shift as the grittiness disappears.
- Cook to the hard-crack stage:
- Insert a candy thermometer, increase the heat, and let the mixture boil without stirring until it reaches 280°F (138°C)—this is the magic temperature where candy stays snappy and doesn't turn chewy. Once it hits 280°F, remove it immediately; every extra degree changes the texture.
- Flavor and color:
- Immediately add peppermint extract and stir carefully—the mixture will bubble up as it reacts, which is exactly what should happen. Work quickly but don't panic; the bubbling settles within seconds.
- Split and tint:
- Pour half the hot syrup onto one side of your prepared baking sheet, leaving the other half in the pan. Quickly stir red gel coloring into the baking sheet portion until the color is vibrant and even, then pour the plain syrup next to it.
- Cool until pullable:
- Wait about 3–4 minutes until the edges are cool enough to touch but the center is still pliable—you want it to feel like a thick, warm marshmallow, not hot lava. Pull on a small piece to test; it should stretch without tearing.
- Pull until glossy:
- Put on food-safe gloves and dust your hands with powdered sugar to prevent sticking. Pick up the white portion first, gather it into a ball, and start pulling it hand-over-hand for about 3–5 minutes until it becomes lighter, opaque, and glossy instead of dark and shiny. It's mesmerizing and feels like you're cooking with your hands in the best way.
- Repeat with the red:
- Pull the red portion the same way until it reaches that same glossy, opaque texture—the color will lighten slightly and become more uniform as you work it.
- Twist and shape:
- Roll each portion into long ropes about 1/2 inch thick by gently stretching and rolling on your parchment paper. Take one red rope and one white rope, and twist them together with a gentle spiral motion, then cut into 6-inch sticks with scissors or a sharp knife.
- Set and harden:
- Lay the twisted sticks on a fresh parchment-lined tray and let them sit undisturbed for about 1 hour until they're completely hard and brittle. If you want classic crook-topped sticks, curve one end gently while they're still slightly warm.
- Store properly:
- Once fully set, transfer to an airtight container at room temperature where they'll keep for weeks—though they rarely last that long.
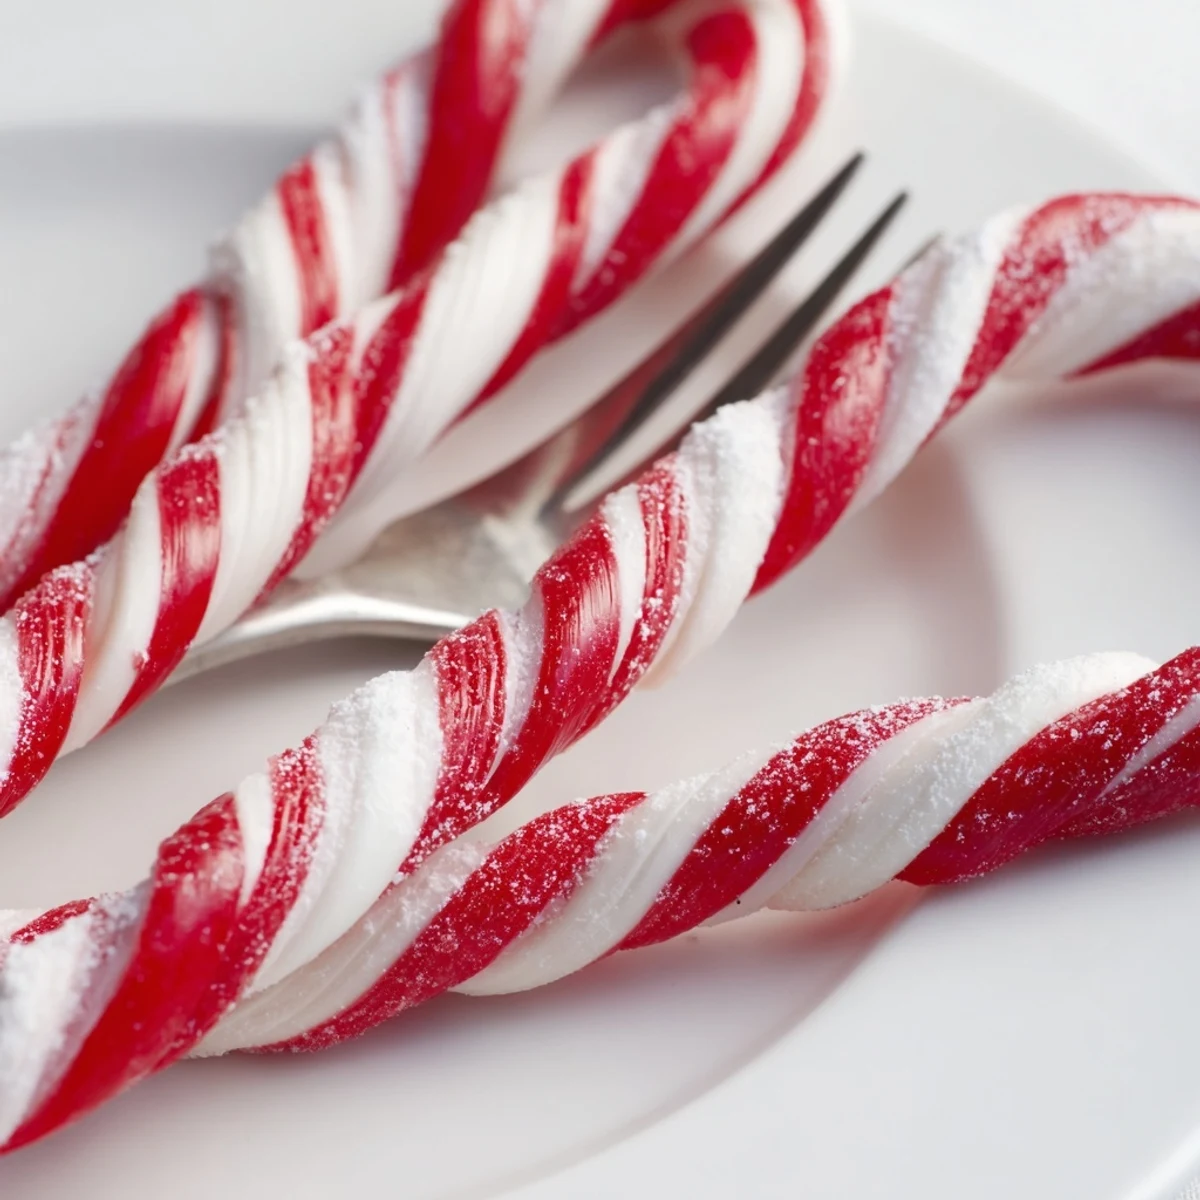 Save to Pinterest
 One winter, I made a batch at my grandmother's house, and she sat at the kitchen table watching me pull the candy with this quiet, knowing smile. She told me her mother made peppermint sticks the same way, and suddenly this simple recipe felt like it carried something beyond ingredients and temperature—it was a small thread connecting three generations over the same hot stove. That's what happens when you make candy by hand instead of buying it: you create something edible and something else entirely.
Why Pulling the Candy Matters
The pulling process isn't just a step; it's what transforms your syrup from glossy and dark into something light and opaque that catches the eye. When you pull the candy, you're aerating it and lowering its temperature gradually, which changes both the texture and the way it looks. The first time you feel it shift from sticky to silky under your hands, you'll understand why handmade candy tastes different—you actually feel the moment it becomes what you want it to be.
Troubleshooting Your First Batch
If your candy turns out sticky, it's almost always because the temperature was too low or the coloring introduced moisture—check your thermometer accuracy and commit to gel coloring. If the twisted ropes break when you're shaping them, the candy cooled too much; warm your hands slightly or work a bit faster next time. If the color doesn't distribute evenly, you're probably stirring too gently—mix the gel color in with confidence, and don't worry about small color variations because they look charming, not messy.
Making It Your Own
Once you master the basic red and white, you can experiment with other colors and flavors—spearmint is beautiful in pale green, and vanilla extract creates a softer, more subtle candy if peppermint feels too bold. The ratio of flavor and color stays the same no matter what direction you take it, so this recipe becomes a template for your own holiday creations. Some years I make mine with crushed candy canes mixed into the final pulled portions, which creates a subtle crunch that catches people off guard in the best way.
- Try adding 1/4 teaspoon of vanilla extract to the white portion for a subtle depth that makes peppermint taste even fresher.
- Curve the top into a shepherd's crook shape while the candy is still warm, and you'll have classic-looking sticks that feel like a bigger accomplishment than they are.
- Gift them wrapped in wax paper tied with ribbon, and they become something people keep long after they eat the candy just because they're beautiful.
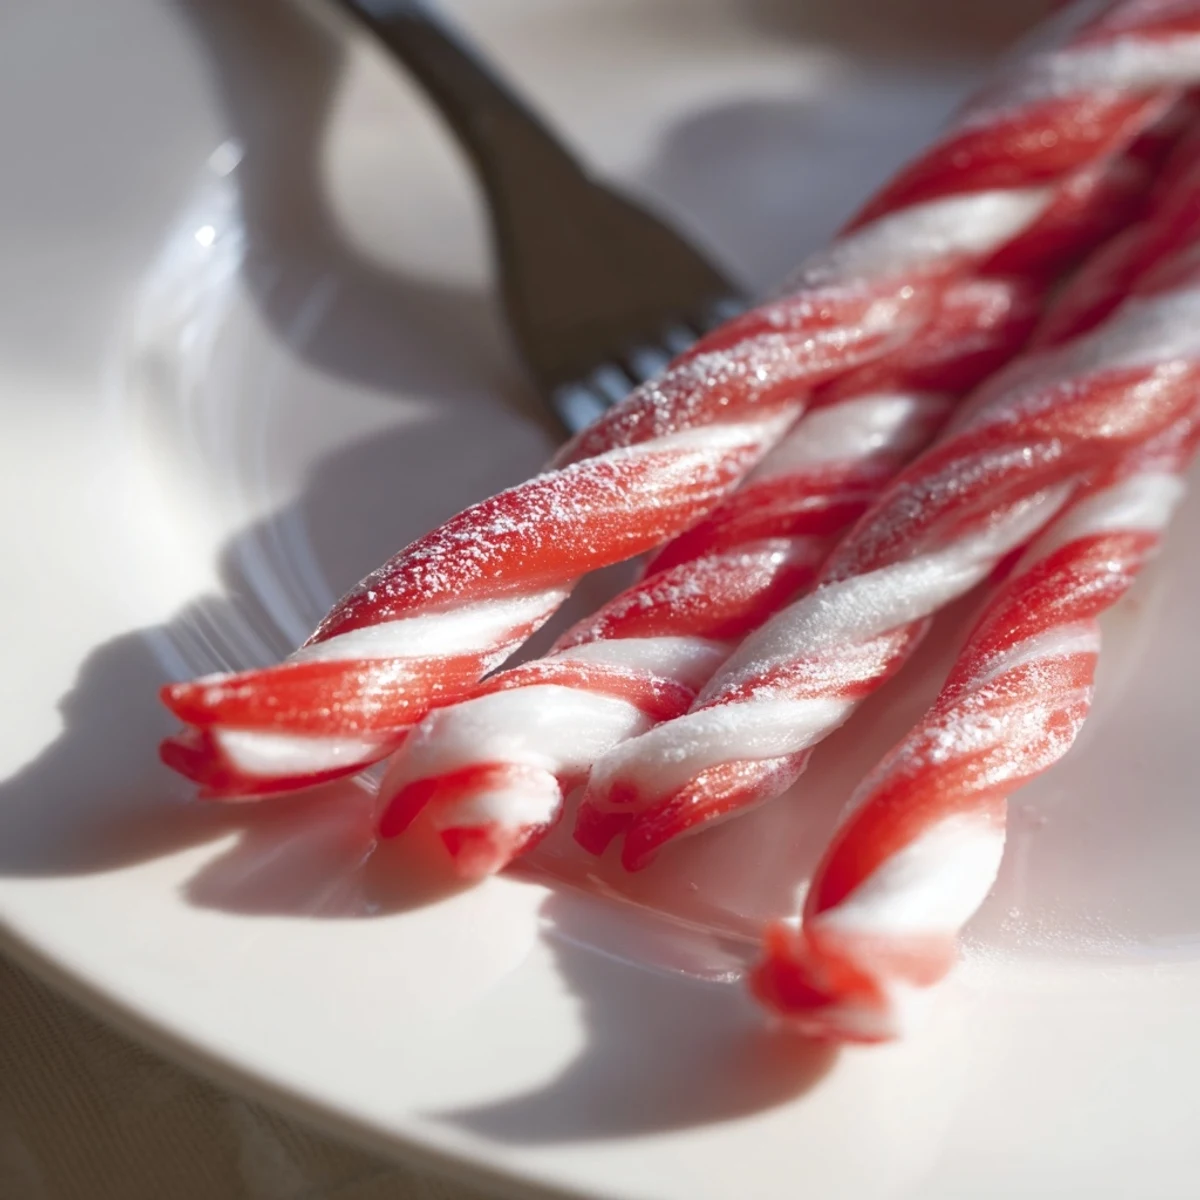 Save to Pinterest
 Making peppermint sticks is a small holiday ritual that transforms your kitchen into something that smells like winter and tastes like care. Every batch is a little different, and that's the whole point—this is candy made by you, not by a factory, and that difference is the entire reason to make it.
Recipe FAQs
- → What is the key to achieving the glossy texture?
-
Pulling the syrup repeatedly after cooling develops the desired opaque, glossy finish essential for the classic peppermint stick appearance.
- → Why is powdered sugar used during preparation?
-
Dusting hands and surfaces with powdered sugar prevents sticking while shaping and pulling the candy strands.
- → How can I create vibrant red stripes?
-
Using red gel food coloring mixed into half of the syrup portion ensures bright, vivid stripes without making the candy sticky.
- → What cooking temperature is required for the syrup?
-
The syrup should be boiled until it reaches 280°F (138°C), ensuring the right consistency for stretching and shaping.
- → Can the sticks be stored long term?
-
Yes, once hardened, store the peppermint sticks in an airtight container at room temperature to maintain freshness.
- → Are these suitable for special diets?
-
These sticks are vegetarian and gluten-free, but check ingredient labels for allergens like corn syrup and food coloring.
