 Save to Pinterest
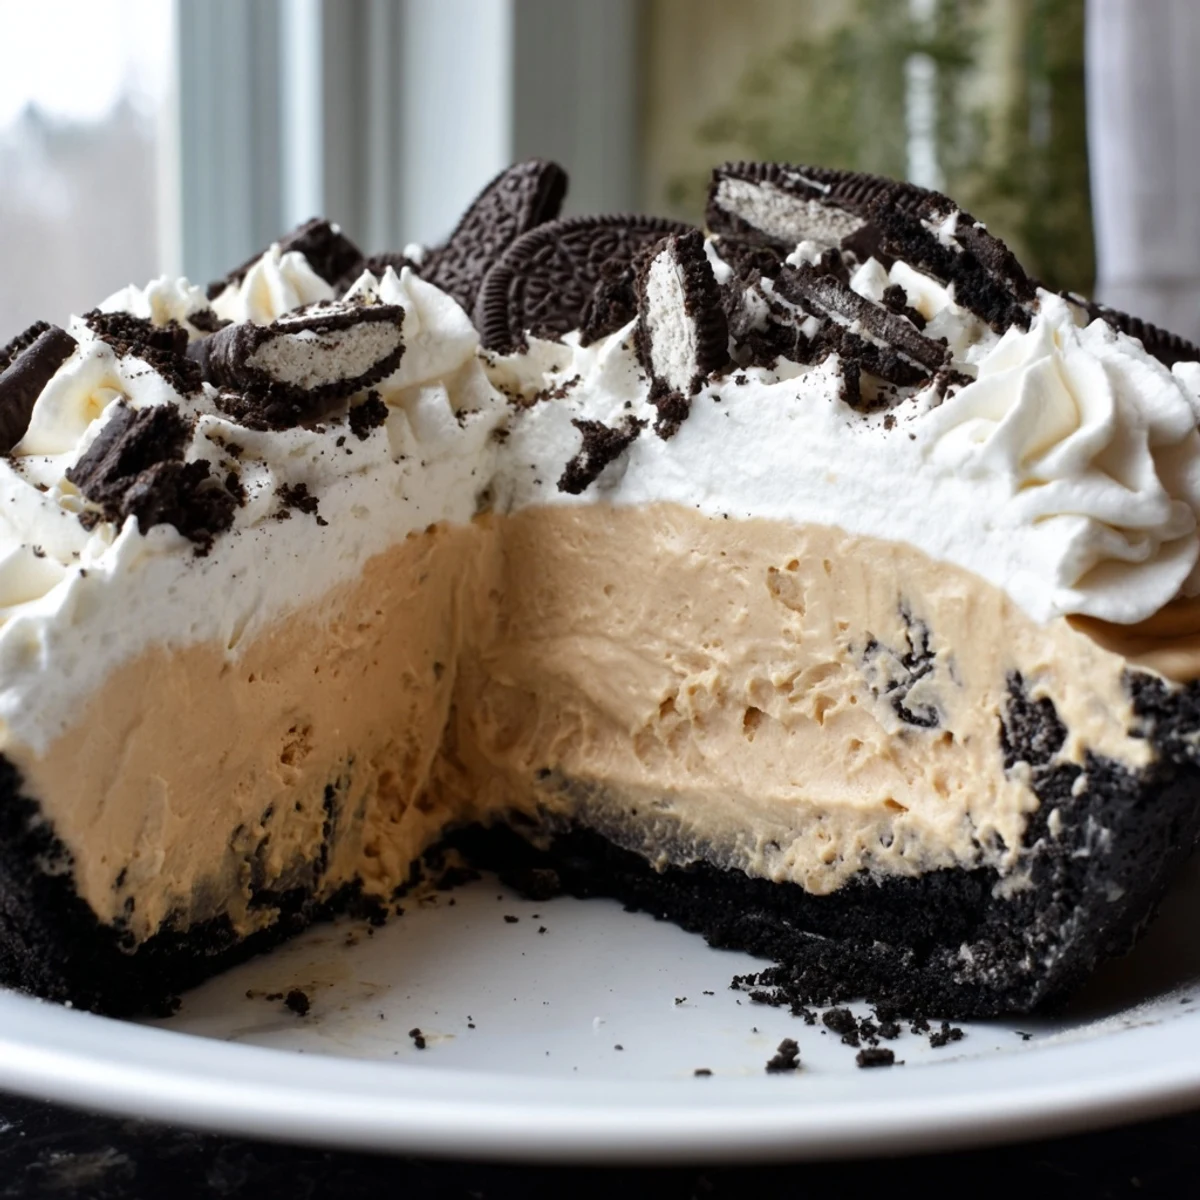
 This indulgent dessert combines a crunchy chocolate Oreo crust with an ultra-creamy peanut butter filling. The crust comes together quickly with melted butter and crushed cookies, while the silky filling blends creamy peanut butter, softened cream cheese, powdered sugar, and freshly whipped cream.
After chilling until set, the pie gets crowned with sweetened whipped cream and scattered Oreo pieces for that perfect crunch. The entire process takes just 30 minutes of active preparation, though the chilling time ensures the filling achieves that luxurious, sliceable texture. Each bite delivers the irresistible combination of salty-sweet peanut butter, rich chocolate, and light-as-air cream.
My roommate Jenna brought this to our apartment potluck years ago, and I honestly hovered near the pie dish the entire night. Something about that salty-sweet combo gets stuck in your head like a favorite song you can't stop humming.
I made this for my dad's birthday last summer, and he kept sneaking back to the kitchen 'just to check if it was ready' every twenty minutes. Now he requests it instead of cake.
Ingredients
- 24 Oreo cookies: Don't bother scraping out the filling, that creamy center helps bind everything together beautifully
- 5 tbsp unsalted butter, melted: Let it cool slightly so it doesn't soften the cookies too much when mixing
- 1 cup creamy peanut butter: Room temperature spreads easier and prevents those tiny lumps that refuse to blend
- 8 oz cream cheese, softened: Leave it out for at least an hour, cold cream cheese creates a lumpy filling every time
- 1 cup powdered sugar: Sift it first if you can, otherwise you might bite into stubborn sweet pockets
- 1 cup heavy whipping cream: Cold from the fridge whips up faster and holds its shape better
- 1 cup heavy whipping cream: For the topping, plus 2 tbsp powdered sugar
- 4 Oreo cookies, coarsely crushed: Save your prettiest cookie pieces for the final garnish
Instructions
- Build that chocolate crust:
- Pulse the whole Oreos in a food processor until they look like sandy soil. Pour in the melted butter and pulse until everything sticks together when you pinch it. Press the mixture firmly into your pie dish, using the bottom of a measuring cup to pack it down tight. Bake at 350°F for 10 minutes, then let it cool completely while you make the filling.
- Whip up the creamy filling:
- Beat the peanut butter and softened cream cheese until they become one smooth, silky mixture. Add the powdered sugar and beat again until it disappears completely. In another bowl, whip that cup of heavy cream until stiff peaks form, then gently fold it into the peanut butter mixture until no white streaks remain.
- Let it set:
- Spread the fluffy peanut butter filling over your cooled crust. Pop the whole thing in the fridge for at least 2 hours, though overnight is even better if you can plan ahead.
- Add the clouds on top:
- Whip the remaining cup of cream with the 2 tablespoons of powdered sugar until it holds firm peaks. Spread it generously over the chilled pie, or pipe it fancy if you are feeling extra.
- Finish with the crunch:
- Scatter those crushed Oreos over the top right before serving. Slice with a sharp knife dipped in hot water for clean cuts through all those layers.
 Save to Pinterest
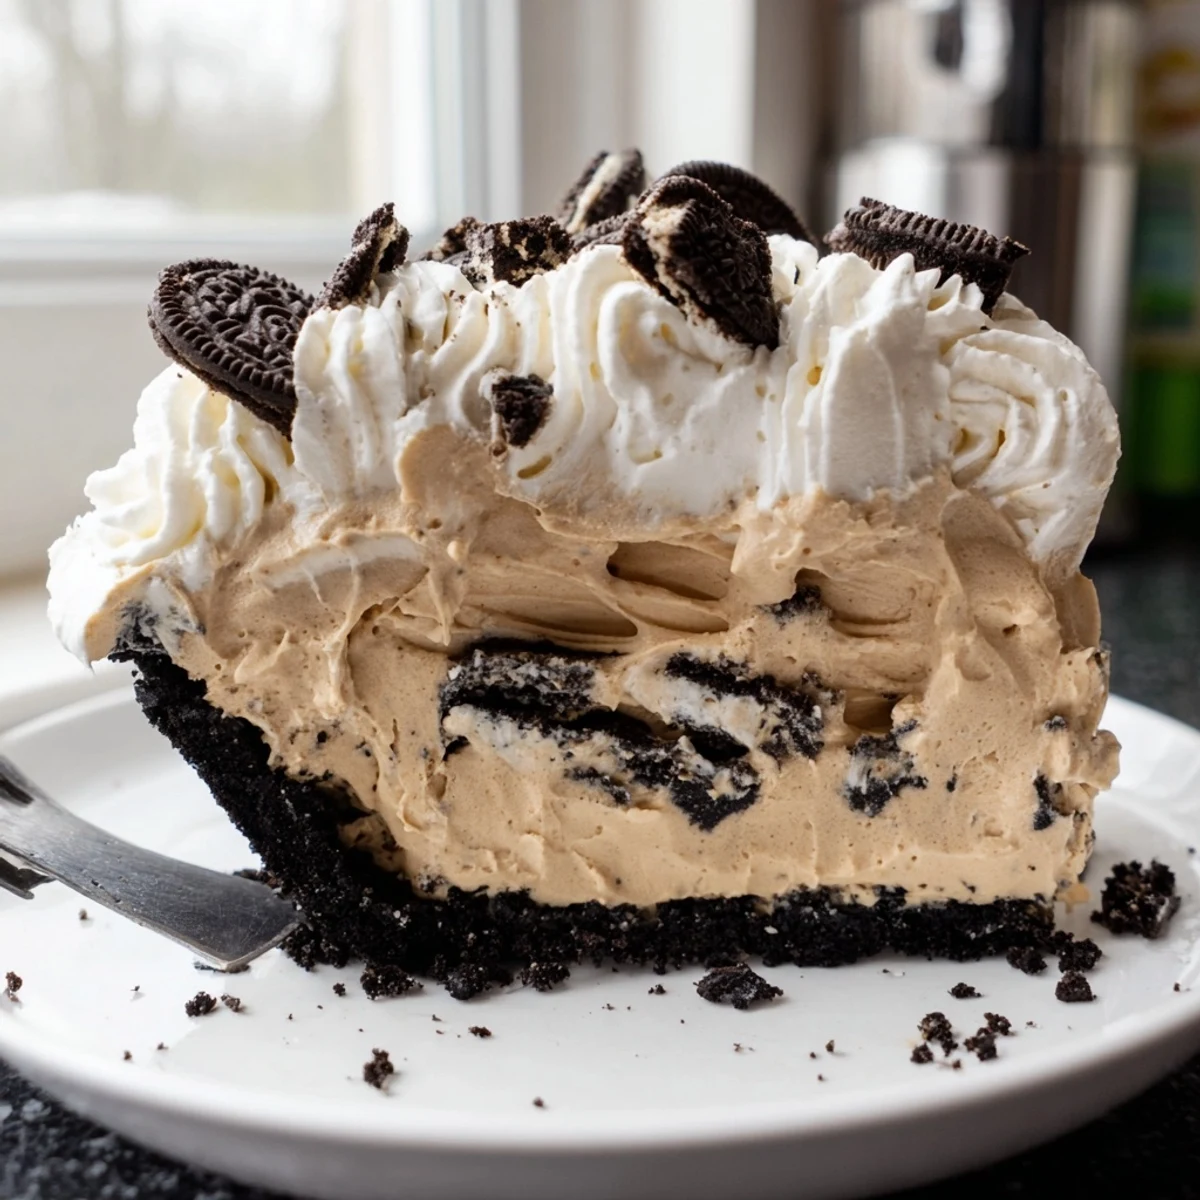
 This pie showed up at every single girls night my senior year of college, and we all knew whoever brought it was automatically voted best hostess of the month.
Making It Your Own
Crunchy peanut butter adds this incredible texture that makes people pause and say wait, what's in here. A drizzle of melted chocolate over the whipped cream turns simple into fancy dinner party territory without any extra effort. Golden Oreos or the mint variety keep things interesting if you want something different.
Setting Yourself Up For Success
Room temperature ingredients blend together seamlessly instead of fighting against each other. I learned this the hard way when I tried rushing once and ended up with tiny cream cheese lumps throughout the filling. Now I pull everything out an hour before I start cooking.
Serving And Storage
This pie actually develops deeper flavor after a day in the refrigerator, something about the peanut butter mellowing into the crust. Leftovers keep beautifully covered for up to five days, though in my house they rarely survive past day two.
- Run your knife under hot water between slices for picture-perfect pieces
- Let the pie sit at room temperature for 10 minutes before serving for the best texture
- Top with mini peanut butter cups if you really want to impress your peanut butter-loving friends
 Save to Pinterest
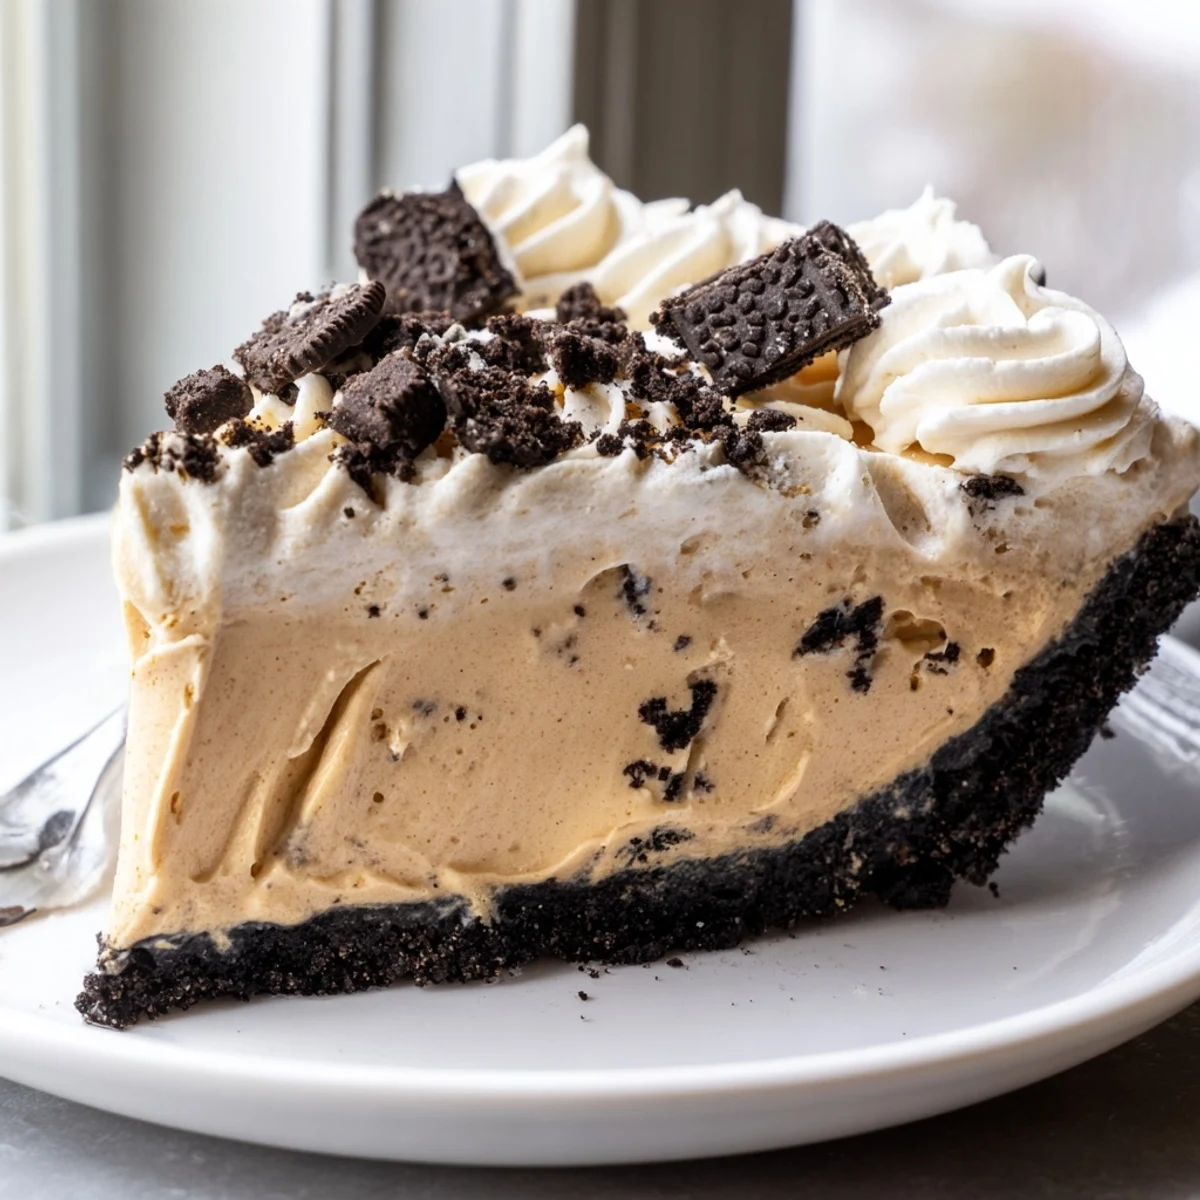
 There is something deeply satisfying about a recipe that looks fancy but requires almost zero actual effort. This pie never fails to make people happy.
Recipe FAQs
- → Can I make this ahead of time?
-
Absolutely. This actually improves after chilling overnight. The flavors meld beautifully, and the texture becomes even more firm and sliceable. Store covered in the refrigerator for up to 4 days before serving.
- → Can I use crunchy peanut butter?
-
Yes, crunchy peanut butter works wonderfully and adds extra texture throughout the creamy filling. Just be aware it may create slightly ribbed slices when cut.
- → Do I have to bake the crust?
-
Baking for just 10 minutes helps set the crust and creates a sturdier base. However, you can skip baking and simply chill the pressed crust for 30 minutes—though it may be slightly more crumbly when sliced.
- → Can I freeze this pie?
-
This freezes exceptionally well. Wrap the fully assembled pie tightly in plastic wrap and foil, then freeze for up to 2 months. Thaw overnight in the refrigerator before serving—the texture remains perfectly creamy.
- → What if I don't have cream cheese?
-
You can substitute with an equal amount of mascarpone cheese for a slightly lighter taste. Alternatively, increase the peanut butter to 1½ cups and add 4 tablespoons of melted butter, though the filling will be softer.
- → Can I make this gluten-free?
-
Use gluten-free chocolate sandwich cookies instead of traditional Oreos. Most other ingredients are naturally gluten-free, but always verify labels especially for the whipped cream and any add-ins.
