 Save to Pinterest
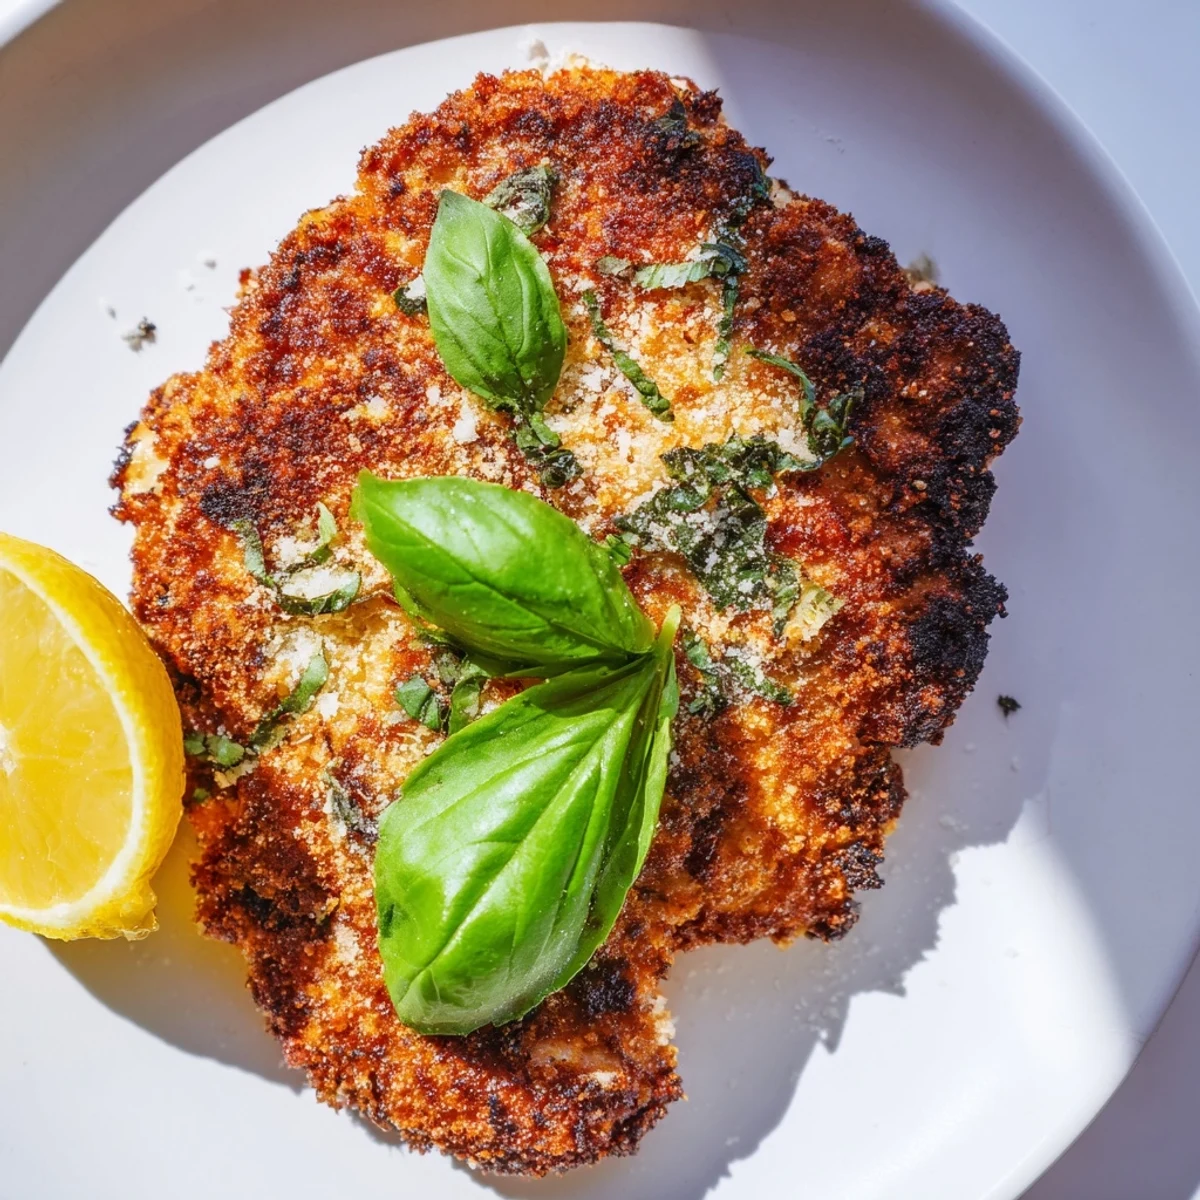
 These golden chicken cutlets deliver crispy perfection with a savory Parmesan and fresh basil coating. The classic breading technique creates satisfying crunch while keeping the chicken tender and juicy inside. Ready from start to finish in just 30 minutes, these cutlets work perfectly for busy weeknight dinners when you want something special without spending hours in the kitchen.
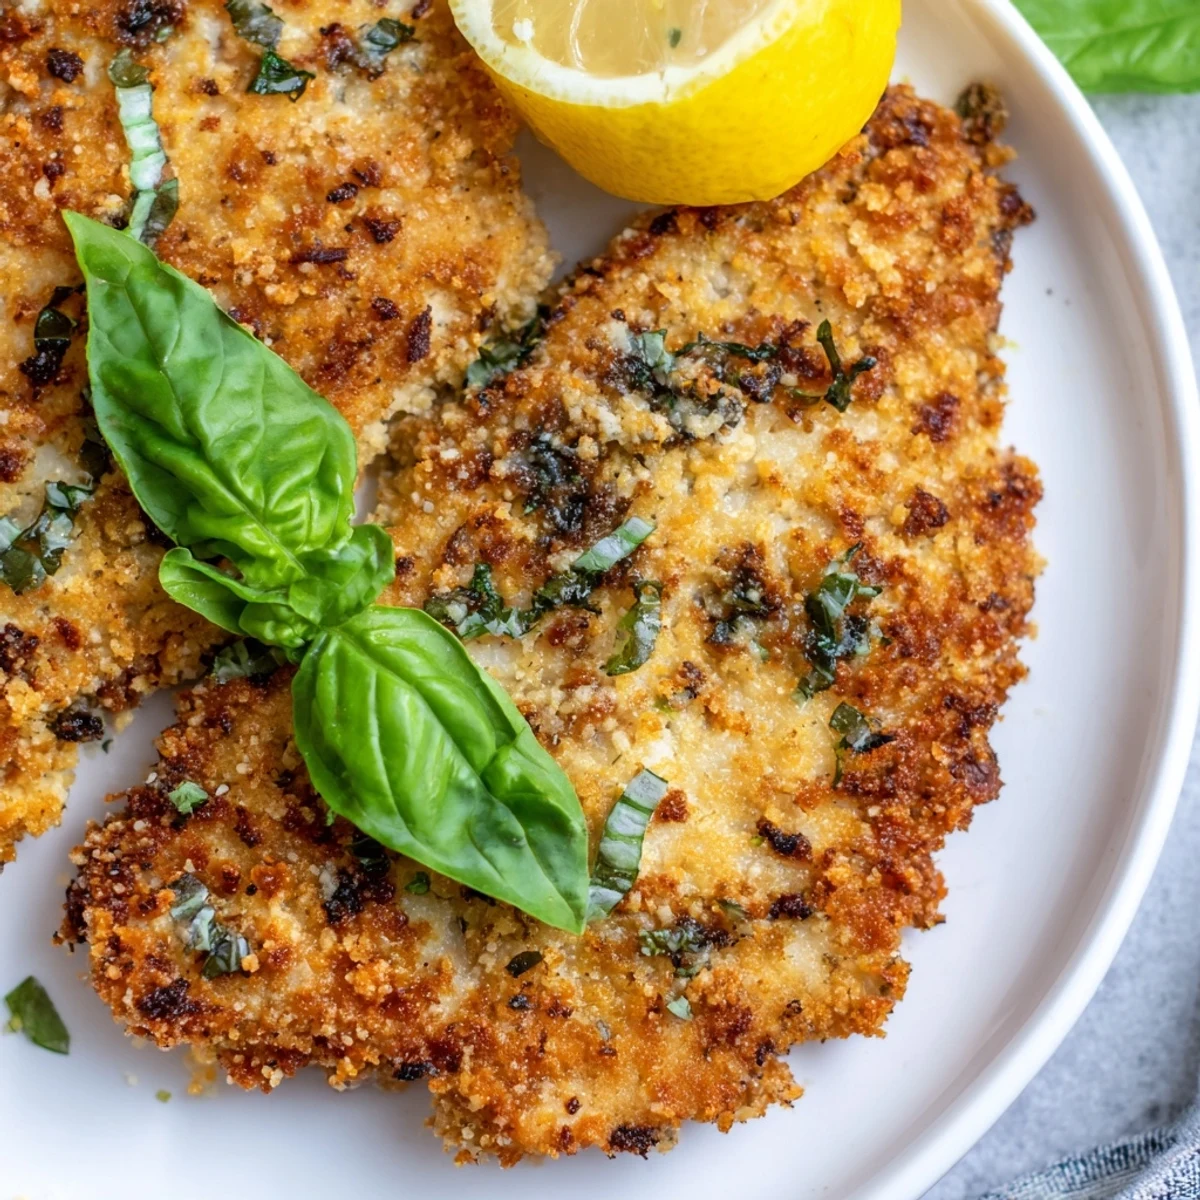
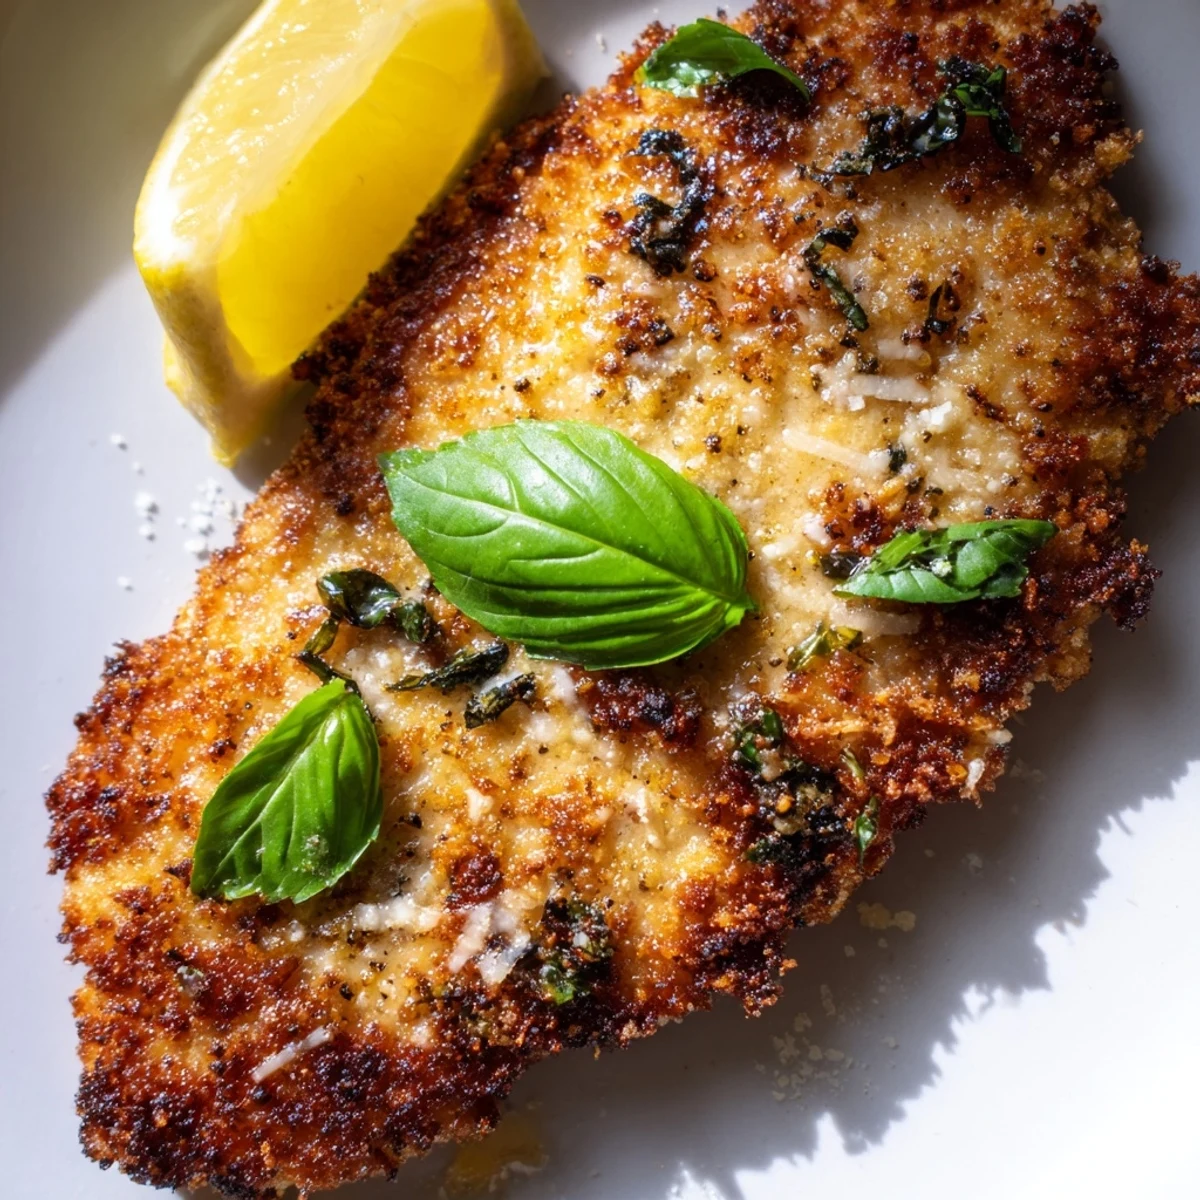
The combination of panko breadcrumbs, grated Parmesan, and chopped fresh basil creates an irresistible coating that's savory and aromatic. A touch of garlic powder and paprika adds depth without overpowering the fresh flavors. Fry them in a skillet for the crispiest results, or bake them at 425°F for a lighter version that still delivers great crunch.
These cutlets pair beautifully with simple sides—a crisp green salad, steamed vegetables, or pasta. The extra Parmesan and fresh basil garnish adds restaurant-style presentation, while lemon wedges provide a bright finish that cuts through the richness. Leftovers reheat well for next-day lunches, making this a versatile option for meal prep too.
The smell of Parmesan and basil hitting hot oil still pulls me back to my tiny first apartment kitchen, where I learned that simple ingredients could create something magical in under thirty minutes. My roommate used to poke her head in whenever that golden, nutty aroma filled our shared space, knowing dinner was about to be seriously good despite our bare-bones budget. Those crispy cutlets became our go-to celebration for surviving exams, bad days, or just Tuesday.
Last winter my sister called mid-breakdown about hosting dinner for her new in-laws with zero cooking experience. I walked her through these cutlets over the phone, pacing my own kitchen while she pounded chicken with exaggerated enthusiasm. She texted later that night: they asked for seconds and she felt like a kitchen rock star for the first time in her life.
Ingredients
- 4 boneless skinless chicken breasts: Pounding them thin not only cooks faster but creates more surface area for that gorgeous crust
- Salt and black pepper: Do not skip seasoning before breading or you will end up with bland chicken beneath all that flavor
- 1 cup all-purpose flour: This creates the base layer that helps the egg stick and gives structure to your crust
- 2 large eggs and 1 tablespoon milk: Whisked together until completely smooth, this acts as the glue between flour and breadcrumbs
- 1 cup panko breadcrumbs: Japanese breadcrumbs stay crunchier longer than regular ones, plus they create that irresistible shaggy texture
- 1/2 cup grated Parmesan cheese: Use the good stuff freshly grated, not the shaker can, because you will taste the difference
- 1/4 cup finely chopped fresh basil: The fresh herb brings brightness that cuts through the richness of the cheese and oil
- 1 teaspoon garlic powder and 1/2 teaspoon paprika: These two ingredients add depth and a subtle warmth without overwhelming the other flavors
- 1/4 cup olive oil or neutral vegetable oil: You need enough to create a thin layer across the bottom of your pan
Instructions
- Prep the chicken:
- Place each chicken breast between plastic wrap and pound gently with a meat mallet or rolling pin until even and about 1/2 inch thick. Season both sides generously with salt and pepper.
- Set up your breading station:
- Arrange three shallow bowls in order: flour in the first, whisked eggs and milk in the second, and a mixture of panko, Parmesan, basil, garlic powder, and paprika in the third. Keep one hand for wet ingredients and one for dry to avoid sticky fingers.
- Coat each cutlet:
- Dredge chicken in flour, shake off excess, dip into egg mixture, then press firmly into the breadcrumb mixture to coat thoroughly. Place on a clean plate while you finish the rest.
- Fry to golden perfection:
- Heat oil in a large skillet over medium heat until shimmering. Add chicken in a single layer and cook 3 to 4 minutes per side until deep golden brown and cooked through to 165°F. Drain briefly on paper towels before serving.
 Save to Pinterest
 My youngest daughter turned her nose up at chicken for years until she watched me make these one evening, fascinated by the dipping process like a tiny kitchen scientist. Now she requests them on her birthday every year, and I catch her sneaking extra Parmesan into the bowl when she thinks I am not looking.
Make It Your Own
Sometimes I swap in Italian seasoning blend when fresh basil feels like too much effort or too expensive. The dried herbs work surprisingly well, and my neighbor who claims to hate cooking actually made these successfully on her first try with that substitution. Do not be afraid to experiment with what you have on hand.
The Oven Method
On days when standing over a hot stove feels impossible, I bake these at 425°F on a wire rack set over a baking sheet. They take about 15 to 18 minutes with a flip halfway through, and while they are not quite as crispy as the fried version, they still disappear just as quickly from the serving platter.
Serving Suggestions That Work
A simple arugula salad with lemon vinaigrette cuts through the richness beautifully, and my mom swears by serving these alongside buttered noodles for the ultimate comfort meal. I have found that keeping sides light lets the chicken remain the star.
- Squeeze fresh lemon right before serving to wake up all the flavors
- Let the cutlets rest for a couple minutes so the crust stays crisp when you cut in
- Double the coating mixture if you are cooking extra chicken—it freezes beautifully uncooked
 Save to Pinterest
 There is something deeply satisfying about hearing that first crunch when you bite into a perfectly cooked cutlet. I hope these become your weeknight comfort too.
Recipe FAQs
- → Can I make these chicken cutlets ahead of time?
-
Yes, you can bread the cutlets up to 4 hours ahead and store them refrigerated on a parchment-lined baking sheet. Cook them just before serving for the crispiest results. Leftovers reheat well in a 350°F oven for 10-12 minutes.
- → What's the best way to pound chicken breasts evenly?
-
Place each chicken breast between two sheets of plastic wrap. Using a meat mallet or rolling pin, start from the center and work outward with gentle, even pressure until the chicken reaches an even ½-inch thickness. This ensures uniform cooking.
- → Can I bake these instead of frying?
-
Absolutely. Arrange breaded cutlets on a wire rack over a baking sheet and bake at 425°F for 15-18 minutes, flipping halfway through. The wire rack allows air circulation for crispy results without the added oil from frying.
- → What can I serve with these cutlets?
-
These pair wonderfully with a simple arugula salad with lemon vinaigrette, steamed broccoli or green beans, pasta with marinara, or roasted potatoes. The light, fresh flavors complement the crispy chicken perfectly.
- → How do I know when the chicken is fully cooked?
-
The cutlets should be golden brown on both sides and the internal temperature should reach 165°F when measured with a meat thermometer. If you don't have a thermometer, cut into the thickest part—the meat should be opaque throughout, not pink.
- → Can I freeze these cutlets?
-
Yes, freeze uncooked breaded cutlets in a single layer on a baking sheet until firm, then transfer to a freezer bag for up to 3 months. Cook from frozen, adding a few extra minutes to the cooking time.
