 Save to Pinterest
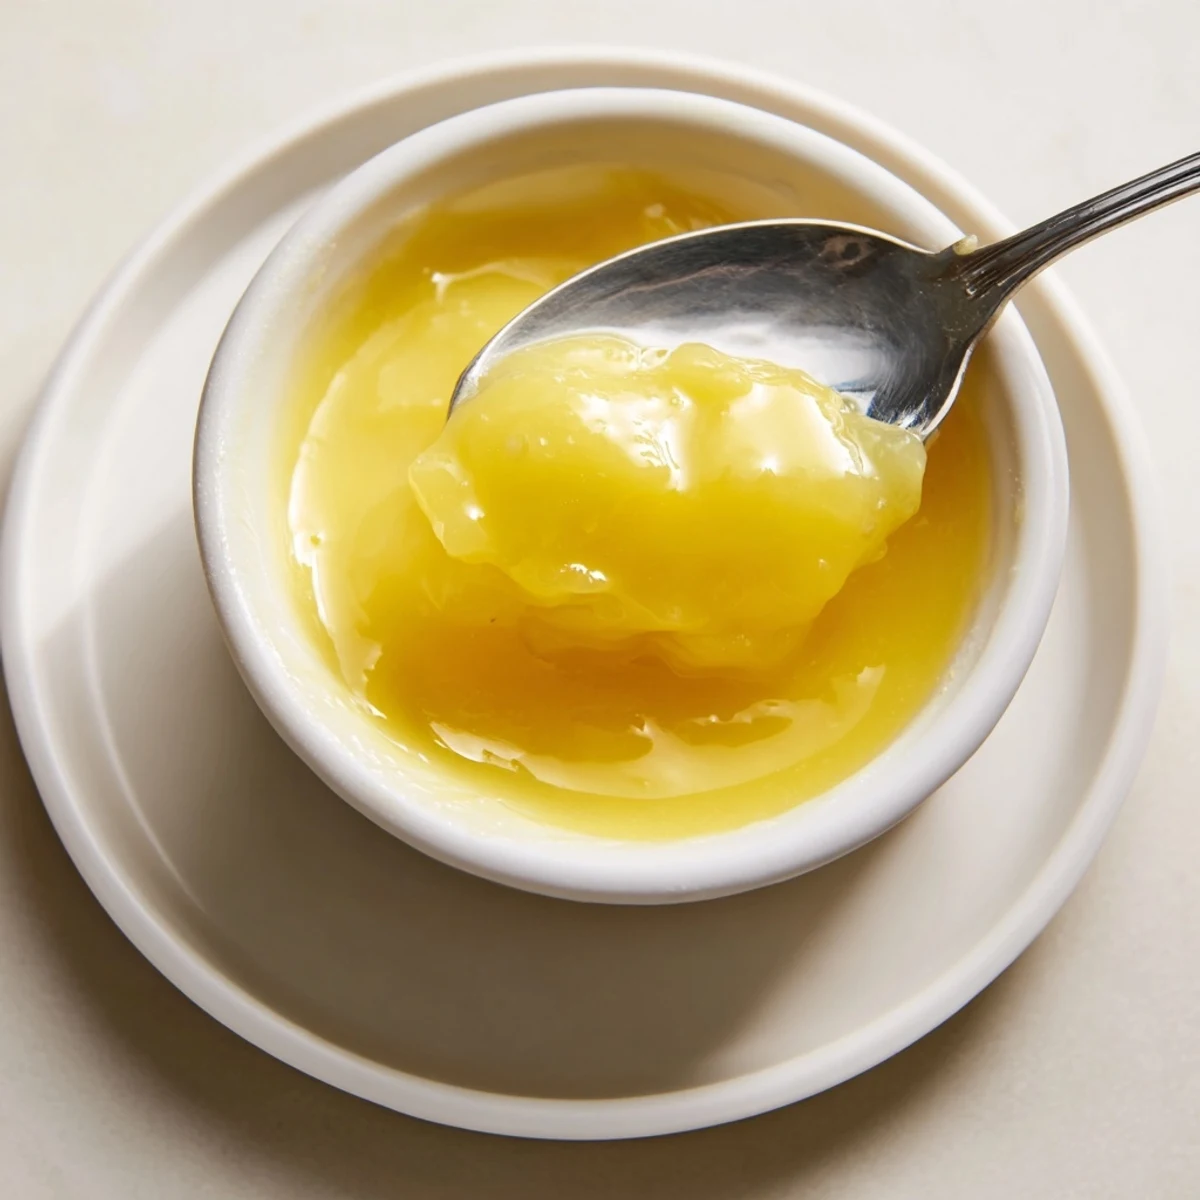
 Bright, silky lemon curd combines fresh lemon zest and juice with eggs, sugar and butter. Whisked over a gentle double boiler until it thickly coats a spoon, then strained for extra smoothness, it cools into a glossy spread that jars well and keeps chilled for up to two weeks. Ideal as a filling, on toast, or stirred into yogurt; plant-based butter swaps for a dairy-free option.
The unmistakable scent of fresh lemons always brightens my kitchen, but nothing captures their radiance quite like homemade lemon curd. One rainy afternoon, as the clouds pressed close, I found myself whisking eggs and zest together, the scent of citrus carrying me far from the drizzle outside. The color transforms so cheerily—those vivid yellows are sunshine in a jar. It's quick to make, but the satisfaction lingers, especially when spooned over a warm scone.
One weekend, a friend dropped by with a still-warm loaf of brioche, and we ended up devouring most of it at the counter with this lemon curd. Our laughter mixed with the clink of butter knives and the gentle surprise of just how tangy and smooth it was. Even the cat tried to get involved, sniffing curiously at the empty jar afterwards. It's turned into a casual ritual whenever we have extra lemons or need a little kitchen pick-me-up.
Ingredients
- Large eggs: The foundation for a creamy, thick curd, and I always crack them carefully to avoid bits of shell sneaking in.
- Unsalted butter, cubed: Added off the heat for a glossy, velvety finish—just keep it cold so it melts smoothly.
- Large lemons (zest and juice): Zest first before juicing for easier extraction and maximum citrus punch.
- Granulated sugar: Balances the lemon’s natural bite while keeping the texture delicately smooth.
Instructions
- Gather and zest:
- Zest your lemons before anything else—the oil sprays up and it instantly feels fresher. Set aside, then juice the lemons, catching seeds as you go.
- Whisk it up:
- In a heatproof bowl, whisk the eggs and sugar together until smooth and slightly foamy—there’s something oddly soothing about this step.
- Add the flavor:
- Stir in your lemon zest and juice; the bowl should smell deliciously tart already.
- Gentle heat:
- Place the bowl over a gently simmering saucepan, making sure the bottom stays above the water line. Whisk slowly and steadily as the curd thickens, and watch for that magical moment it starts to coat the back of your spoon.
- Finish with butter:
- Take the curd off the heat and add the cold butter cubes. Whisk until each cube melts—don’t rush, this is where it becomes beautifully smooth.
- Strain and cool:
- Push the curd through a fine-mesh sieve into a clean bowl, catching any zest or scrambled bits. Let it cool for a bit before transferring to sterilized jars; resist sneaking a spoonful if you can.
 Save to Pinterest
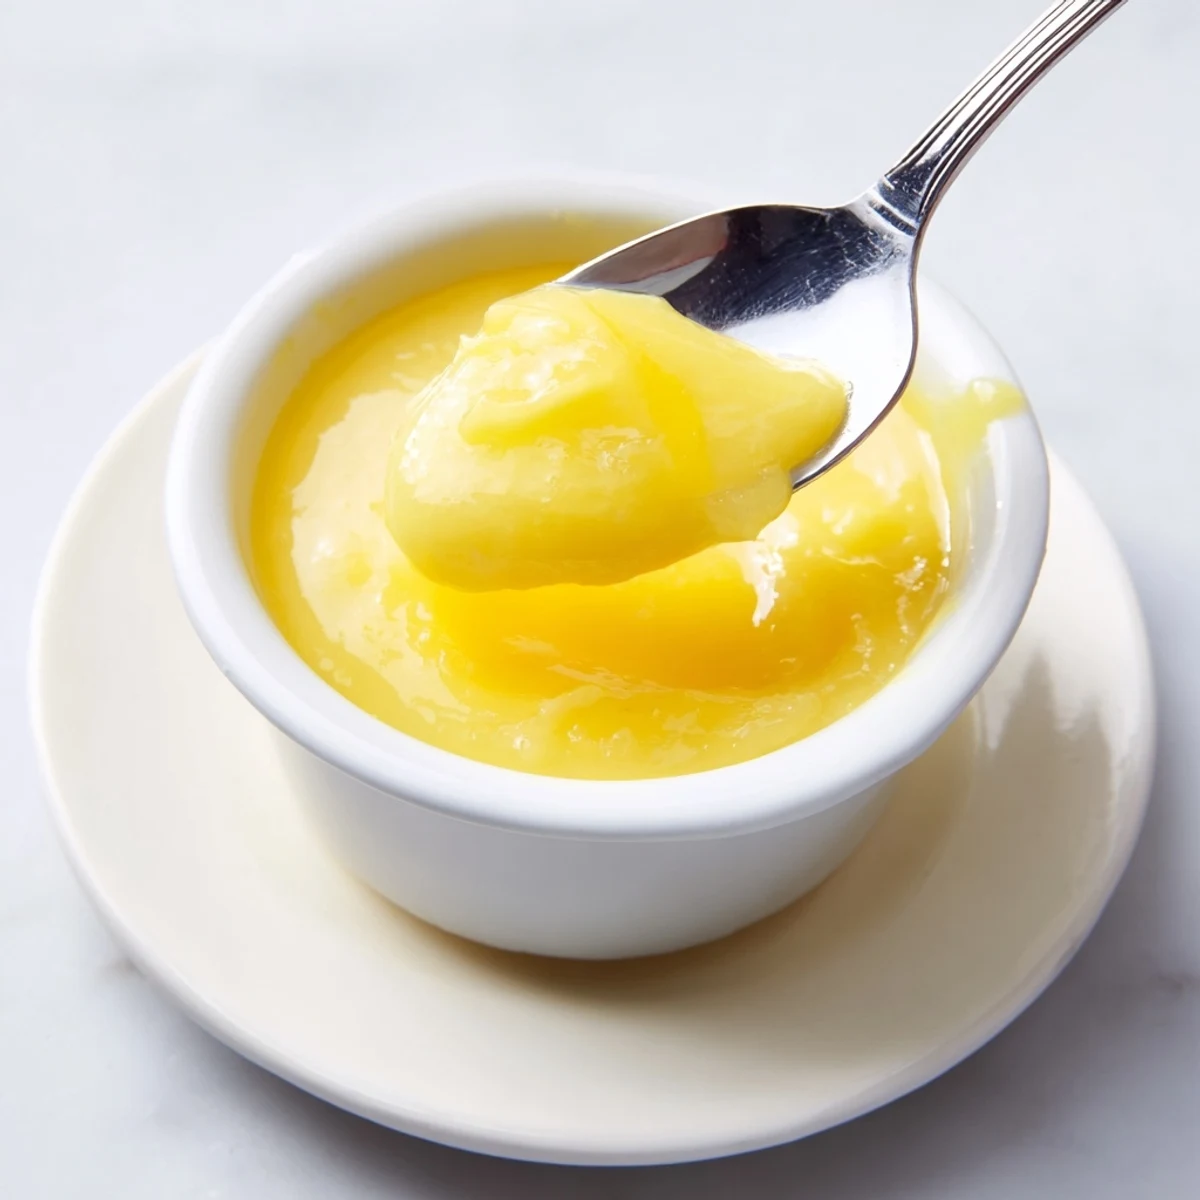
 That first spoonful, still subtly warm, never fails to feel like alchemy—a burst of citrus on the tongue, silky and bright. It’s the sort of thing that makes even a plain piece of toast a little celebration, and everyone who’s tried it seems to light up with the first bite.
How I Store and Use Lemon Curd
Every batch goes straight into two small jars—one usually gets gifted (sometimes reluctantly), and the other I guard for breakfasts and late-night snacks. Lemon curd keeps for up to two weeks in the fridge, though honestly, it rarely lasts that long in my house.
Swaps and Shortcuts
If you need to make it dairy-free, I’ve tested this many times with plant-based butter and it remains just as luminous and spreadable. Sometimes, if I’m in a rush, I’ll strain it only once instead of twice, and no one’s been the wiser. A quick trick for tasting: dip a spoon, then run your finger along the back—if it holds a neat line, your curd is perfect.
Perfect Pairings and Last Thoughts
Lemon curd loves tea—especially Earl Grey or Darjeeling—as much as it loves fresh berries or simple vanilla cake. The brightness cuts through richness, making it a clever secret weapon in your dessert rotation.
- Make sure your jars are fully dry before filling to prevent spoilage.
- Try swirling lemon curd into thick Greek yogurt for breakfast.
- If you overcook and it curdles a bit, a quick blitz with an immersion blender smooths it right out.
 Save to Pinterest
 May your next lemon curd be as uplifting to make as it is to eat. Here’s to jars of sunshine waiting in your fridge whenever the mood strikes.
Recipe FAQs
- → How do I know when the curd is thick enough?
-
When the mixture thickly coats the back of a spoon and a clear line drawn with your finger holds for a moment, it has reached the right consistency. This usually takes 8–10 minutes over a gentle simmer.
- → Can I skip the double boiler step?
-
Direct heat raises the risk of scrambling the eggs. A double boiler gives gentler, more even heat for a silky texture; if using a pan, keep the heat very low and whisk constantly.
- → How should I store the curd?
-
Cool completely, then transfer to sterilized jars and refrigerate. Properly stored, it will keep for up to two weeks in the fridge.
- → How can I make a dairy-free version?
-
Replace the butter with a firm plant-based spread or margarine. The texture will be slightly different but still creamy when whisked in off the heat.
- → Why should I strain the curd?
-
Straining removes any cooked egg bits and excess zest, yielding an extra-smooth, glossy finish—especially helpful if you overcook tiny bits during thickening.
- → Can I use more or less lemon juice?
-
Adjusting juice changes brightness and acidity. Stick near the given amount for balance; adding more may require slightly longer cooking to thicken and can alter sweetness.
