 Save to Pinterest
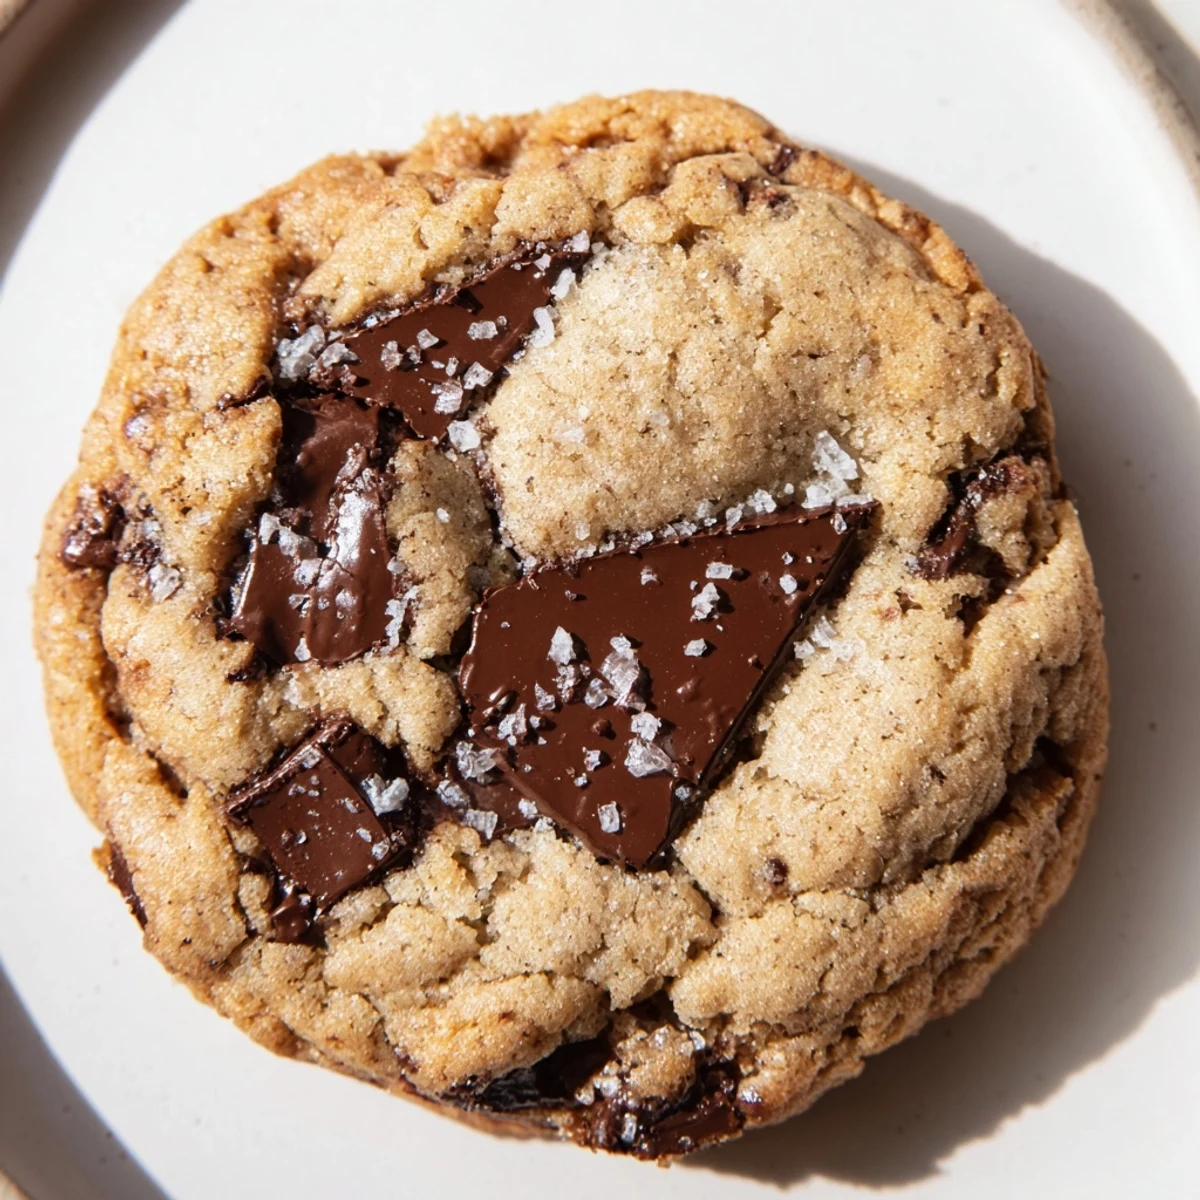
 These chewy chocolate chunk treats combine a tender, buttery base with rich, melting chocolate pieces for an irresistible texture and flavor. The simple mix of flour, sugars, butter, eggs, and vanilla comes together quickly and bakes in just over ten minutes. Adding a pinch of sea salt enhances the chocolate's richness, while easy swaps to milk or dark chunks allow customization. Ideal as a quick and satisfying indulgence, their soft centers and golden edges make each bite delightful.
There's something about the smell of chocolate melting into warm cookie dough that pulls me right back to my kitchen on a random Tuesday afternoon. I wasn't trying to impress anyone that day—just needed something comforting to bite into while the rain tapped against the window. These chocolate chunk cookies became my answer, and they've been my go-to ever since because they strike that perfect balance between chewy and crispy without fussing.
I made these for my neighbor once when her kid came home from school having a rough day, and she told me later that chocolate chunk cookies were the exact thing that turned his mood around. That's when I realized this recipe wasn't just about satisfying a craving—it was about creating a small moment of relief in someone's day.
Ingredients
- All-purpose flour (2 1/4 cups): The foundation that gives structure; measure by spooning and leveling rather than scooping straight from the bag, which compacts it and throws off your proportions.
- Baking soda (1 teaspoon): This is what makes them spread and brown properly; don't skip it thinking salt will do the job.
- Fine sea salt (1/2 teaspoon): Balances the sweetness and amplifies the chocolate flavor in a way that's subtle but noticeable once you taste it.
- Unsalted butter (1 cup, softened): Room temperature is non-negotiable here; cold butter won't cream properly and you'll end up with dense cookies.
- Granulated sugar (3/4 cup) and light brown sugar (3/4 cup): The combination gives you both structure and chewiness; the brown sugar brings moisture that keeps these tender.
- Large eggs (2): Room temperature eggs mix in more smoothly and help bind everything without creating a tough crumb.
- Pure vanilla extract (2 teaspoons): Worth buying the real stuff because it deepens the entire flavor profile in a way vanilla powder can't quite achieve.
- Semisweet chocolate chunks (2 cups): The star of the show; break down a good quality chocolate bar into irregular chunks rather than using only chips, which can sometimes feel too small.
Instructions
- Set your stage:
- Preheat your oven to 350°F and line your baking sheets with parchment paper—this matters because it prevents the bottoms from browning too fast and makes cleanup effortless.
- Build your dry mixture:
- Whisk flour, baking soda, and salt together in a medium bowl and set it aside; this ensures the leavening agent distributes evenly throughout rather than creating surprise pockets of bitterness.
- Cream the foundation:
- Beat softened butter with both sugars until the mixture looks pale and fluffy, which takes about 2 to 3 minutes with an electric mixer; you're aerating the butter, which helps the cookies rise and creates that tender crumb.
- Introduce the eggs:
- Add eggs one at a time, beating well after each one, then stir in vanilla extract; rushing this step or adding them all at once can create a broken, curdled-looking mixture that bakes into dense cookies.
- Marry wet and dry:
- Gradually add your dry ingredients to the wet mixture, stirring just until combined; overmixing at this point develops gluten and toughens the final cookie.
- Fold in the treasure:
- Use a spatula to gently fold in your chocolate chunks, keeping some chunks whole rather than pressing them in so they'll have nice melted pockets throughout.
- Shape and space:
- Drop rounded tablespoons of dough (or use a cookie scoop for consistency) onto your prepared sheets about 2 inches apart; they'll spread as they bake, so don't crowd them.
- Bake with intention:
- Bake for 10 to 12 minutes until the edges are golden but the centers still look slightly underbaked; they'll continue cooking on the hot sheet after you pull them out.
- Cool with patience:
- Let them sit on the baking sheet for 5 minutes to firm up slightly, then transfer to a wire rack; this prevents them from cracking when moved too soon.
 Save to Pinterest
 I remember testing this recipe on a batch where I accidentally left them in for exactly 14 minutes instead of 12, and my whole house smelled incredible but the cookies came out slightly crispy. My partner ate one anyway and said it was still good, which made me realize these are forgiving enough to adapt to how you like them—chewy or crisper, it's your call.
The Chocolate Question
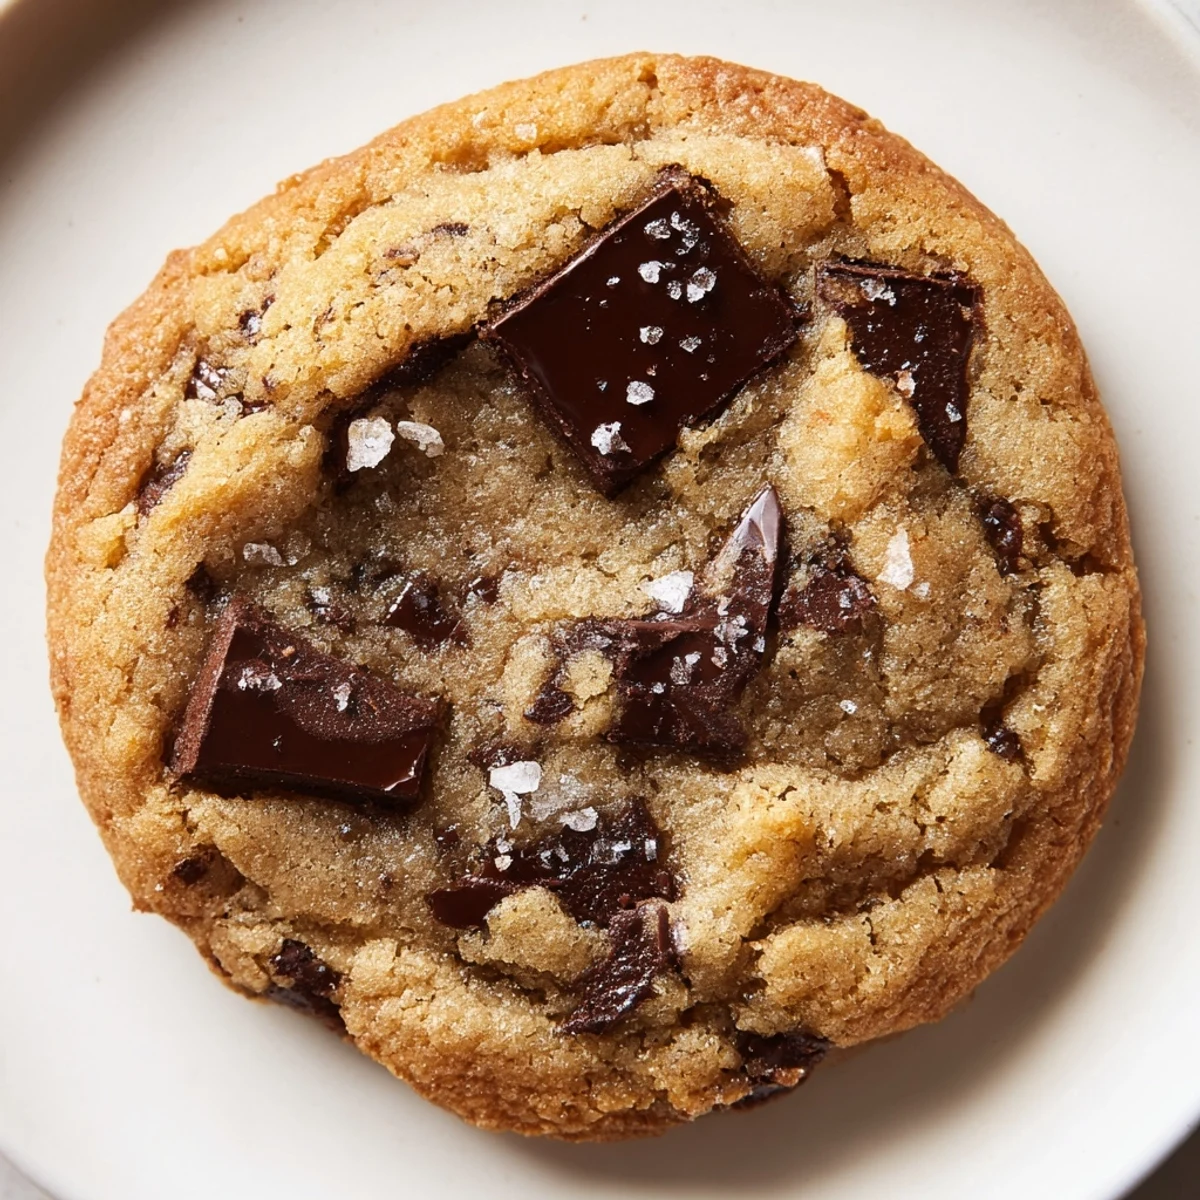
The type of chocolate you use changes everything subtly but noticeably. Semisweet is the classic middle ground, but I've experimented with swapping in dark chocolate for deeper richness and milk chocolate when I want something sweeter and more nostalgic-tasting. Cut chunks from a quality bar rather than relying entirely on chips; chips often contain stabilizers that change how they melt, while chunks give you that irregular, melty quality that makes people stop mid-chew and smile.
Storage and Staying Power
These keep beautifully in an airtight container for up to a week, though I've never had them last that long. If you need them to travel or if you're planning ahead, you can also freeze the dough balls on a baking sheet, then bake them straight from frozen (just add a minute or two to the baking time) for that fresh-baked moment anytime you want it.
Little Touches That Matter
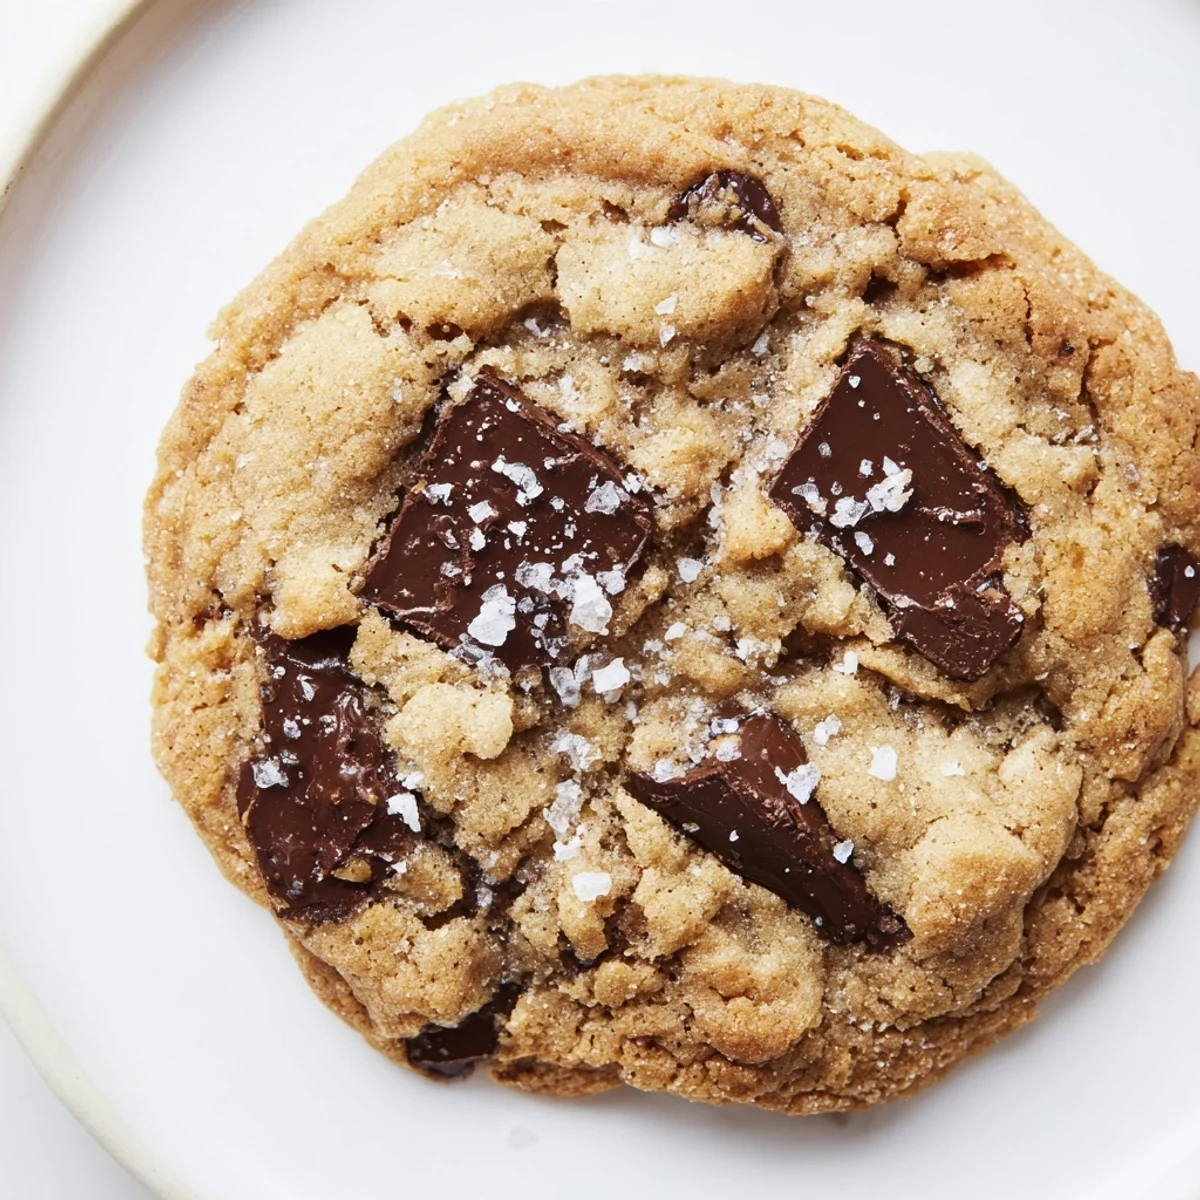
The notes on this recipe might seem small, but they're the difference between good cookies and ones people remember. A pinch of flaky sea salt sprinkled on top before baking adds a subtle sophistication that makes people lean in and ask what's different. Room temperature ingredients might seem fussy, but they truly do make the mixture emulsify better and create a more tender cookie. The cooling step on the baking sheet gives them time to firm up without drying out, which is the secret to that perfect chewy-crispy balance.
- For extra flavor, sprinkle a pinch of flaky sea salt on top of each cookie just before baking.
- You can substitute the semisweet chocolate with milk or dark chocolate chunks depending on your preference.
- If dough seems soft, chill it for 15 minutes before baking for easier handling and less spread.
 Save to Pinterest
 These cookies have become my answer to almost everything—a rough day, a celebration, a time I want to connect with someone I care about. That's the magic of a recipe this simple and good.
Recipe FAQs
- → What type of chocolate works best?
-
Semisweet chocolate chunks provide a balanced sweetness and rich flavor, but milk or dark chocolate can be used to customize taste.
- → How do I achieve chewy texture?
-
Using a mixture of sugars and not overbaking ensures the treats remain soft and chewy with slightly crisp edges.
- → Can I add a flavor enhancer?
-
A light sprinkle of flaky sea salt on top before baking highlights the chocolate’s richness and balances sweetness.
- → What is the ideal oven temperature?
-
Baking at 350°F (175°C) allows even cooking, producing golden edges with soft centers.
- → How should these treats be stored?
-
Keep in an airtight container at room temperature for up to one week to maintain freshness and texture.
