 Save to Pinterest
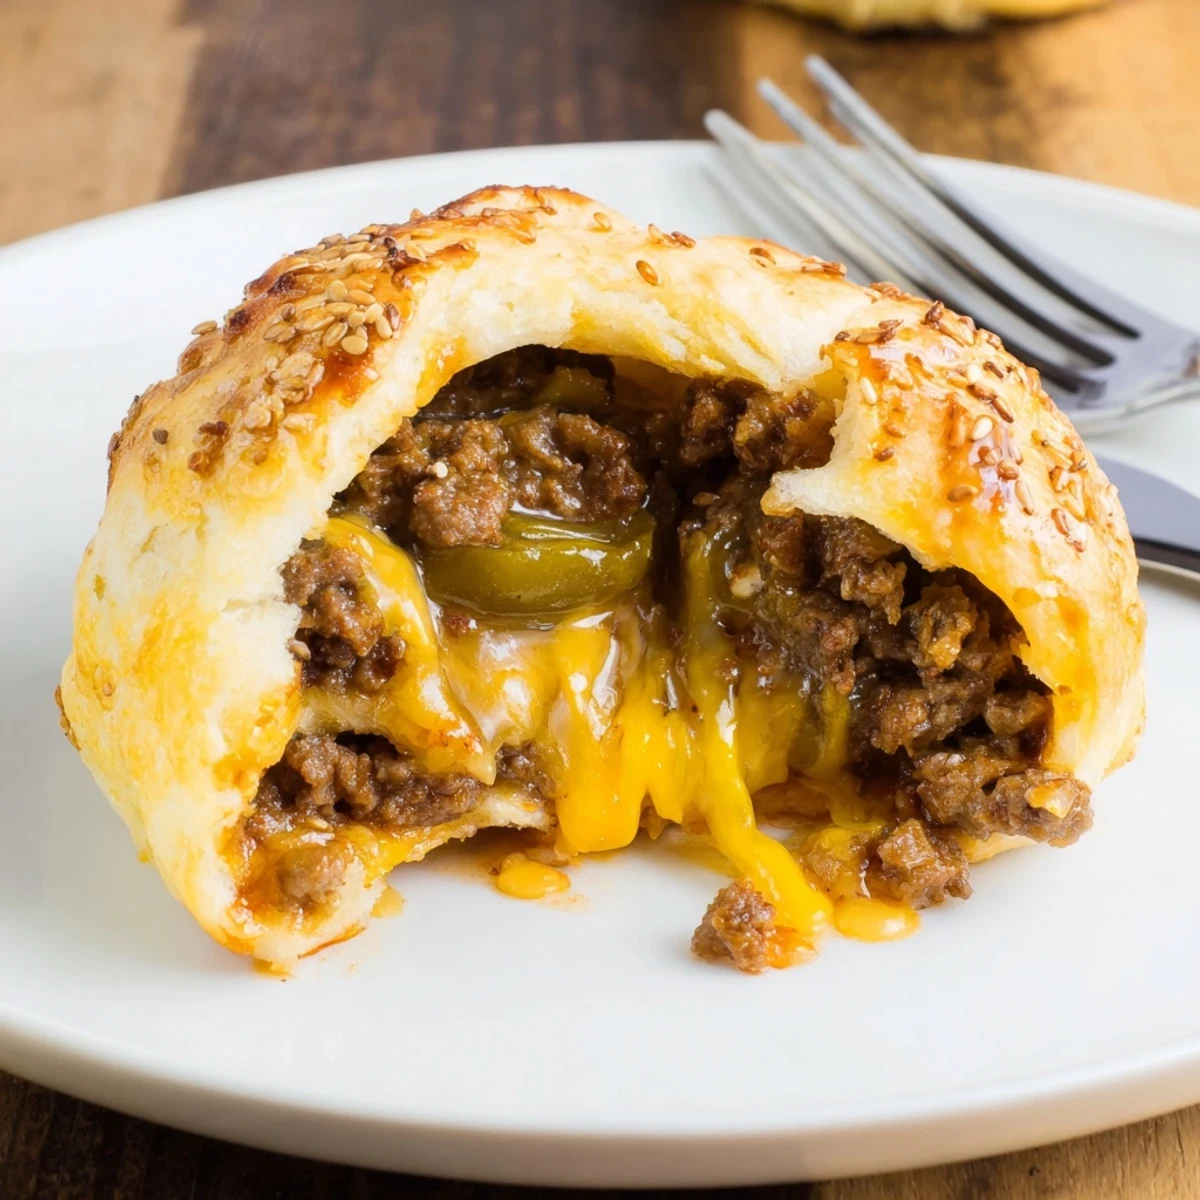
 These cheesy cheeseburger bombs are biscuit-wrapped beef rounds filled with shredded cheddar and a mozzarella cube, seasoned with ketchup, mustard and Worcestershire. Sauté onions with the beef, drain, then cool slightly before assembling in biscuit rounds. Brush with egg wash, sprinkle sesame seeds and bake at 200°C (400°F) until golden. Serve warm with dipping sauces; swap pepper jack or add bacon for variation.
The kitchen practically pulsed with energy the first time these Cheesy Cheeseburger Bombs exploded out of my oven. My friend challenged me to recreate our favorite late-night fast food bite—only messier, gooier, and much more fun. There was laughter and just a hint of friendly competition as we wrapped beef and cheese in biscuit dough, dubious at first but grinning wide by the first whiff. The aroma alone made us giddy, even before that first oozing bite.
I still recall the batch I made for my little cousin's birthday sleepover. The kids navigated the kitchen with sticky fingers, helping me pinch dough together and debating whether 'extra' cheese even counts as too much. Their giggles and the scent of baking beef mingled in the air, and everyone was amazed at their own mini burger bombs—none survived past the first five minutes out of the oven.
Ingredients
- Ground beef: Use fresh ground beef for the juiciest filling and brown it thoroughly for rich, savory notes.
- Shredded cheddar cheese: I like sharp cheddar for extra tang, but any good melt works—freshly grated cheese melts better than pre-shredded.
- Mozzarella cubes: Popping these in the center ensures that dramatic cheesy pull in every bite; cut them a bit larger for extra goo.
- Onion: Diced small, it adds sweetness and blends seamlessly into the beef—cook until translucent for just the right texture.
- Pickle: Chopped finely for bright bursts of flavor—I add it only sometimes for crunch and that classic burger tang.
- Refrigerated biscuit dough: Store-bought biscuit dough saves tons of time and bakes up golden; don’t handle it too much or it gets tough.
- Ketchup, mustard, and Worcestershire sauce: These flavor boosters give you that unmistakable cheeseburger taste—stir in at the very end for maximum punch.
- Garlic powder, salt, black pepper: The basics, but don't skip them—seasoning makes all the difference.
- Egg (for wash): A glossy finish that seals in moisture and helps the sesame seeds stick—whisk well for best results.
- Sesame seeds: Sprinkle just before baking for that authentic burger bun touch; toast them first for extra nuttiness if you want to be fancy.
Instructions
- Get the oven ready:
- Set your oven to 200°C (400°F) and line a baking sheet with parchment paper so nothing sticks later on.
- Sizzle and sauté:
- In a skillet over medium heat, cook the diced onion until it's soft and fragrant. Add the ground beef, garlic powder, salt, and pepper, then stir and mash until browned—let your nose guide you to perfection.
- Build burger flavor:
- Stir in the ketchup, mustard, Worcestershire sauce, and chopped pickles (if using); let it bubble just a moment, then pull the skillet off the heat and let things cool while the aroma teases you.
- Shape and stuff:
- Flatten each biscuit dough round into a disk, and in the center, pile on a tablespoon of the beef mix and half a tablespoon of cheddar, then nestle a mozzarella cube right in the heart.
- Wrap ‘em up:
- Gently pull up the dough edges and pinch together to seal in all that goodness—don’t worry if a bit of cheese peeks out, that’s part of the fun.
- Top and bake:
- Arrange each ball seam-side down on your baking sheet, brush with a generous egg wash, and sprinkle lightly with sesame seeds.
- Golden finish:
- Bake for 15–18 minutes, watching through the oven window—when they're puffed and golden brown, you’ll know they’re ready.
- Cool and devour:
- Wait just enough so you don’t burn your mouth, then serve with sauces for dunking—prepare for happy faces.
 Save to Pinterest
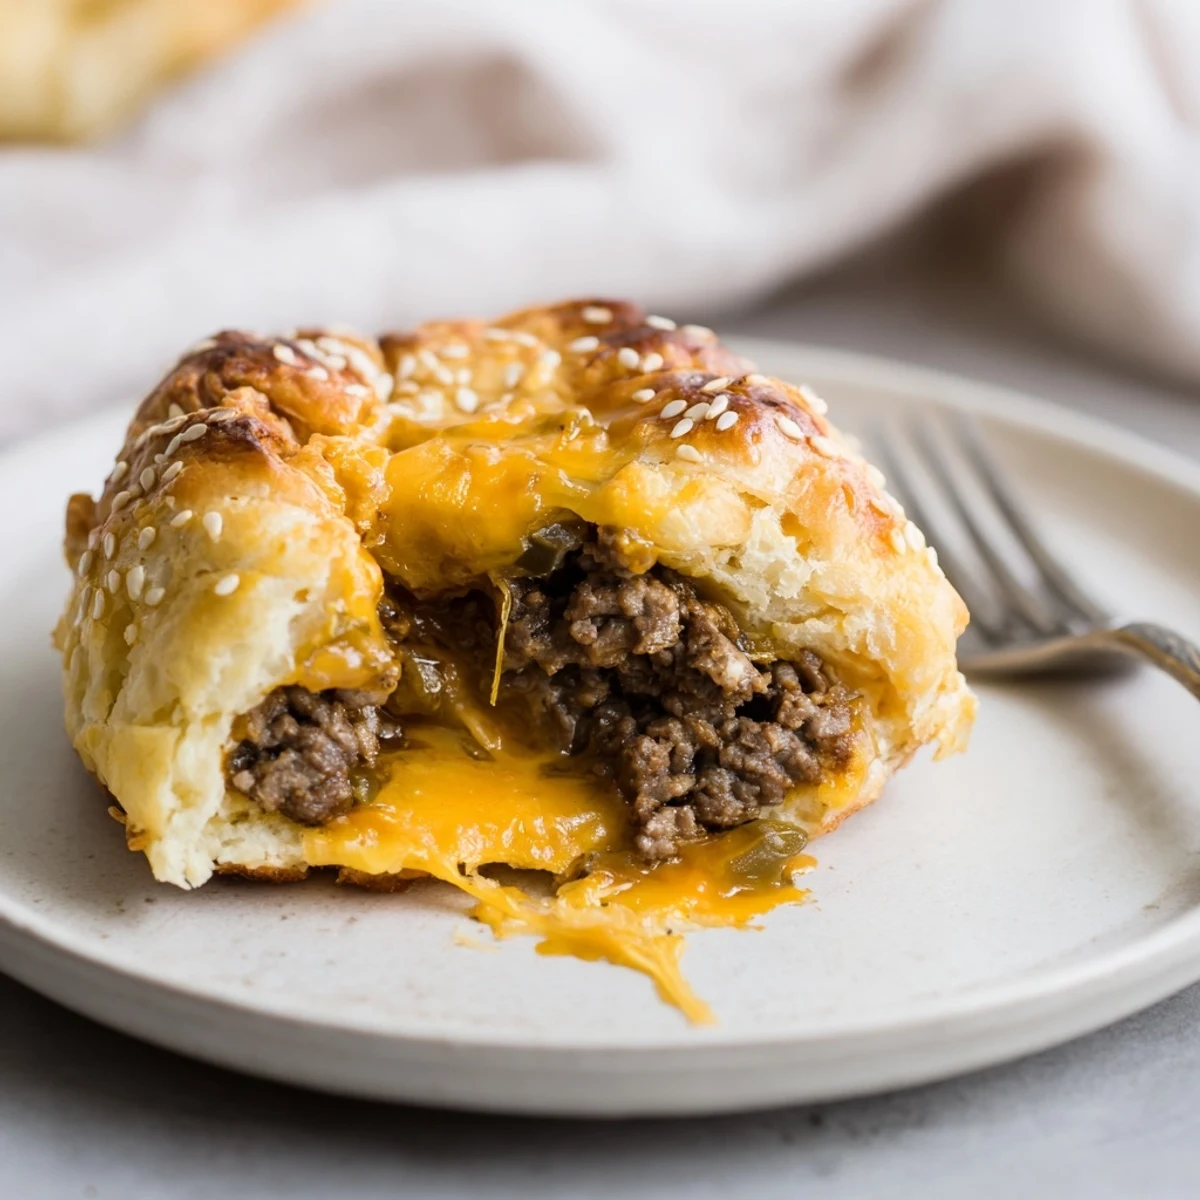
 The evening my partner and I ate these straight from the tray is seared in my mind—sitting on the kitchen floor, sauce bowls scattered, grinning as cheese stretched in gooey threads between us. Suddenly, this silly experiment became our new comfort meal and a fun story we tell friends who visit, too.
Easy Dips to Serve With Your Bombs
Classic burger sauces are always a hit, but you can level up with homemade options. Try spiced ketchup, chipotle mayo, or a garlicky ranch for something new. We set up a DIY dipping station, and even the simplest sauce feels special.
Tweaks for Every Taste
Don’t hesitate to sneak in bits of cooked bacon, jalapeños, or swap in pepper jack cheese if you love things spicy. My neighbor’s kid begged for a ‘pizza version’—so go wild with tiny pepperoni or dollops of pizza sauce mixed into the beef. The recipe flexes happily with whatever’s in your fridge.
The Perfect Make-Ahead Party Trick
You can assemble the bombs early and chill until you’re ready to bake—ideal for busy nights or sudden guests. If you want to keep their insides ultra-gooey, don't overbake or the cheese firms up.
- Be sure to space the bombs apart on the tray so they bake evenly.
- If reheating, cover loosely to prevent drying out.
- Always serve warm for the dreamiest cheese pull.
 Save to Pinterest
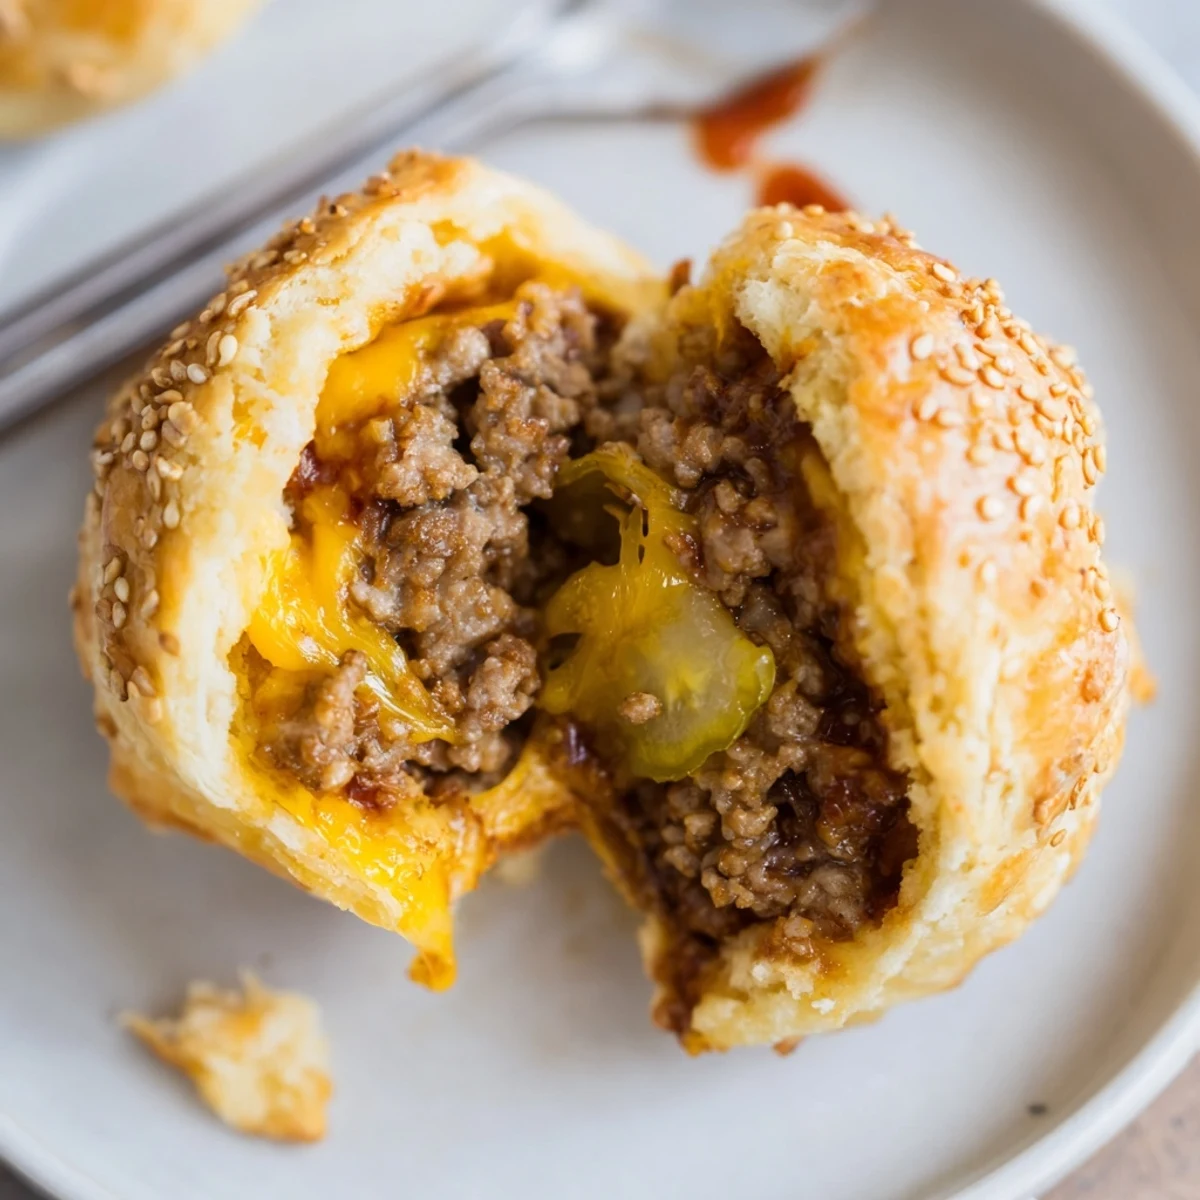
 Whether it’s movie night or just a craving for something cozy, these cheesy burger bombs come together with laughter. Here’s hoping your kitchen smells as tempting as mine—dig in and enjoy the surprise inside every bite.
Recipe FAQs
- → How do I avoid soggy bottoms?
-
Drain excess fat after browning the beef and let the filling cool slightly before assembling so steam is reduced. Bake on a preheated sheet lined with parchment for a crisp underside.
- → Can these be frozen ahead of time?
-
Yes. Assemble the balls, place on a tray to freeze until firm, then transfer to a sealed bag. Bake from frozen, adding a few minutes to the baking time, or thaw in the fridge first for more even baking.
- → What cheese swaps work well?
-
Pepper jack adds heat, Swiss gives nuttiness, and fontina melts smoothly. Keep a melty cheese like mozzarella at the center for the gooey core.
- → How can I make them gluten-free?
-
Use a gluten-free biscuit dough or pastry wrapper and check labels on Worcestershire and other sauces for hidden gluten to keep the dish safe for gluten-free diets.
- → Any tips for even cooking?
-
Seal edges tightly and keep bombs roughly the same size. Arrange them seam-side down on the sheet so they hold shape and bake evenly; rotate the pan halfway through if needed.
- → Can I make a make-ahead version?
-
Yes. Prepare the beef filling and refrigerate up to 2 days. Assemble the bombs shortly before baking for best texture, or assemble and refrigerate up to a day before baking.
