 Save to Pinterest
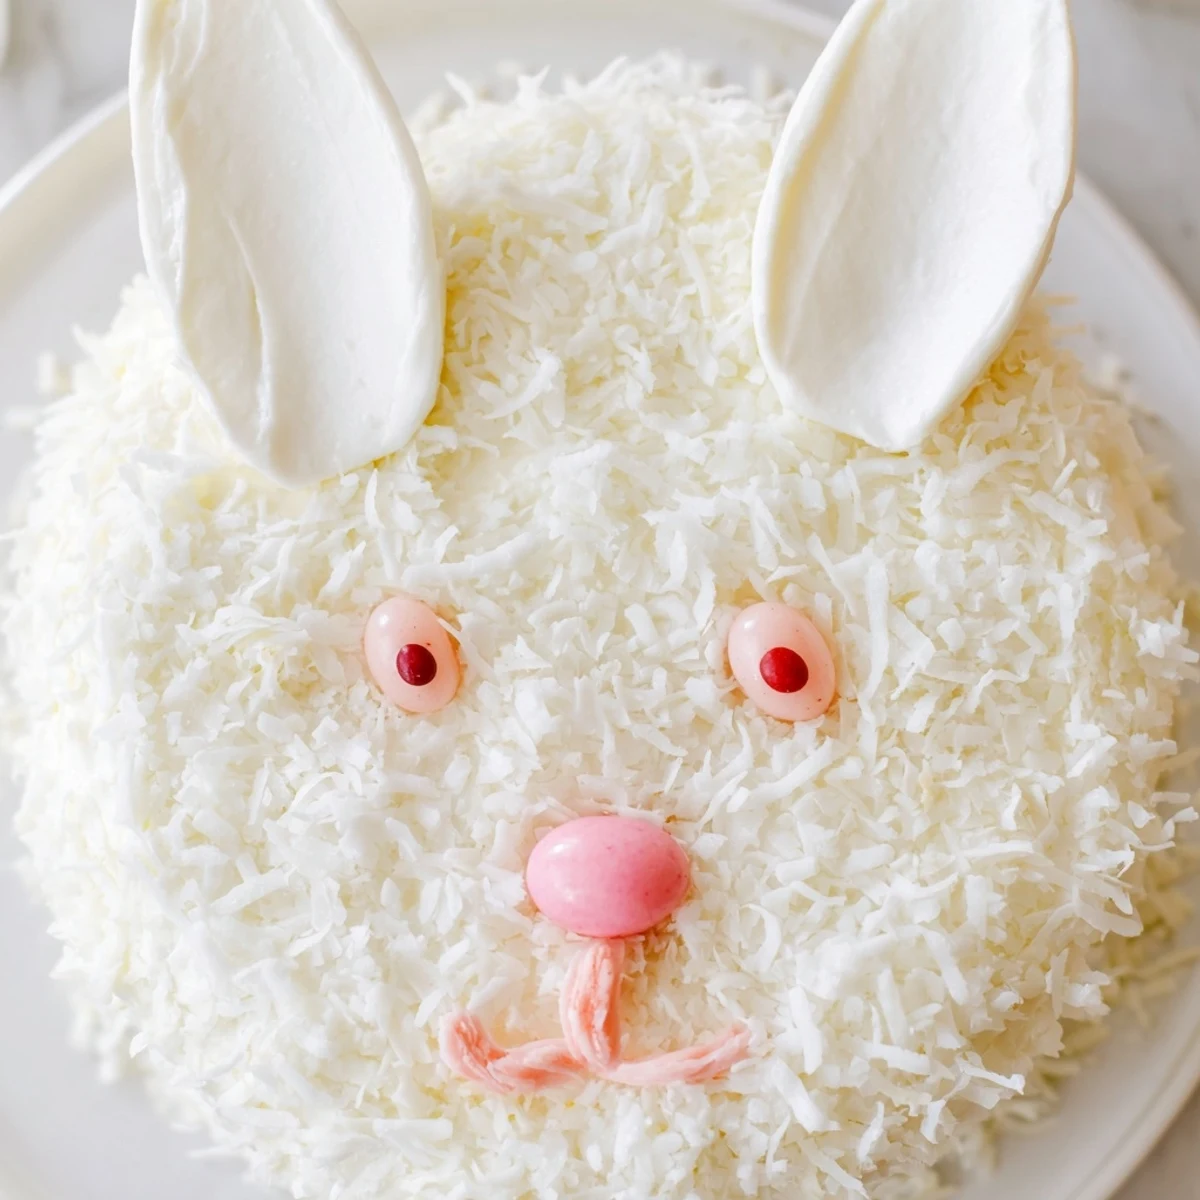
 This charming bunny-shaped dessert features moist vanilla layers coated in creamy buttercream and covered with fluffy coconut for an adorable fur effect. The whimsical design includes fondant ears, candy features, and a playful bow tie arrangement that transforms simple cakes into an eye-catching centerpiece.
Perfect for Easter brunch, spring birthdays, or any festive celebration, this crowd-pleasing dessert serves 12 and comes together in just one hour. The tropical coconut adds subtle sweetness while the buttercream provides rich, creamy contrast to the tender vanilla cake base.
The first time I made a bunny cake, my kitchen looked like a coconut explosion. I had grand ambitions and zero technique, but my daughter's delighted giggles when she saw that lopsided, fuzzy face made every speck of mess worthwhile. Now it's become our spring tradition, and I've learned that the charm lies in its quirks, not perfection.
Last Easter, my sister walked into my kitchen mid-decoration and immediately started eating the pink-dyed coconut earmarked for the bunny ears. We had to dye a second batch, and honestly, that moment of laughing while stirring pink flakes into a bowl became its own kind of holiday memory.
Ingredients
- All-purpose flour: This foundation gives the cake structure while keeping it tender enough for little hands to grab easily
- Baking powder and baking soda: The duo ensures your bunny rises properly and bakes up light rather than dense
- Granulated sugar: Sweetens the cake and helps create that golden crust we all secretly love picking at
- Unsalted butter: Room temperature butter creams beautifully and gives you control over the salt level
- Large eggs: Bind everything together while adding richness and structure
- Whole milk: Creates a moist crumb and helps balance the sweetness
- Vanilla extract: Pure vanilla makes all the difference between tasting homemade and tasting like the bakery
- Powdered sugar: Sifting first prevents lumps in your frosting that would mar that smooth coconut surface
- Shredded sweetened coconut: This transforms ordinary buttercream into fluffy bunny fur
- Pink food coloring: A tiny drop goes a long way for those precious inner ears
- Jelly beans or mini candies: These become the expressive eyes and nose that give your bunny personality
Instructions
- Prep your oven and pans:
- Preheat to 350°F and generously grease two 8-inch round pans, then dust with flour for easy release
- Mix your dry ingredients:
- Whisk the flour, baking powder, baking soda, and salt in a medium bowl so everything distributes evenly
- Cream butter and sugar:
- Beat until pale and fluffy, then add eggs one at a time, followed by vanilla for a well-emulsified base
- Combine wet and dry:
- Alternate adding the flour mixture and milk, beginning and ending with the flour, mixing just until combined
- Bake the layers:
- Divide batter evenly between pans and bake for 22 to 25 minutes until a toothpick comes out clean
- Cool completely:
- Let cakes rest in pans for 10 minutes before turning onto wire racks to cool fully
- Make the frosting:
- Beat butter until smooth, then gradually incorporate powdered sugar, vanilla, salt, and just enough milk for spreadability
- Shape your bunny:
- Keep one cake whole for the face, cut the second into two ear ovals, and shape the remaining center into a bow tie
- Arrange on a platter:
- Position the face, ears, and bow tie on your largest serving tray before frosting begins
- Apply a crumb coat:
- Spread a thin layer of frosting over all pieces, then chill for 20 minutes to lock in those crumbs
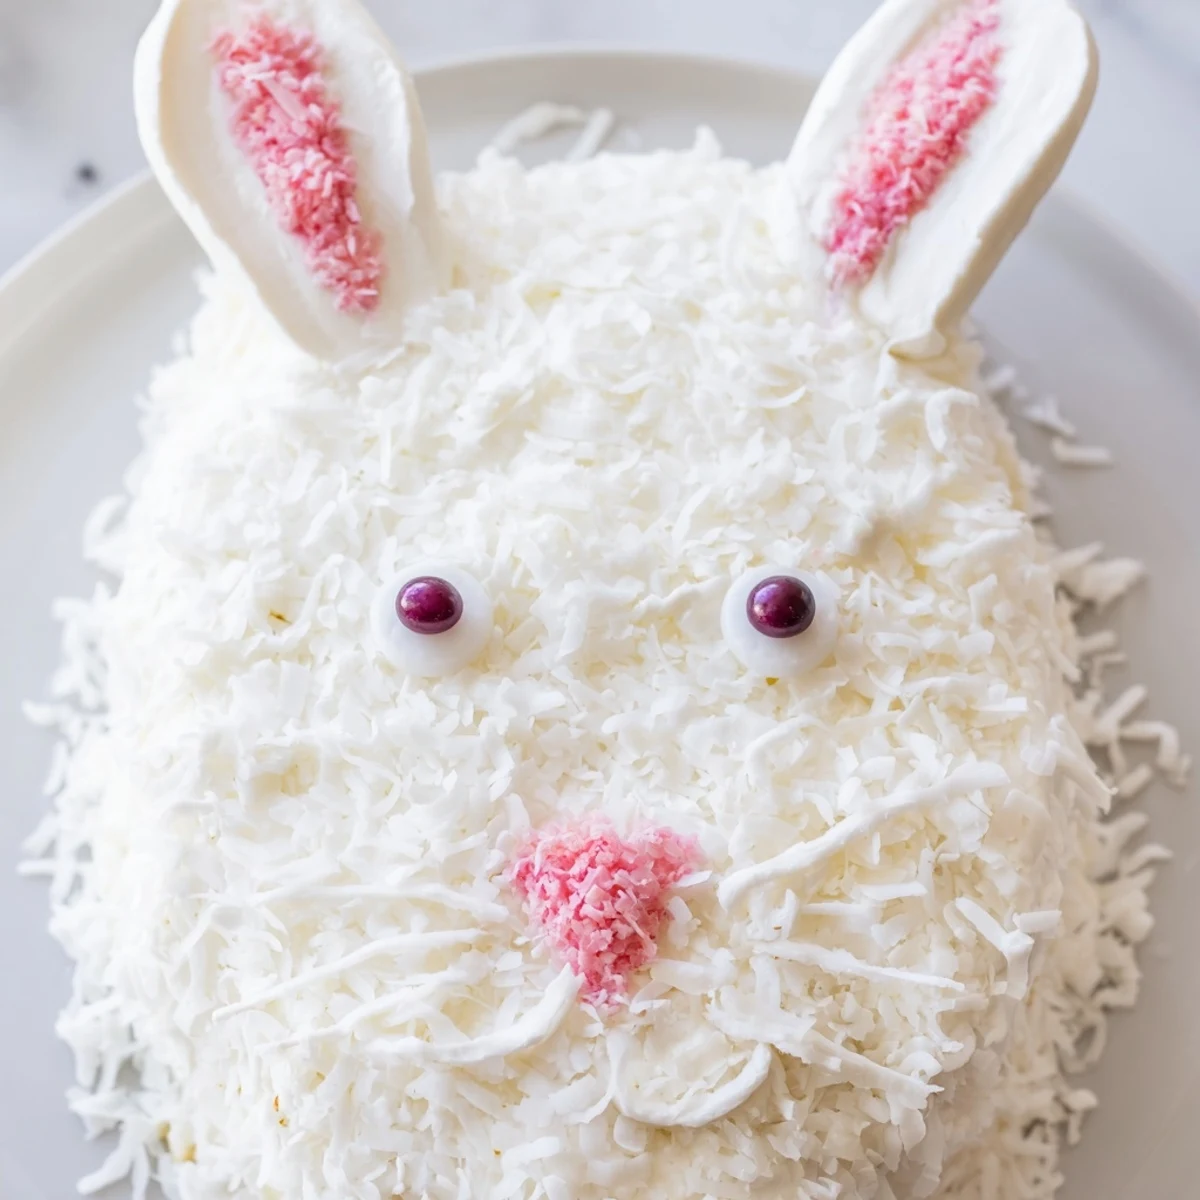
- Frost and fur:
- Cover the cake fully with remaining frosting, then press shredded coconut gently over the entire surface
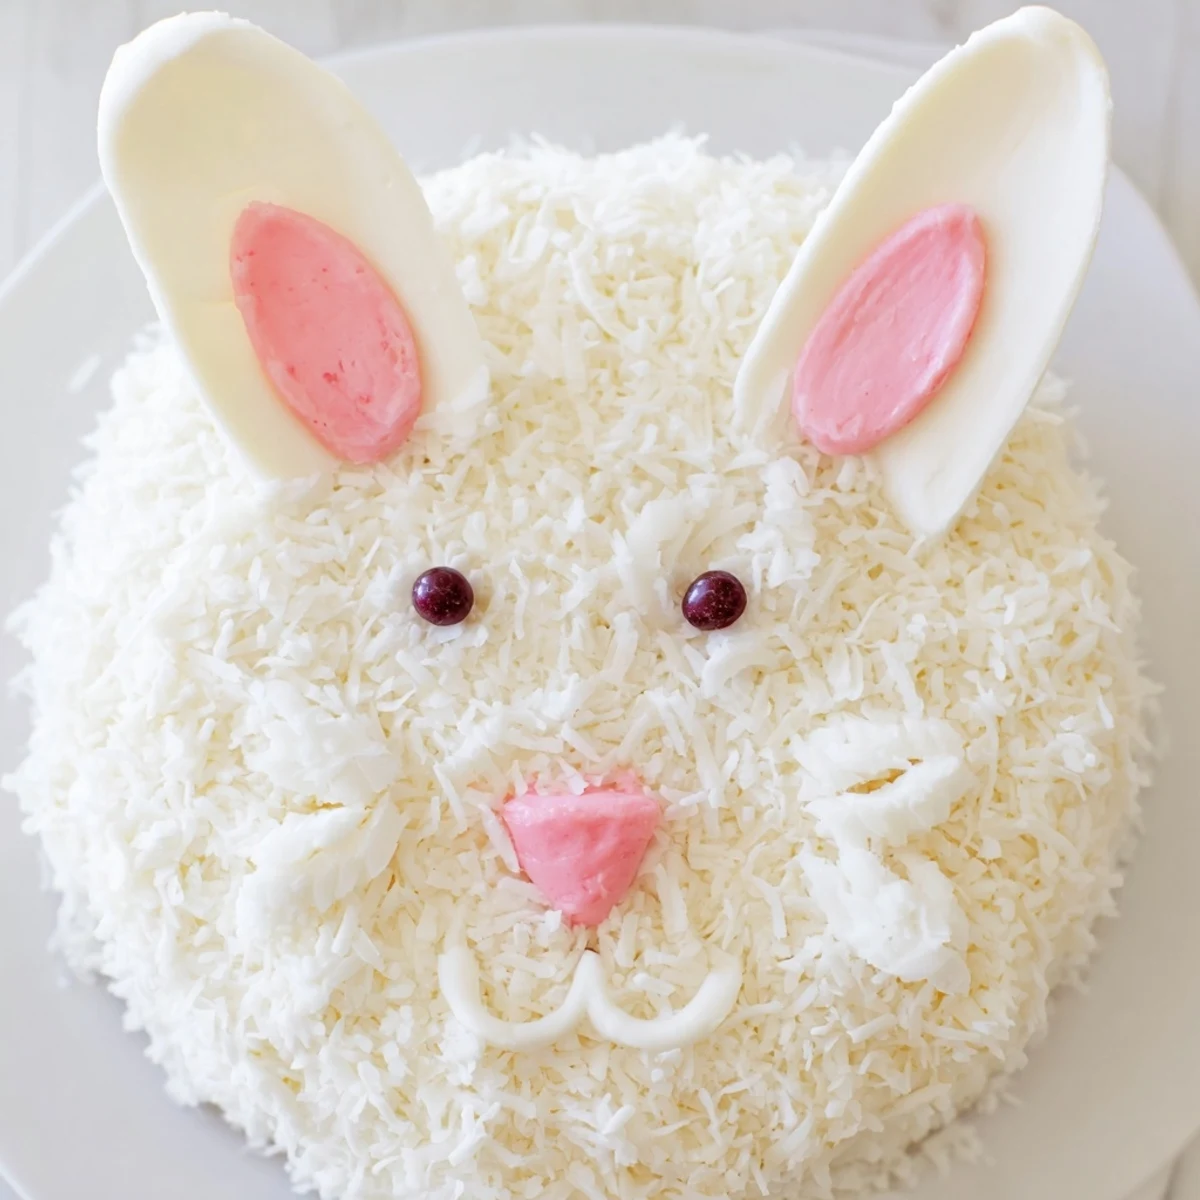
- Add pink ears:
- Tint a small amount of coconut with pink coloring and press onto the inner ear sections
- Give your bunny a face:
- Place candies for eyes and nose, adding fondant or marshmallow details to complete the look
 Save to Pinterest
 My nephew asked if we could name our bunny cake last year, and somehow 'Sir Fluffington' stuck. Now every bunny cake has a name, and I've realized that the silly traditions we accidentally create are often the ones that stick the hardest.
Making It Ahead
I've learned through trial and error that you can bake the cake layers a day ahead and wrap them tightly in plastic. The morning of your celebration, frost and decorate while the cake is still cold and firm, which makes shaping those ears so much easier.
Decoration Ideas
Sometimes we skip the coconut entirely and go for a fully fondant-covered bunny with smooth ears. Other times we use chocolate shavings for a more textured look, and once we even used crushed Oreos for a disgruntled-looking bunny that became a family legend.
Serving And Storage
Cut this cake with a sharp knife warmed under hot water for clean slices through all that coconut. Leftovers actually stay moist surprisingly well, though in my experience, a bunny cake rarely survives the first twenty-four hours.
- Use a serrated knife for the cleanest cuts through the fur layer
- Bring refrigerated cake to room temperature for about twenty minutes before serving
- The coconut layer helps keep the cake moist for days if stored properly
 Save to Pinterest
 Whatever imperfections your bunny cake has, just remember that the sweetest part is making something that makes people happy.
Recipe FAQs
- → How far in advance can I make the bunny cake?
-
You can bake the cakes up to 2 days ahead and store them wrapped in plastic at room temperature. The fully assembled cake keeps for 2 days at room temperature or 4 days refrigerated. Add coconut and decorations within 24 hours for best texture.
- → Can I use cake mix instead of from-scratch batter?
-
Absolutely! Use two boxes of vanilla cake mix prepared according to package directions. This time-saving shortcut works beautifully and allows you to focus more energy on the creative decorating process.
- → What's the best way to tint coconut pink?
-
Place shredded coconut in a zip-top bag and add 1-2 drops of pink food coloring. Seal the bag and massage gently until the color distributes evenly. Spread on paper towels to dry briefly before applying to the inner ear sections.
- → Do I need special pans to shape the bunny?
-
No special pans required! Simply bake two standard 8-inch round cakes. One remains whole for the face while the second gets cut into two ear ovals and a bow tie centerpiece. Arrange the pieces on a large platter or cutting board.
- → Can I make this chocolate instead of vanilla?
-
Definitely! Substitute chocolate cake batter for the vanilla base. The rich chocolate flavor pairs wonderfully with coconut and creates a striking contrast. You can also use chocolate frosting or stick with vanilla buttercream for a classic combination.
- → What alternatives work for candy decorations?
-
Use whatever you have available! Chocolate chips, M&Ms, or mini cookies work for eyes. Pink sprinkles, heart-shaped candies, or fruit leather can create the nose. Pretzel sticks or licorice strips make excellent whiskers. Get creative with pantry staples.
